Warm Gruyère, Roasted Garlic & Thyme Dip

Warm Gruyère, Roasted Garlic & Thyme Dip

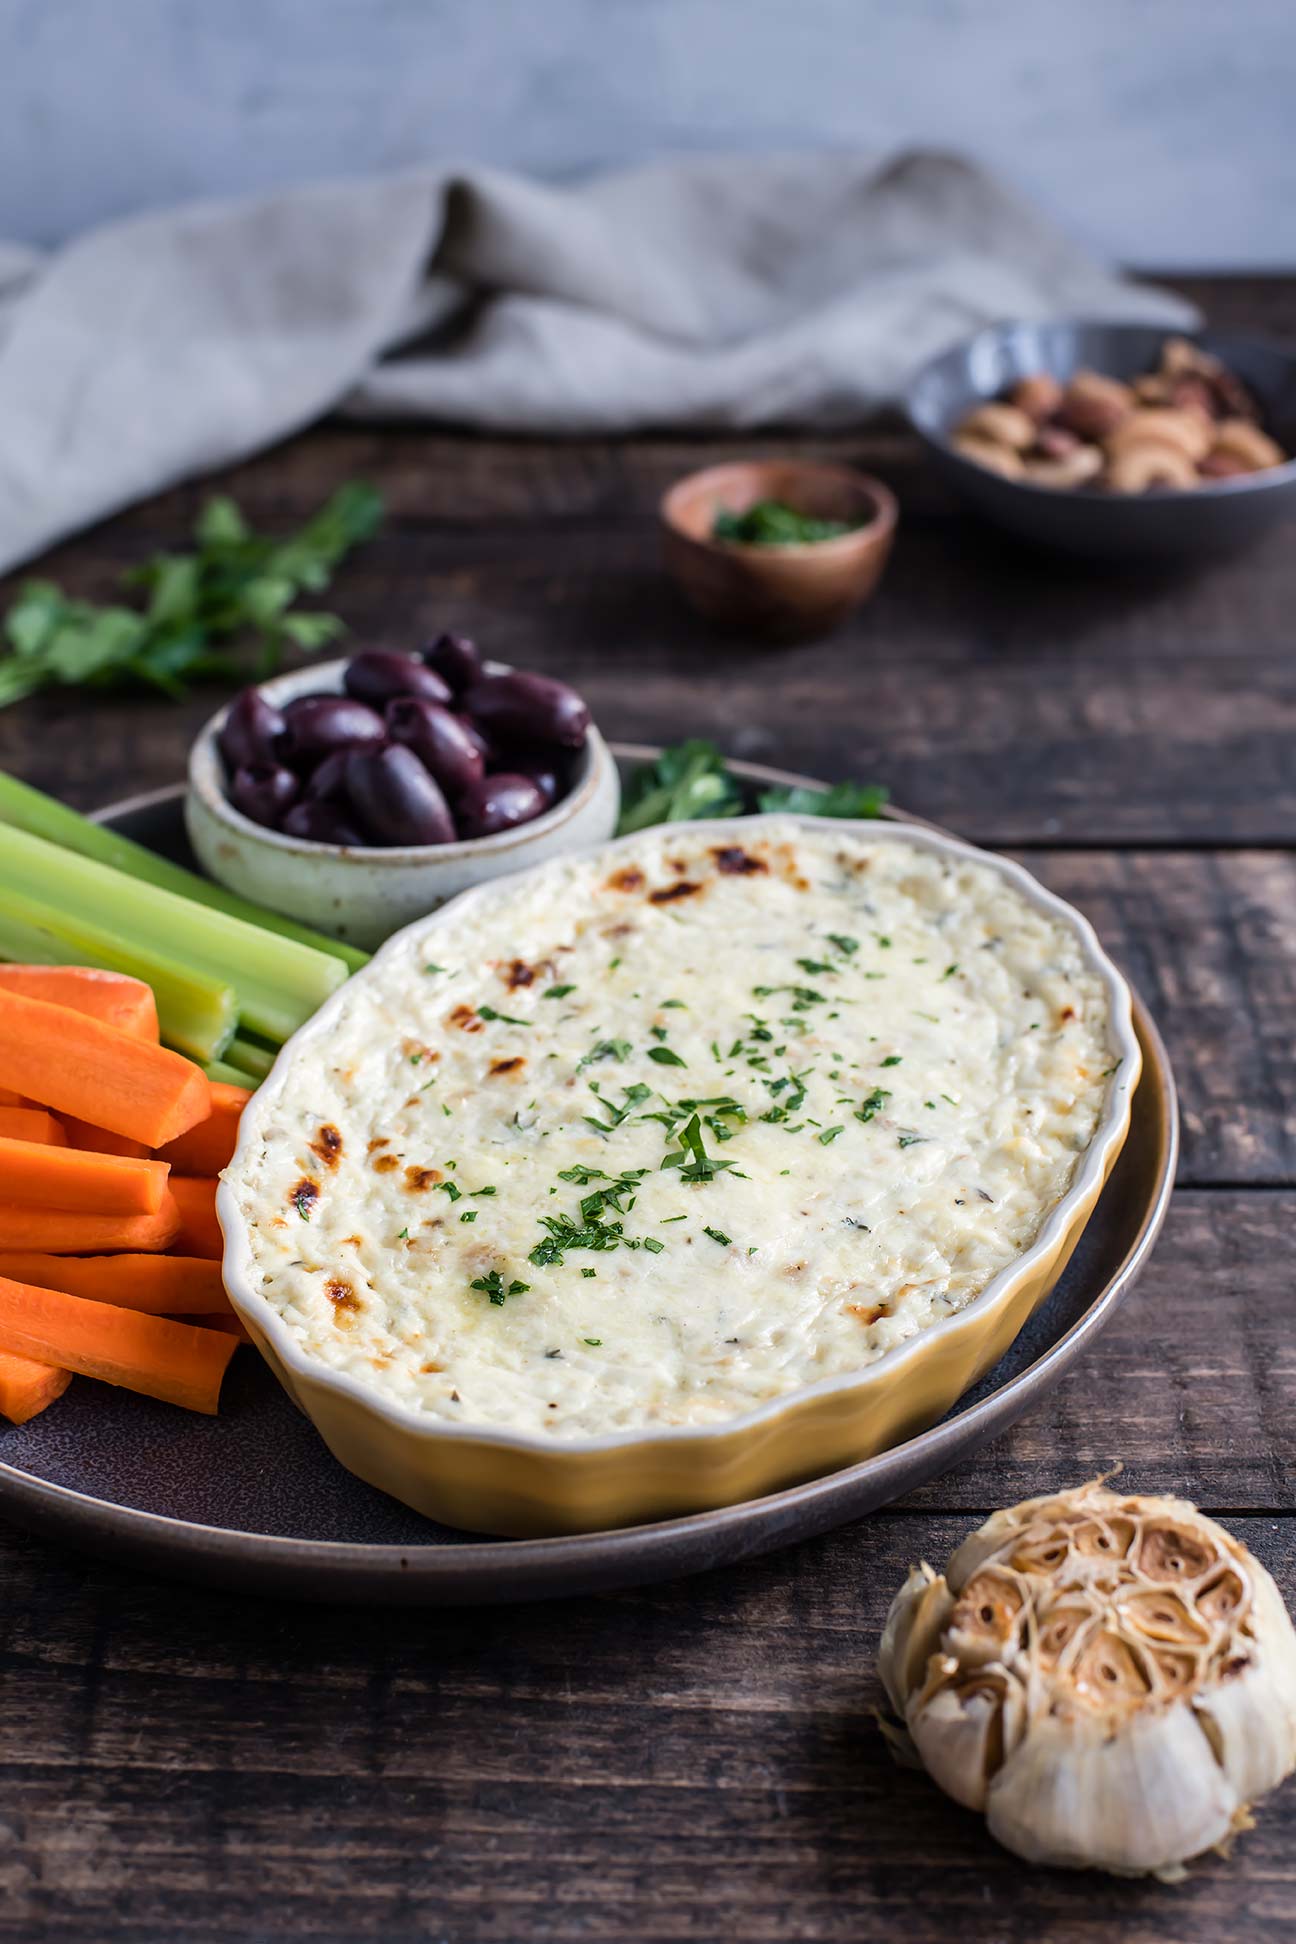
It is about 21°F this morning. The cold always me makes me crave crave warm, cozy dishes. This gruyère, roasted garlic and thyme dip  is just the thing to take to a New Years Eve cocktail party, or simply enjoy on the sofa after a long day, with your feet kicked up (build a fire in that fireplace, while you’re at it!).

I went to a cocktail party this fall (potluck style), and there were at least three different spinach and artichoke dips! Tasting and comparing them all was fun, but really? Three versions? Seems everyone was on the same page that night. I LOVE spinach artichoke dip, and this dip hits the same craving but mixes it up a bit.

Warm Gruyère, Roasted Garlic & Thyme Dip

The first step in this recipe is to roast a whole head of garlic. Have you roasted garlic before? YUM. It becomes golden and soft and spreadable. I roasted an extra head of garlic while I was making the one for this dip just so we could have it. It makes the best garlic garlic bread or compound butter. You may as well make the most of having the oven on!

Surprisingly, even with a whole head of garlic in this dip, it’s a subtle flavor — not a “I’m going to be breathing garlic for the rest of the night,” flavor. The gruyère and cream cheese soften it. Thyme adds an herbaceous note. The leftovers (if you have leftovers — in the realm of cheese that’s a rare story) do well as a sandwich spread or tucked inside of an omelette with sautéd mushrooms.

Warm Gruyère, Roasted Garlic & Thyme Dip

The new year is almost here! Wishing everyone a joyful 2019!

Warm Gruyère, Roasted Garlic & Thyme Dip

Published December 7, 2018 by
   Print This Recipe

Serves: 6   |    Active Time: 75 minutes


Ingredients:

  • 1 head of garlic
  • 1 teaspoon olive oil or avocado oil
  • 8 ounces sour cream, at room temperature
  • 2 ounces cream cheese
  • 2 ounces gruyère, finely grated, plus 2 tablespoons for topping
  • 1/8 teaspoon salt
  • 1/4 teaspoon freshly cracked black pepper
  • 1 teaspoon fresh thyme leaves
  • 1 tablespoon minced parsley for garnish
  • For serving: crudités, crackers, crusty bread, etc.

  • Directions:

    1. First, roast the garlic: preheat oven to 350° F. Chop the very top off of the head of garlic. Place on a baking sheet and drizzle with the olive/avocado oil. Place in oven and roast 45 minutes, until cloves are golden and soft.
    2. Allow garlic to cool until you can easily touch it without burning your hands, about 15 minutes. Squeeze garlic cloves into a medium-sized mixing bowl, discarding of the garlic papers. Mash garlic.
    3. Add sour cream, cream cheese, 2 ounces gruyère, salt, black pepper, and thyme to bowl. Use a fork to mix until well combined.
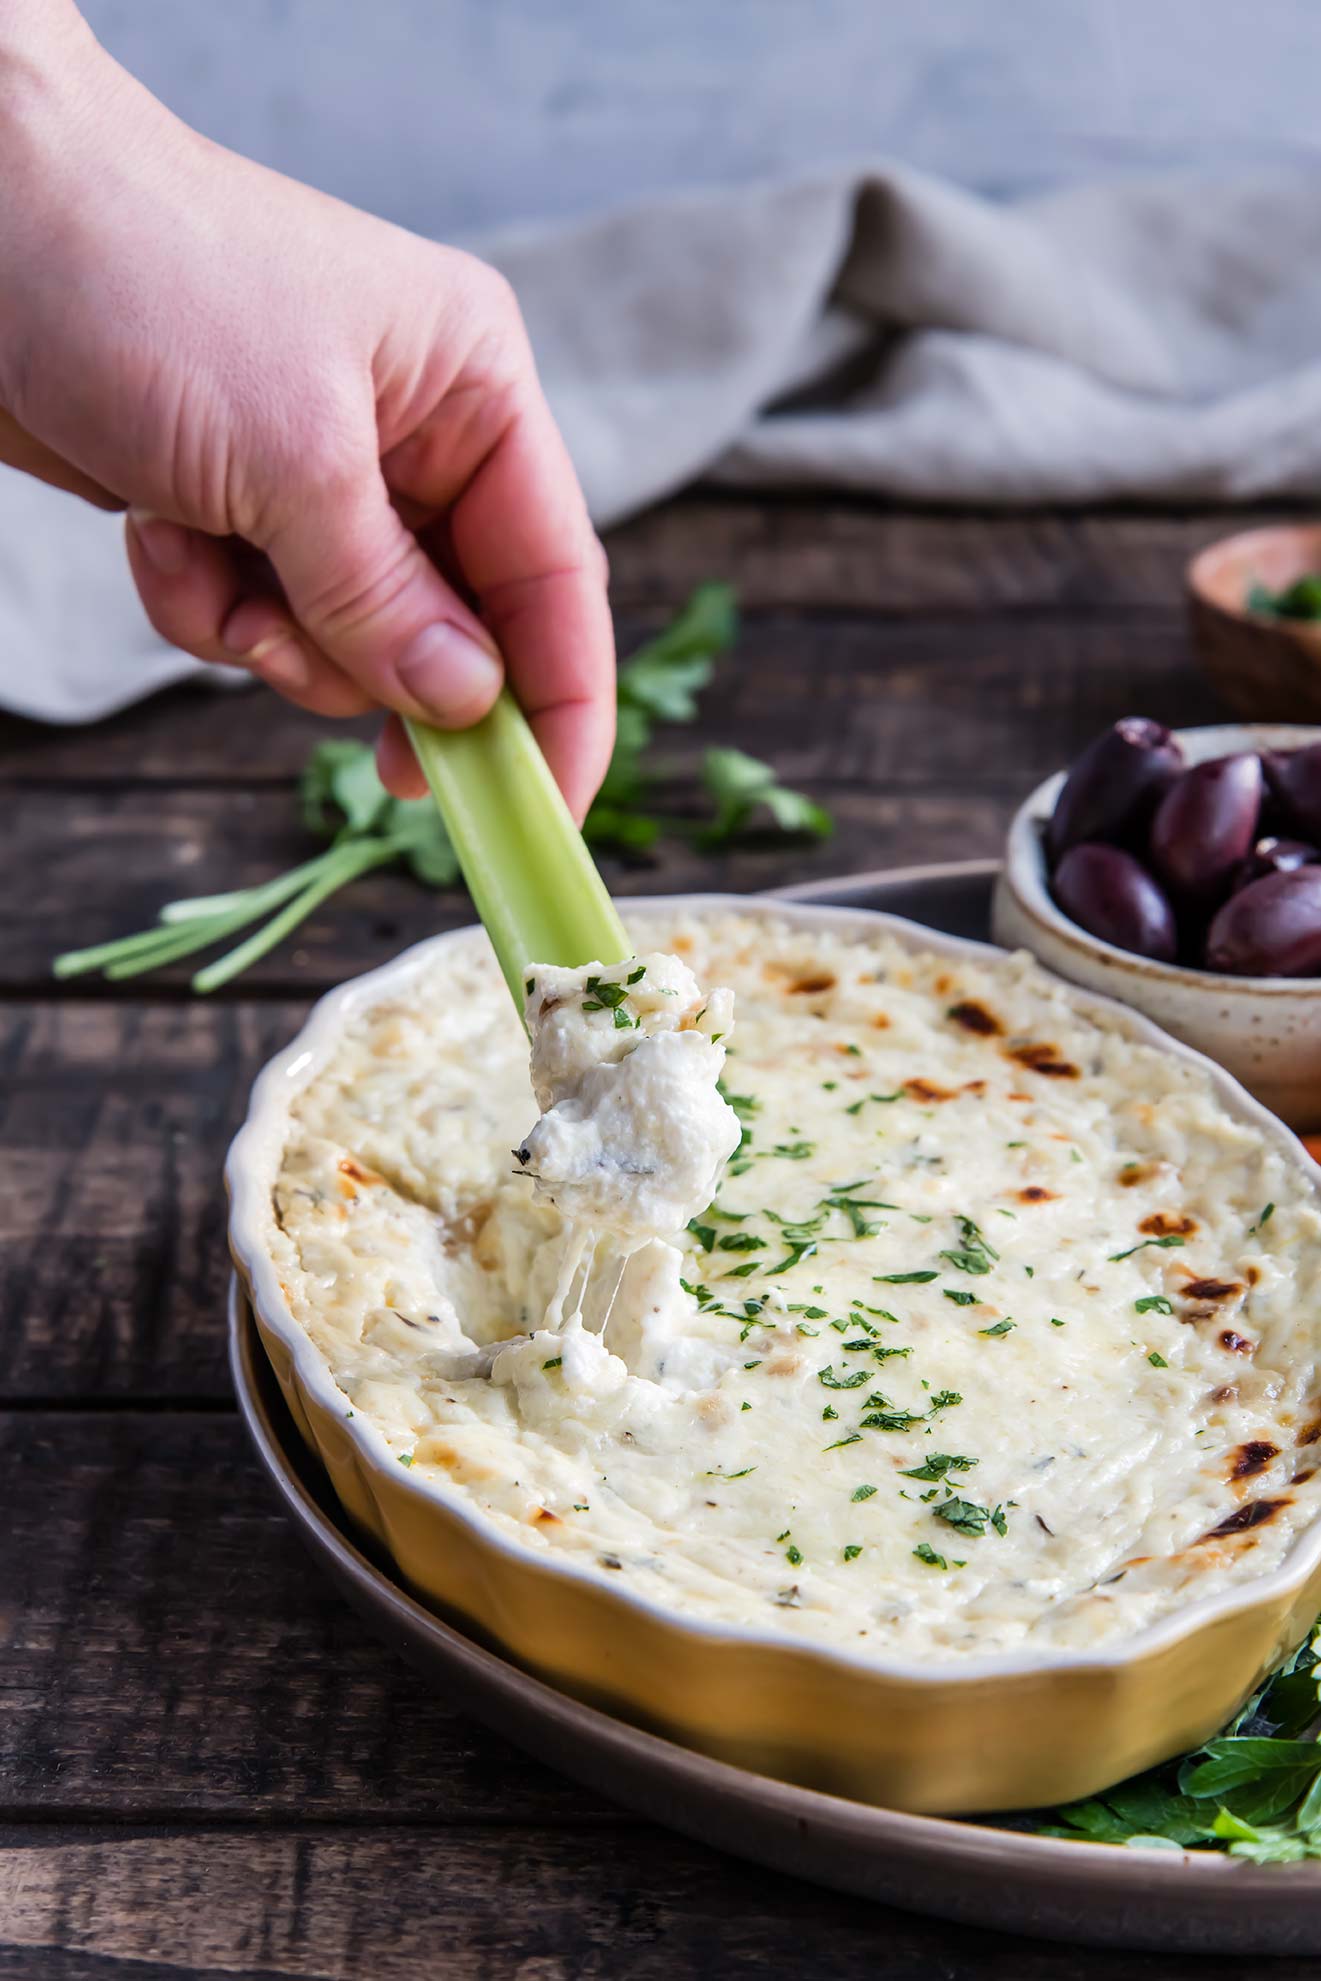
    4. Spread cheese mixture in a ramekin or cocotte dish. Do not over fill—make sure there is at least 1/4-inch of extra room in the dish to avoid bubbling over. Top with remaining 2 tablespoons gruyère, and place in oven and bake for 20-25 minutes, until cheese is bubbling and just starting to brown in spots on the top.
    5. Remove from oven and allow to cool 10 minutes before sprinkling with minced parsley and serving with crudités, crackers, or crusty bread.
    6. Leftovers? Eat them cold as a spread on toast, sandwiches, etc, or re-warm the dip in the microwave for 30-second intervals or in an oven until warmed through.

    Comment

    Peanut Butter Chocolate Oatmeal Bars with Hemp & Cacao Nibs

    Peanut Butter Chocolate Oatmeal Bars with Hemp & Cacao Nibs

    Home! It is a good place to be. Home baking — even better. Especially during cookie season! Just four days out of the house over Thanksgiving break refilled my creative energy… if only I had time to cook every idea that comes to mind!

    We visited Roy, New Mexico for Thanksgiving, so instead of your traditional holiday dinner we cooked with a camp stove among friends (including some camping recipes that I’m definitely going to share here come summer: black bean and kale skillet enchiladas, an iteration of these chorizo and egg breakfast tacos, and plenty of cocoa). Not your traditional holiday, but it was perfect for me. A way to unplug, relax, and enjoy the beautiful dessert!

    Besides, I have been craving a trip to New Mexico since last Christmas when I tried to convince Oliver to go on a last minute road trip to Santa Fe (instead we spent it at home doing not much of anything).

    In anticipation of some upcoming trips, I had made these bars ahead of time, and they were the perfect mid-day snack while we were out climbing, and delicious enough to be a treat around the campfire.

    Peanut Butter Chocolate Oatmeal Bars with Hemp & Cacao Nibs
    Peanut Butter Chocolate Oatmeal Bars with Hemp & Cacao Nibs

    After baking them, I sliced them up and kept them in the freezer, and then packed them into the cooler with the rest of our supplies.

    Chocolate and peanut butter is a classic (the best!!) so when I went to make something akin to a snacking bar but more luxurious, it felt like the perfect fit. Something hearty and filling for long days outside, but something that still tastes basically like dessert (happy sweet tooth = happy me).

    Adding in hemp hearts and cacao nibs also walks this line of snack gone dessert… hemp hearts make me think granola bar, cacao nibs feel more like a treat. What you get is a treat you feel good about — and a snack for those moments when you really want a treat (and I always want my snacks to feel like treats).

    These bars also are a GREAT better-for-you option for holiday cookies. Like blondie meets oatmeal cookie meets peanut butter cup with more good stuff packed in. Which is why I’m sharing it with you now!

    Peanut Butter Chocolate Oatmeal Bars with Hemp & Cacao Nibs

    Peanut Butter Chocolate Oatmeal Bars with Hemp & Cacao Nibs

    Published November 29, 2018 by
       Print This Recipe

    Serves: 12   |    Active Time: 1 hour


    Ingredients:

  • 1 cup smooth, unsalted peanut butter (stirred and at room temperature)
  • 1 egg
  • 1/2 cup honey (you can also try maple syrup)
  • 2 teaspoons vanilla extract
  • 1/4 teaspoon fine sea salt
  • 2 1/2 cups old fashioned rolled oats
  • 1/4 cup almond flour OR all purpose flour
  • 1/2 cup roasted unsalted peanuts, roughly chopped, plus 2 tablespoons for topping
  • 1/2 cup hemp hearts
  • 1/4 cup cacao nibs
  • Optional: 1/2 teaspoon of flake sea salt for topping
  • 1 cup semi sweet or bitter sweet chocolate chips
  • 1 teaspoon coconut oil

  • Directions:

    1. Preheat oven to 375°F. Line a 9x9 glass baking dish with parchment paper.
    2. In a medium mixing bowl, combine the peanut butter, egg, honey and vanilla. Stir until smooth. Add salt, oats, almond flour, peanuts, hemp hearts, and cacao nibs and fold to create a thick, sticky, crumbly batter.
    3. Press mixture into prepared baking dish in an even layer, and bake in middle rack of oven for 15 minutes.
    4. Allow base to cool completely before adding chocolate topping. While base cools, melt chocolate and coconut oil by placing bowl in a microwave-safe bowl, and heating at 30-second intervals, stirring between each round. (You can also melt the chocolate in a double boiler).
    5. Spread chocolate in an even layer over oat base. Sprinkle with remaining 2 tablespoons chopped peanuts and 1/2 teaspoon flake sea salt. Allow chocolate to set completely.
    6. Once chocolate is set, lift the bars from the dish (pull out the parchment paper with the bars to get them out more easily) and slice into 12 equal pieces.
    7. Store in an air-tight container in the fridge or freezer.

    Comment

    Vanilla Chai Spice Dried Pears

    Vanilla Chai Spice Dried Pears

    A big box showed up in our dining room in mid-September with my name on the shipping label. 

    It was my birthday but I still scratched my head. This September, I had been so stressed that I mostly avoided the topic of my birthday or gifts with anyone that asked— I certainly didn’t need anything, but I also just couldn’t find a minute to think about it clearly.

    I had ordered nothing from Amazon myself (though in the same minute that thought entered my mind I also started doubting myself— had I hit “buy now” on that Dehydrator I had been eyeing instead of “add to cart?”). 

    When I got halfway through opening the box with a paring knife and found it was a Dehydrator, I doubted myself even further. So much so, that I stopped right there and pulled out my phone to check my Amazon order history.

    Vanilla Chai Spice Dried Pears

    Relief washed over me when I saw I had placed no orders in the last month, but I still had a mystery on my hands. I finished unpacking the appliance before drilling Oliver on who had bought it. It probably took me four tries to get it right, but when I did land on my dad it all made sense. I had given him a non-answer when he had asked about my birthday in general, so he had asked Oliver.

    This new dehydrator was about five times nicer than any of the ones I was planning to buy myself! Quieter, easy to use, and has a timer (key, if you ask me!). It’s the Excalibur 5-Tray Dehydrator (affiliate link!). (THANKS DAD!)

    So far, my absolute favorite thing to dehydrate has been pears.

    This recipe is inspired by one I found in Dried and True (affiliate link), a cookbook that takes dehydrating to the next level, moving it from boring old-fashioned recipes to new, inventive, and tantalizing flavors. I made the Dried Vanilla Pears from the book twice before venturing out on my own.

    Vanilla Chai Spice Dried Pears

    As soon as our first fall day hit, I immediately was dreaming about warmer flavors, like cinnamon, nutmeg, and cloves. Chai. And that’s how these pears came to be — a day dream, like most of my recipes 😉

    In real life, each slice of pear was such a treat, I savored every one. We took them hiking, ate them around the house, and packed them in our bags for outings around town. I always looked forward to those delicious pears. I thought, for about 5 seconds, about sharing them with a few coworkers but greed got the best of me and I kept it to myself. Sharing the recipe is almost as good, right?!

    This recipe is good for dehydrating-pros or a newbies like me. Make it while the pears are at their peak! I used Starkrimson Pears one round and Colorado Heirloom Pears another; Bartlette and D’Anjou would also be great.

    Vanilla Chai Spice Dried Pears

    Vanilla Chai Spice Dried Pears

    Published October 16, 2018 by
       Print This Recipe

    Yield: 20 slices   |    Active Time: 8-9 hours


    Ingredients:

  • 4 ripe pears Starkrimson
  • 1/2 cup granulated sugar or coconut sugar
  • 1 cup water
  • 5 slices of fresh ginger - each about the size of a nickel
  • 1/8 teaspoon ground cinnamon
  • 1/8 teaspoon vanilla extract
  • 1/16 teaspoon ground nutmeg
  • 1/16 teaspoon ground cardamom
  • Pinch of ground cloves

  • Directions:

    1. Combine all ingredients but the pears in a sauce pan, and bring to a simmer, stirring until sugar is dissolved.
    2. Wash pears and cut into 1/4-inch thick slices. Remove seeds and cut of stems as you go.
    3. Work with 3-4 pear slices at once: submerge pears in syrup on the stove, simmering slices for 10 minutes. Pears should be softened through but should not fall apart easily.
    4. Use a slotted spoon to remove slices from syrup and set on a plate to cool for several minutes.
    5. When all of the pears are done, spread them out on the wracks of your dehydrator (I use this one - affiliate link!), with at least 1/4-inch of space between each slice.
    6. Place wrack in dehydrator and set to 135°F for 8-10 hours, until pears are dried but still chewy.

    Comment