Maple-Orange Sriracha Roasted Cashews

Maple-Orange Sriracha Roasted Cashews

“Snack break,” in this house, is the moment we are mid TV show and pause for everyone to go refill their plates (if we’re eating dinner), get something to drink, or get a—yes, you guessed it - snack.

One of our snack break regulars is roasted nuts. We almost always have nuts in the pantry: Usually one those big tubs of roasted mixed nuts from Costco or Thai Chili Cashews from Trader Joe’s — we LOVE LOVE LOVE those. I once told a cashier there that I mostly go to Trader Joe’s just for those cashews. It’s a passion. 🤣

What’s EVEN BETTER is home-roasted cashews. If you haven’t made my roasted maple chai-spiced cashews, put it on your list, now,  right after “Maple-Orange Sriracha Roasted Cashews.” Go on, write it down.

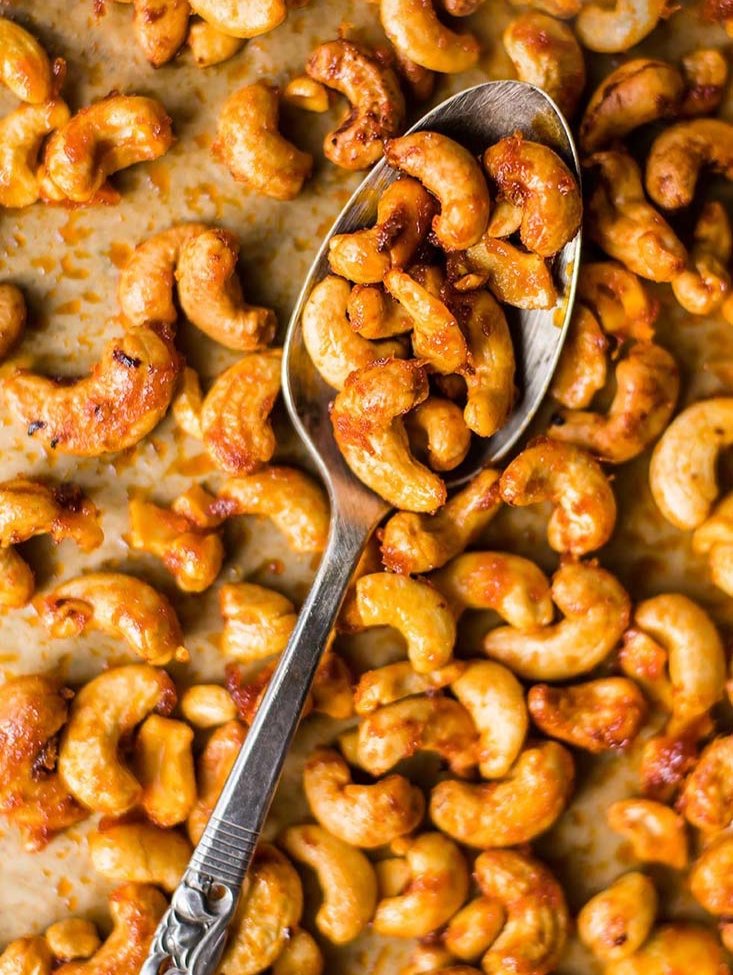
They are crunchy. They are a little bit spicy (but not too spicy, just Sriracha-spicy). They are sweet, and with a little bit of orange zest, they are fresh. And complex. And just the best.

Maple-Orange Sriracha Roasted Cashews

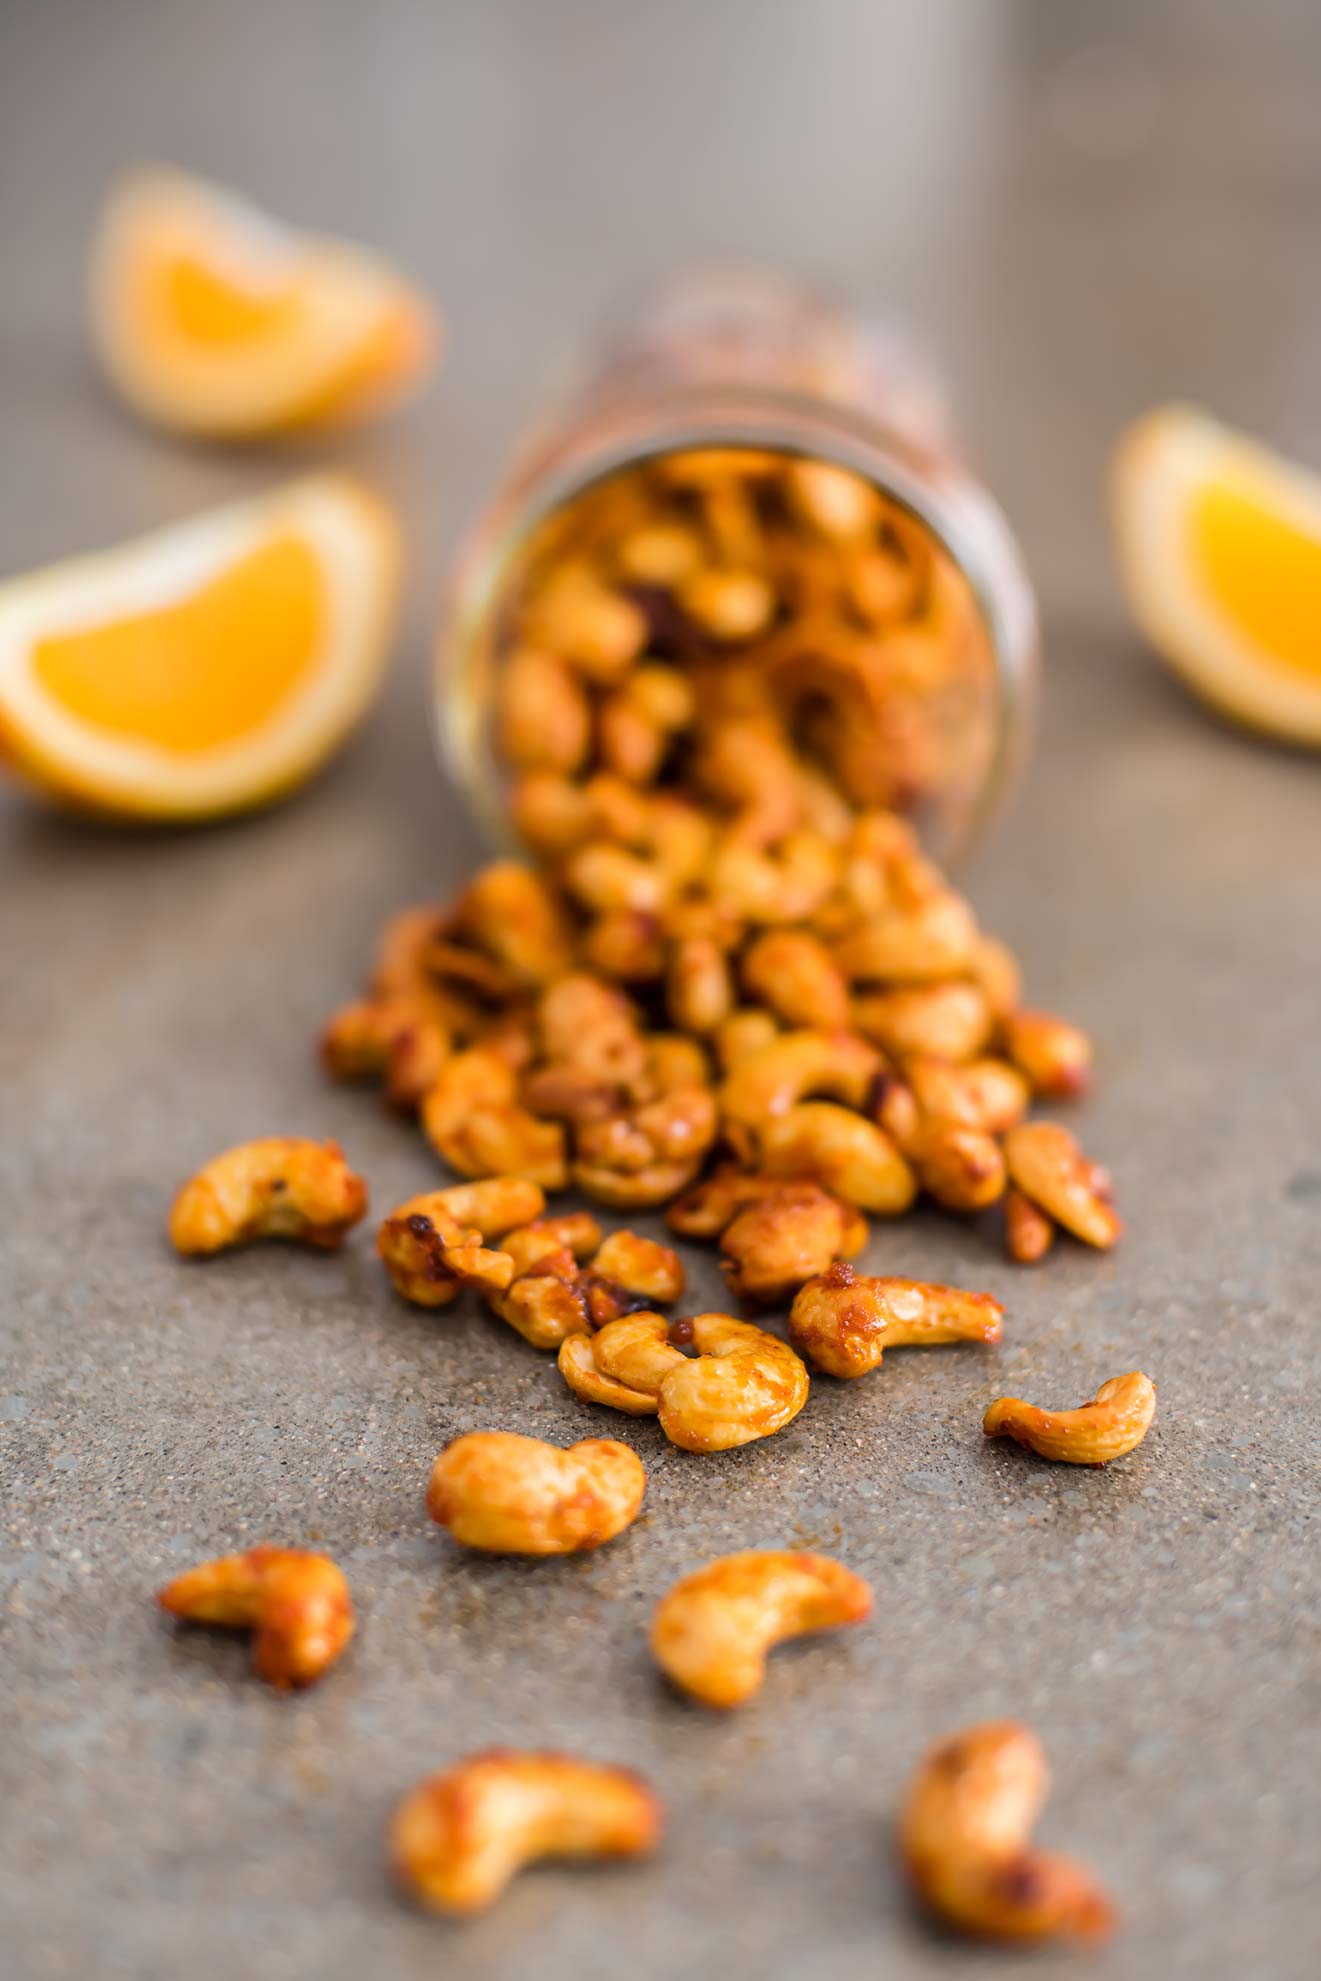
I originally discovered them when I made this Asian Slaw in 2014 (oh how the blog …and my photography skills… have changed since then). The rest is history. Now, when I find myself at home with a bottle of sriracha, an orange, maple syrup and some cashews, this is what I do. I know that sounds like a rare aligning of the stars, but actually, it happens all the time. (In fact, I could make a fresh batch right now!)

It’s about time I shared this snack with you, too!

Maple-Orange Sriracha Roasted Cashews

Published January 31, 2019 by
   Print This Recipe

Serves: 4   |    Active Time: 30 minutes


Ingredients:

  • Zest of 1 orange
  • 2 tablespoons Sriracha
  • 2 tablespoons maple syrup
  • 2 tablespoons avocado oil
  • 1/4 teaspoon salt
  • 2 cups whole raw cashews

  • Directions:

    1. Preheat oven to 350°F. Prep a sheet pan with parchment paper.
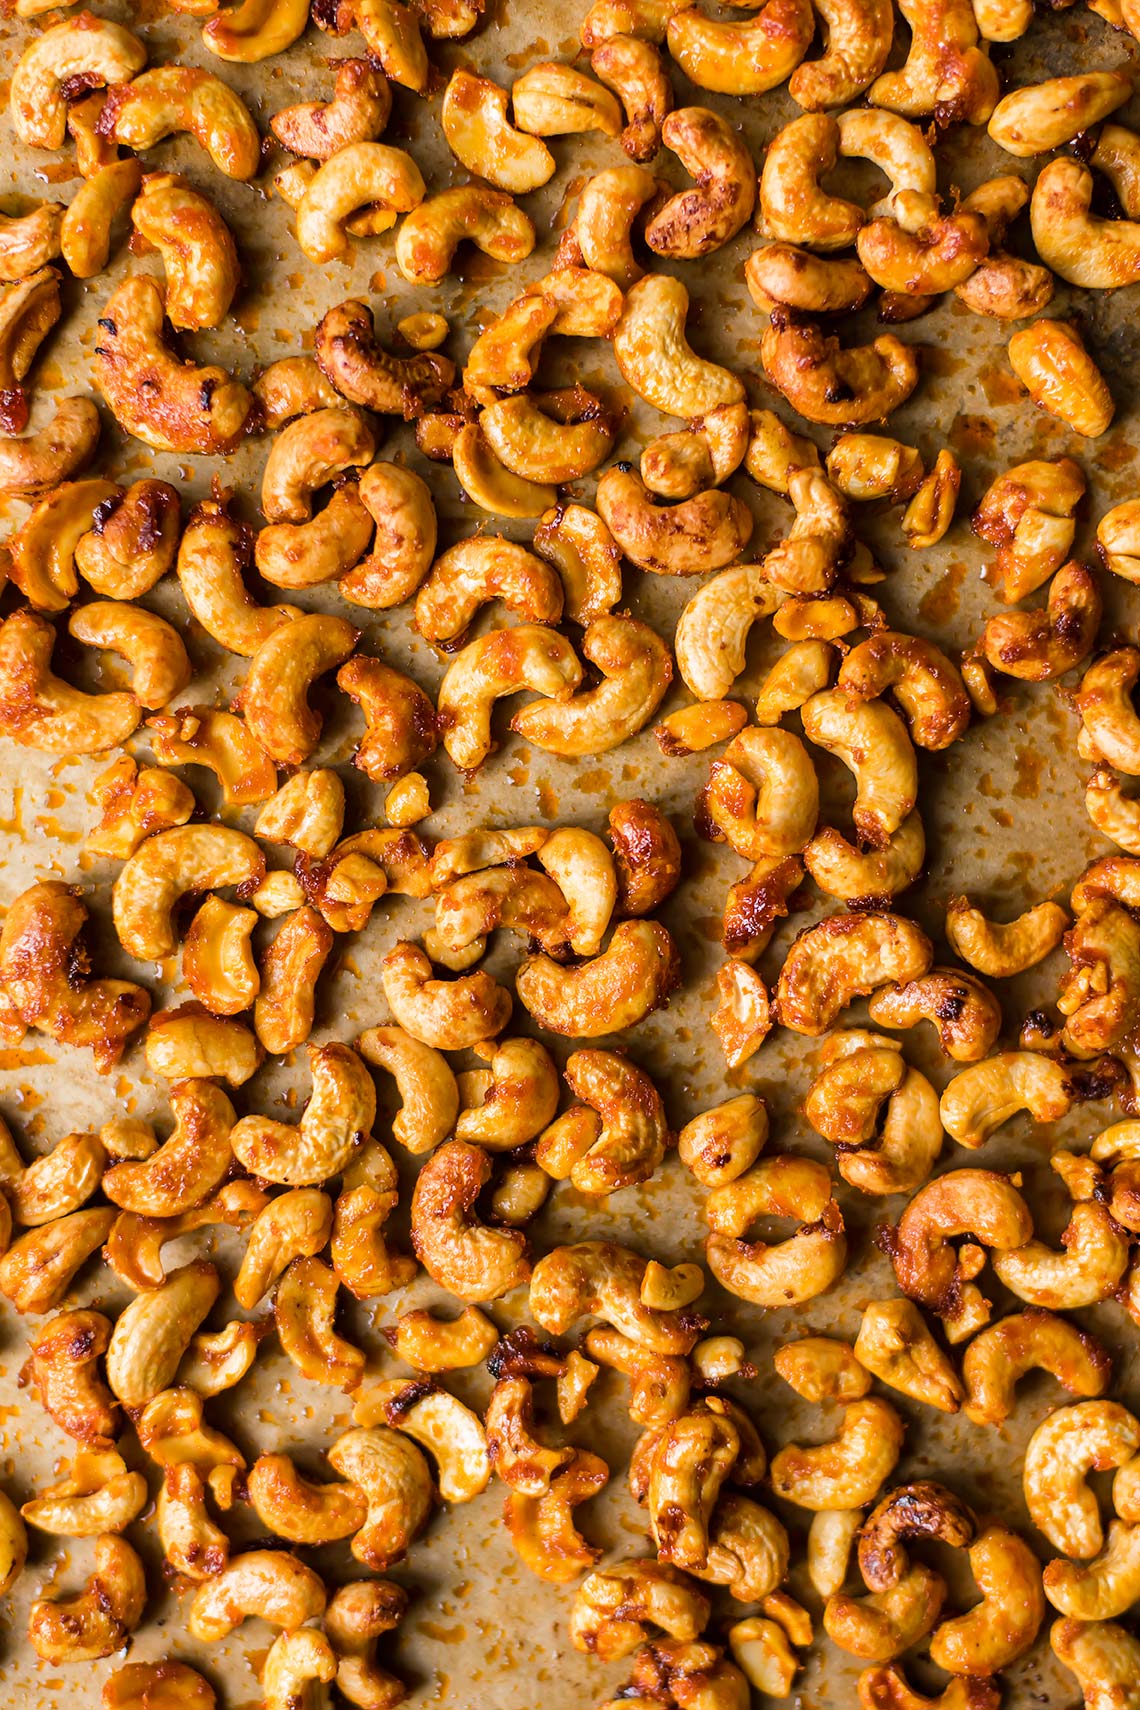
    2. Whisk together the maple syrup, sriracha, orange zest, avocado oil, and salt in the bottom of a medium sized bowl. Place the cashews in the bowl, and toss until completely covered. Spread the coated cashews out on a baking sheet in a single layer. 
    3. Bake for 15-20 minutes, turning them with a spatula halfway through (10 minute mark). Allow cashews to cool.
    4. Great as a snack! Can also be served on this Asian Slaw.

    4 Comments

    Vanilla Chai Spice Dried Pears

    Vanilla Chai Spice Dried Pears

    A big box showed up in our dining room in mid-September with my name on the shipping label. 

    It was my birthday but I still scratched my head. This September, I had been so stressed that I mostly avoided the topic of my birthday or gifts with anyone that asked— I certainly didn’t need anything, but I also just couldn’t find a minute to think about it clearly.

    I had ordered nothing from Amazon myself (though in the same minute that thought entered my mind I also started doubting myself— had I hit “buy now” on that Dehydrator I had been eyeing instead of “add to cart?”). 

    When I got halfway through opening the box with a paring knife and found it was a Dehydrator, I doubted myself even further. So much so, that I stopped right there and pulled out my phone to check my Amazon order history.

    Vanilla Chai Spice Dried Pears

    Relief washed over me when I saw I had placed no orders in the last month, but I still had a mystery on my hands. I finished unpacking the appliance before drilling Oliver on who had bought it. It probably took me four tries to get it right, but when I did land on my dad it all made sense. I had given him a non-answer when he had asked about my birthday in general, so he had asked Oliver.

    This new dehydrator was about five times nicer than any of the ones I was planning to buy myself! Quieter, easy to use, and has a timer (key, if you ask me!). It’s the Excalibur 5-Tray Dehydrator (affiliate link!). (THANKS DAD!)

    So far, my absolute favorite thing to dehydrate has been pears.

    This recipe is inspired by one I found in Dried and True (affiliate link), a cookbook that takes dehydrating to the next level, moving it from boring old-fashioned recipes to new, inventive, and tantalizing flavors. I made the Dried Vanilla Pears from the book twice before venturing out on my own.

    Vanilla Chai Spice Dried Pears

    As soon as our first fall day hit, I immediately was dreaming about warmer flavors, like cinnamon, nutmeg, and cloves. Chai. And that’s how these pears came to be — a day dream, like most of my recipes 😉

    In real life, each slice of pear was such a treat, I savored every one. We took them hiking, ate them around the house, and packed them in our bags for outings around town. I always looked forward to those delicious pears. I thought, for about 5 seconds, about sharing them with a few coworkers but greed got the best of me and I kept it to myself. Sharing the recipe is almost as good, right?!

    This recipe is good for dehydrating-pros or a newbies like me. Make it while the pears are at their peak! I used Starkrimson Pears one round and Colorado Heirloom Pears another; Bartlette and D’Anjou would also be great.

    Vanilla Chai Spice Dried Pears

    Vanilla Chai Spice Dried Pears

    Published October 16, 2018 by
       Print This Recipe

    Yield: 20 slices   |    Active Time: 8-9 hours


    Ingredients:

  • 4 ripe pears Starkrimson
  • 1/2 cup granulated sugar or coconut sugar
  • 1 cup water
  • 5 slices of fresh ginger - each about the size of a nickel
  • 1/8 teaspoon ground cinnamon
  • 1/8 teaspoon vanilla extract
  • 1/16 teaspoon ground nutmeg
  • 1/16 teaspoon ground cardamom
  • Pinch of ground cloves

  • Directions:

    1. Combine all ingredients but the pears in a sauce pan, and bring to a simmer, stirring until sugar is dissolved.
    2. Wash pears and cut into 1/4-inch thick slices. Remove seeds and cut of stems as you go.
    3. Work with 3-4 pear slices at once: submerge pears in syrup on the stove, simmering slices for 10 minutes. Pears should be softened through but should not fall apart easily.
    4. Use a slotted spoon to remove slices from syrup and set on a plate to cool for several minutes.
    5. When all of the pears are done, spread them out on the wracks of your dehydrator (I use this one - affiliate link!), with at least 1/4-inch of space between each slice.
    6. Place wrack in dehydrator and set to 135°F for 8-10 hours, until pears are dried but still chewy.

    Comment

    Honey Nut Coconut Clusters

    Honey Nut Coconut Clusters

    Covered in dirt from the soles of my shoes to the tips of my hair, I made my way up our driveway, which was now blanketed in the shade of the night. The sunlight was up and on this day, like every day this week, that meant it was time to put down the shovel and go find something to eat.

    When we moved to a new house a year and a half ago, we inherited a front and back yard, both of which were covered in some patchy grass and a lot of bindweed (my nemesis). We knew we would never put out a sprinkler to keep our grass green; it's something that feels like a waste of water in this naturally semi-arid landscape. 

    So, a woman on a mission, little has passed through my mind this month other than how to build our garden boxes, which native plants to buy, and where to acquire a copious amount of mulch. It seems everything — even stopping for lunch - has taken a back seat as I rush home to put in a few hours of labor before the sun sets. Rather than planning recipes, I wander in around 8:30pm and make something that requires no thinking… an usually no cooking. 

    Honey Nut Coconut Clusters
    Honey Nut Coconut Clusters

    Like all house projects, I probably under estimated the amount of work it would take to get it all done, but I'm a keep-your-head-down and get-her-done type of person. Besides, I found that even in the heat of day I would be smiling as I dug in the dirt. It's satisfying. So, I just keep digging. 

    Snacks that are ready to eat whenever have been necessary this week. Crackers and cheese, fresh fruit, hummus. And of course, these Honey Nut Coconut Clusters, which sit somewhere between granola and trail mix (and they call for only five ingredients: coconut, sesame seeds, cashews, honey and salt). 

    Thanks to the honey and the sesame seeds, they taste a bit like Honey Nut Cheerios -- hence the name. But, of course, made with coconut and real nuts and seeds, they are far more satisfying. These would be perfect as a trail mix while hiking, or as a a topping to yogurt, but I mostly just ate them as an afternoon snack. 😋

    Honey Nut Coconut Clusters

    If you're in the same boat as me -- tight on time - here are a few other quick and easy recipes to get you through: 

    Honey Nut Coconut Clusters

    Published May 8, 2018 by
       |     Print This Recipe

    Serves: 6   |    Total Time: 20 minutes


    Ingredients:

    • 2 1/2 cups coconut flakes (affiliate link!)
    • 1/2 cup cashew pieces
    • 1/4 cup sesame seeds
    • 1/3 cup honey
    • Generous sprinkle of salt

    Directions:

    1. Preheat oven to 350°F.
    2. In a medium sized mixing bowl, combine coconut, cashew, and sesame seeds. Pour in honey and toss until everything is coated and sticky. Sprinkle with salt, and stir a bit more until salt is incorporated.
    3. Spread mixture out on a baking sheet lined with parchment. Bake 8-10 minutes, stirring at the 5 minute mark to ensure even cooking. After 10 minutes, coconut should be toasted. Allow to cool 5 minutes. Store in airtight container.

    4 Comments