Grain-Free Sandwich Cookies With Pumpkin Butter

Grain-free sandwich cookies with pumpkin butter

I have been on a kick, going back to old Foraged Dish recipes and taking new photos. It is insanely satisfying to compare the old ones to the new. Progress is difficult to measure day-by-day, but all of those days add up! I’m sure, in three years, I’ll look back at my photos from 2018 and roll my eyes. C'est la vie.

These sandwich cookies were one of my recent victims, and since it is the season for baking and pumpkin, I thought it would be a good opportunity to update the whole post. That means a few updates to the recipe, too:

  • Simplified. The original asked for both almond flour and coconut flour, but since 2015 I’ve discovered a much simpler grain-free shortbread cookie using just almond flour. I quite like the texture of the cookies, too! They are a bit chewy, stay together well, and have great almond and honey flavor.

  • Drizzled with chocolate. How can you make a boring cookie look a little fancier? Maybe you’re thinking frosting, which is true, but since this cookie is a sandwich I wanted the filling to shine. I drizzled each cookie with chocolate, which was just the right touch!

  • Doubled it. More is better right? In this case, there’s no doubt: the original recipe made about 6 sandwich cookies… what was 2015-me thinking?!?! A dozen is much more reasonable (but you still may want to double that if you’re cooking for a crowd).

Once baked, these cookies are stuffed with pumpkin butter, so the end result tastes a bit like pumpkin pie. Perfect match with a cappuccino! But I also experimented with filling the cookies with salted caramel. Oh. My. Goodness. Now that’s a treat! A bit like an alfajore, if you are familiar. I am definitely going to need to make an alfajore recipe now (Foraged Dish style, of course!).

Grain-free sandwich cookies with pumpkin butter

Grain-Free Sandwich Cookies with Pumpkin Butter

Published October 26, 2015 by

Yield: 12-24, depending on size   |    Active Time: 60 minutes


Ingredients:

  • 2 cups finely ground almond flour
  • 1/4 teaspoon baking soda
  • 1/4 cup butter or coconut oil, melted
  • 1/4 cup honey
  • 1 teaspoon vanilla extract
  • 1/2 cup pumpkin butter
  • 1/4 cup dark chocolate

  • Directions:

    1. In a medium mixing bowl, combine the almond flour, salt, and baking soda. Whisk until incorporated. Add the melted butter or coconut oil, honey, and vanilla, and stir until a dough forms. Shape dough into a disc (about 1 inch thick), wrap in plastic wrap, and place in fridge for 30 minutes to 1 hour to chill.
    2. Preheat oven to 325°F. After dough has chilled, remove from fridge. Cut a piece of parchment paper to fit your baking pan.
    3. On a separate piece of parchment, use a rolling pin to roll dough out to 1/4-inch thickness. Use cookie cutters to cut circles out of dough and place on baking sheet, with at least 1/2 inch between each cookie. Bake for 9 minutes, until golden. Allow to cool.
    4. Once cookies are fully cooled, spread pumpkin butter on one cookie, and then use another to create a sandwich. Set aside, and then continue until all of the cookies are sandwiched.
    5. Heat the chocolate in a microwave-safe bowl for 30-second intervals (string between each!) until chocolate is glossy and smooth. You can also do this in a double boiler (stir frequently). Drizzle melted chocolate over sandwich cookies. Allow chocolate to set before serving cookies.
    6. Tip: You can use any sort of jam to fill these cookies! I also made a few with salted caramel sauce and they were SO. GOOD.

    4 Comments

    Baked Oatmeal Apples

    Baked Oatmeal Apples

    Mornings are the best. (Who’s with me?) They are the best for a pretty specific reason (IMO), and that’s the peace and quiet they bring (morning lovers will understand). That peace and quiet is largely possible due to routine for me. And it’s really hard to change something about your morning routine. I’ve tried adding in meditation (lasted about 14 days), journalling, and stretching, but none of them stick. What I usually find that adding more in just brings unnecessary stress during those early hours. When it comes to mornings, I’m all for simplifying.

    Which is why lately, I’ve been doing my best to make breakfast in batches one or two times a week (things like casseroles, baked oatmeal, and frittatas) so that when I wake up there is one less thing to do as part of my routine. I usually do this on weekends, when there’s no rush to get out of the house.

    Baked Oatmeal Apples
    Baked Oatmeal Apples
    Baked Oatmeal Apples

    This breakfast (almost dessert…) is one of my favorites in the fall. Baked apples are filled to the brim with baked oatmeal and warm spices, like nutmeg, cloves, and cinnamon. With a little whipped cream, they even make a sweet dessert later in the day.

    Baked Oatmeal Apples
    Baked Oatmeal Apples

    Baked Oatmeal Apples

    Published October 25, 2018 by

    Serves: 6   |    Active Time: 60 minutes


    Ingredients:

  • 6 crisp apples
  • 2 tablespoons butter, melted and cooled
  • 3 tablespoons maple syrup
  • 1/2 cup milk
  • 1/2 cup whole milk yogurt
  • 1 egg yolk
  • 1 teaspoons vanilla extract
  • 1 cup rolled oats
  • 1/2 teaspoon ground cinnamon
  • 1/16 teaspoon ground nutmeg
  • Pinch of ground cloves
  • 1/2 teaspoon baking powder
  • 1/4 teaspoon salt
  • 1/4 cup chopped pecans
  • To serve: plain or vanilla yogurt

  • Directions:

    1. Preheat oven to 375°F.
    2. Using a paring knife, cut the tops off the apples and save for step 5. Using a spoon with sharper edges, such as a melon baller, scoop out the apple core and some of the flesh. Be sure the leave at least a 1/4-inch thick outer wall of apple all the way around. Reserve the flesh you’ve removed from the apples, discard of the seeds and pith.
    3. Chop up the reserved apple flesh and place in a medium mixing bowl, along with the melted butter, maple syrup, milk, yogurt, egg yolk, and vanilla. Stir to combine.
    4. Add the dry ingredients to the bowl: rolled oats, cinnamon, nutmeg, cloves, baking powder, salt, and chopped pecans. Stir until full combined.
    5. Arrange apples in a baking dish and scoop oat mixture into the cavity of each apple. Place the apple tops back on, and place baking dish on center wrack in oven. Bake 35-45 minutes, until apples are baked though.
    6. Allow to cool 5-10 minutes before serving. Serve on plates with yogurt (for breakfast) or whipped cream (for dessert).

    Vanilla Chai Spice Dried Pears

    Vanilla Chai Spice Dried Pears

    A big box showed up in our dining room in mid-September with my name on the shipping label. 

    It was my birthday but I still scratched my head. This September, I had been so stressed that I mostly avoided the topic of my birthday or gifts with anyone that asked— I certainly didn’t need anything, but I also just couldn’t find a minute to think about it clearly.

    I had ordered nothing (though in the same minute that thought entered my mind I also started doubting myself— had I hit “buy now” on that Dehydrator I had been eyeing instead of “add to cart?”). 

    When I got halfway through opening the box with a paring knife and found it was a Dehydrator, I doubted myself even further. So much so, that I stopped right there and pulled out my phone to check my order history.

    Vanilla Chai Spice Dried Pears

    Relief washed over me when I saw I had placed no orders in the last month, but I still had a mystery on my hands. I finished unpacking the appliance before drilling Oliver on who had bought it. It probably took me four tries to get it right, but when I did land on my dad it all made sense. I had given him a non-answer when he had asked about my birthday in general, so he had asked Oliver.

    This new dehydrator was about five times nicer than any of the ones I was planning to buy myself! (THANKS DAD!)

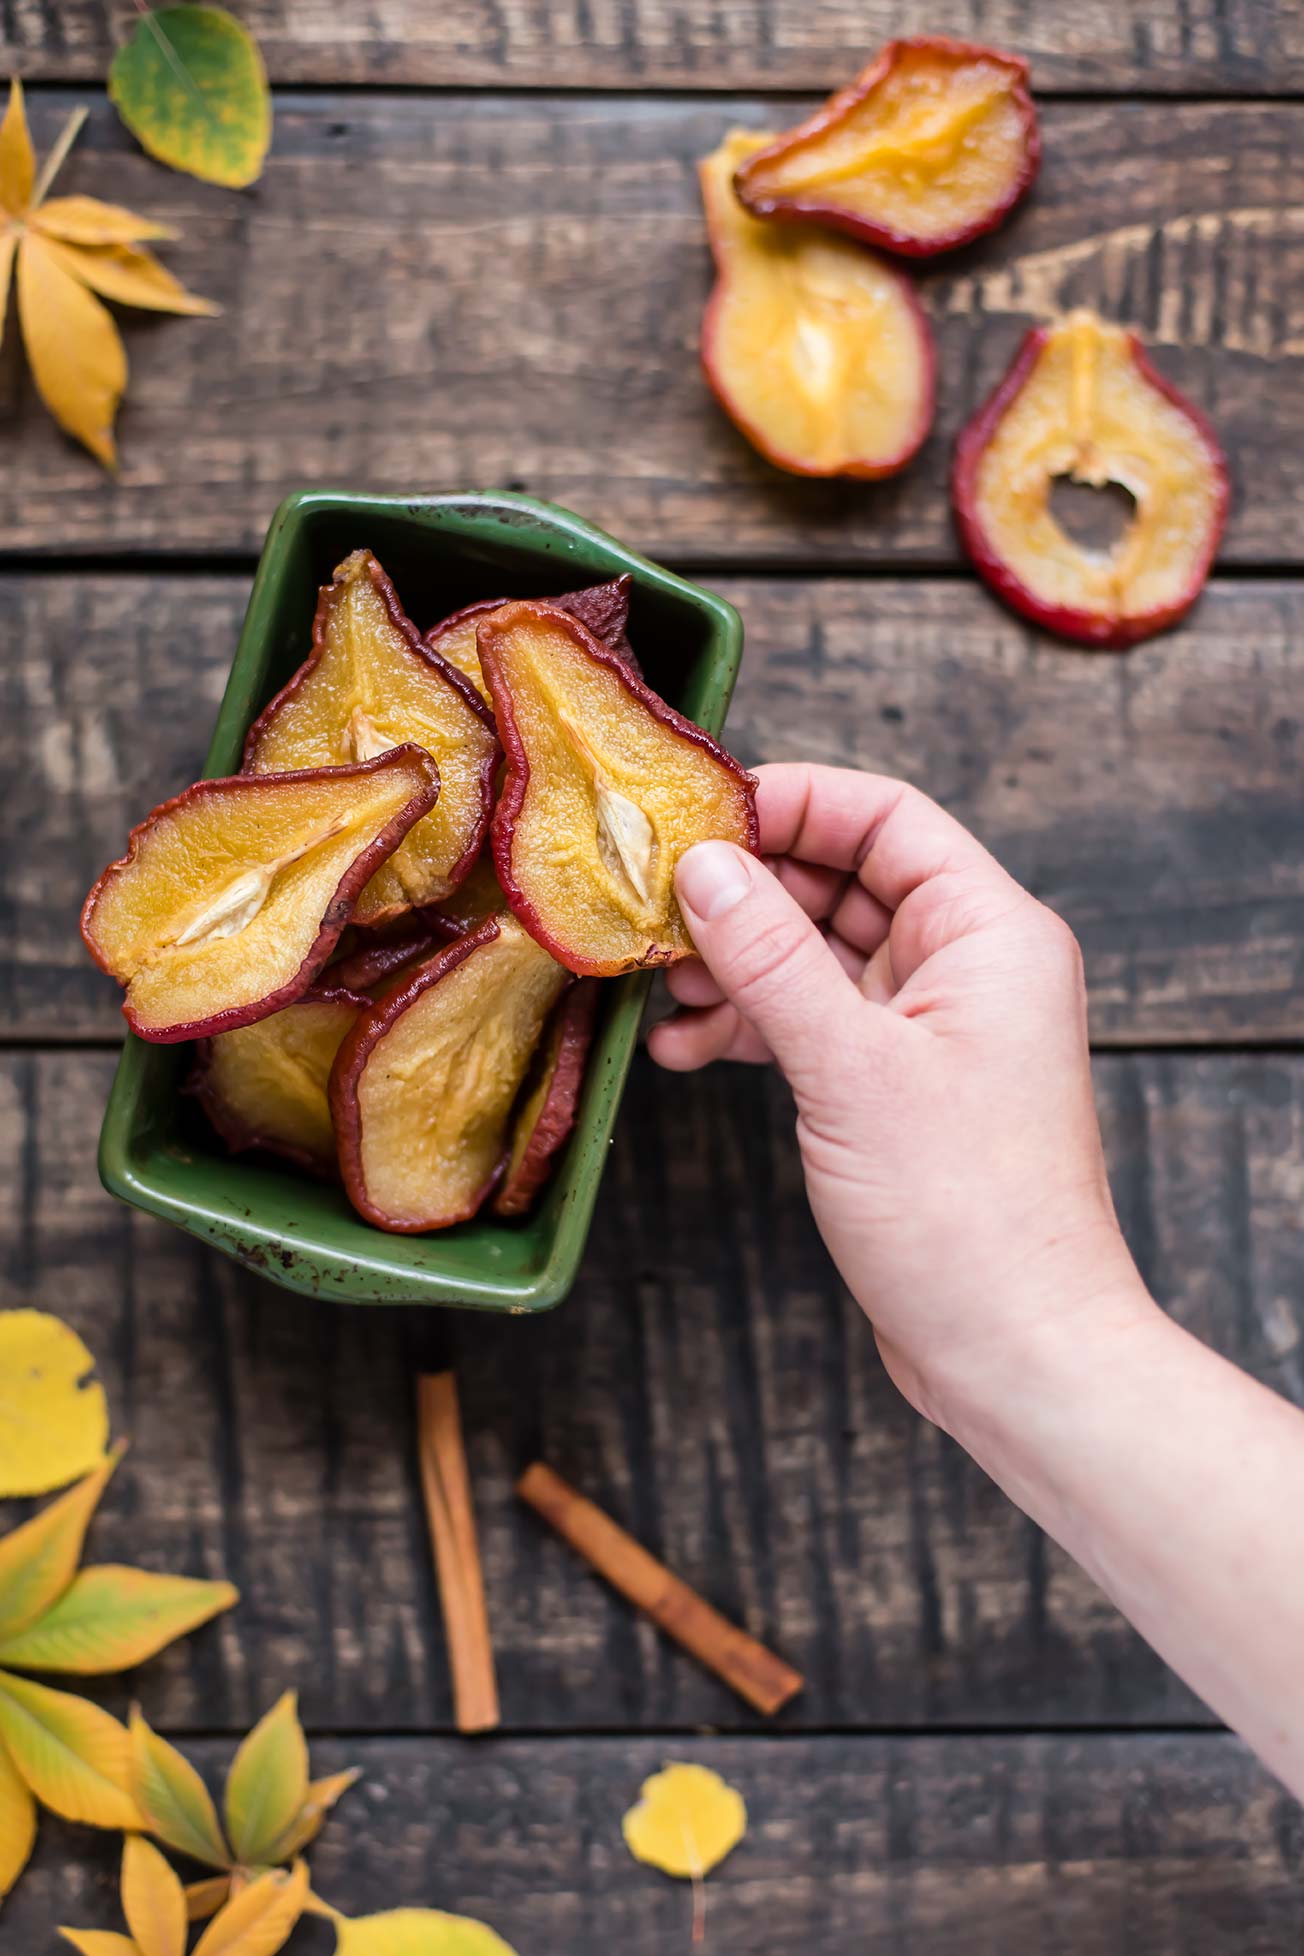
    So far, my absolute favorite thing to dehydrate has been pears.

    This recipe is inspired by one I found in the book, “Dried and True”, a cookbook that takes dehydrating to the next level, moving it from boring old-fashioned recipes to new, inventive, and tantalizing flavors. I made the Dried Vanilla Pears from the book twice before venturing out on my own.

    Vanilla Chai Spice Dried Pears

    As soon as our first fall day hit, I immediately was dreaming about warmer flavors, like cinnamon, nutmeg, and cloves. Chai. And that’s how these pears came to be — a day dream, like most of my recipes 😉

    In real life, each slice of pear was such a treat, I savored every one. We took them hiking, ate them around the house, and packed them in our bags for outings around town. I always looked forward to those delicious pears. I thought, for about 5 seconds, about sharing them with a few coworkers but greed got the best of me and I kept it to myself. Sharing the recipe is almost as good, right?!

    This recipe is good for dehydrating-pros or a newbies like me. Make it while the pears are at their peak! I used Starkrimson Pears one round and Colorado Heirloom Pears another; Starkrimson are especially hardy pears so hold up well to the boiling and dehydrating process.

    Vanilla Chai Spice Dried Pears

    Vanilla Chai Spice Dried Pears

    Published October 16, 2018 by

    Yield: 20 slices   |    Active Time: 8-9 hours


    Ingredients:

  • 4 ripe pears (recommend Starkrimson)
  • 1/2 cup granulated sugar
  • 1 cup water
  • 5 slices of fresh ginger - each about the size of a nickel
  • 1/8 teaspoon ground cinnamon
  • 1/8 teaspoon vanilla extract
  • 1/16 teaspoon ground nutmeg
  • 1/16 teaspoon ground cardamom
  • Pinch of ground cloves

  • Directions:

    1. Combine all ingredients but the pears in a sauce pan, and bring to a simmer, stirring until sugar is dissolved.
    2. Wash pears and cut into 1/4-inch thick slices. Remove seeds and cut of stems as you go.
    3. Work with 3-4 pear slices at once: submerge pears in syrup on the stove, simmering slices for 10 minutes. Pears should be softened through but should not fall apart easily.
    4. Use a slotted spoon to remove slices from syrup and set on a plate to cool for several minutes.
    5. When all of the pears are done, spread them out on the wracks of your dehydrator, with at least 1/4-inch of space between each slice.
    6. Place wrack in dehydrator and set to 135°F for 8-10 hours, until pears are dried but still chewy.