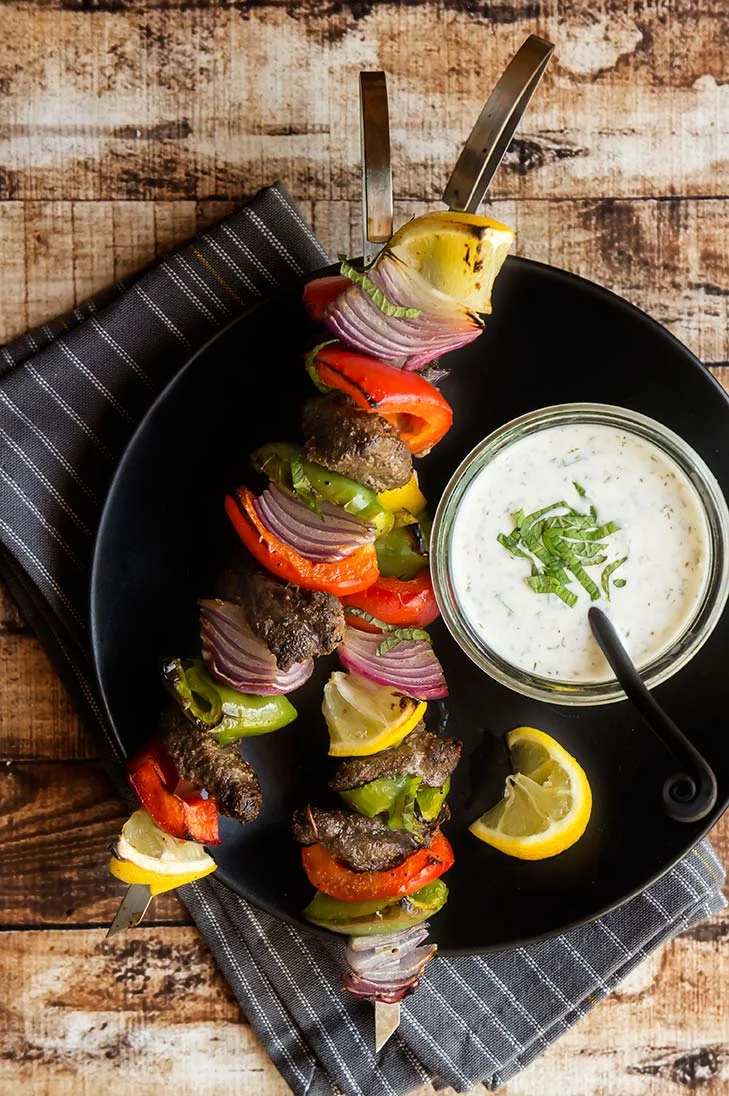
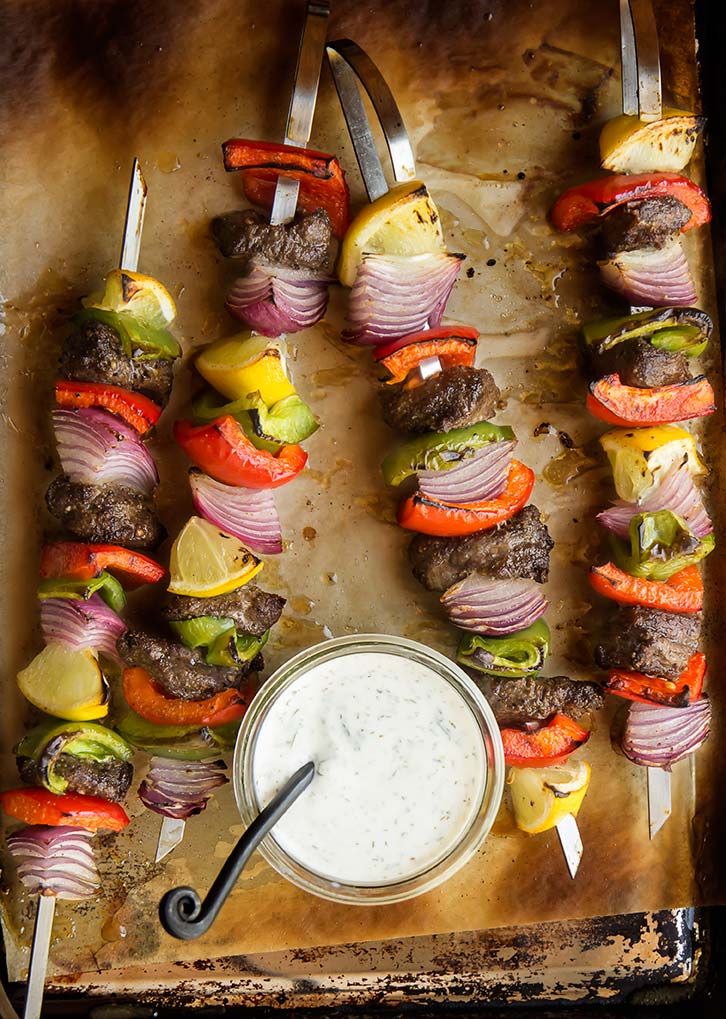
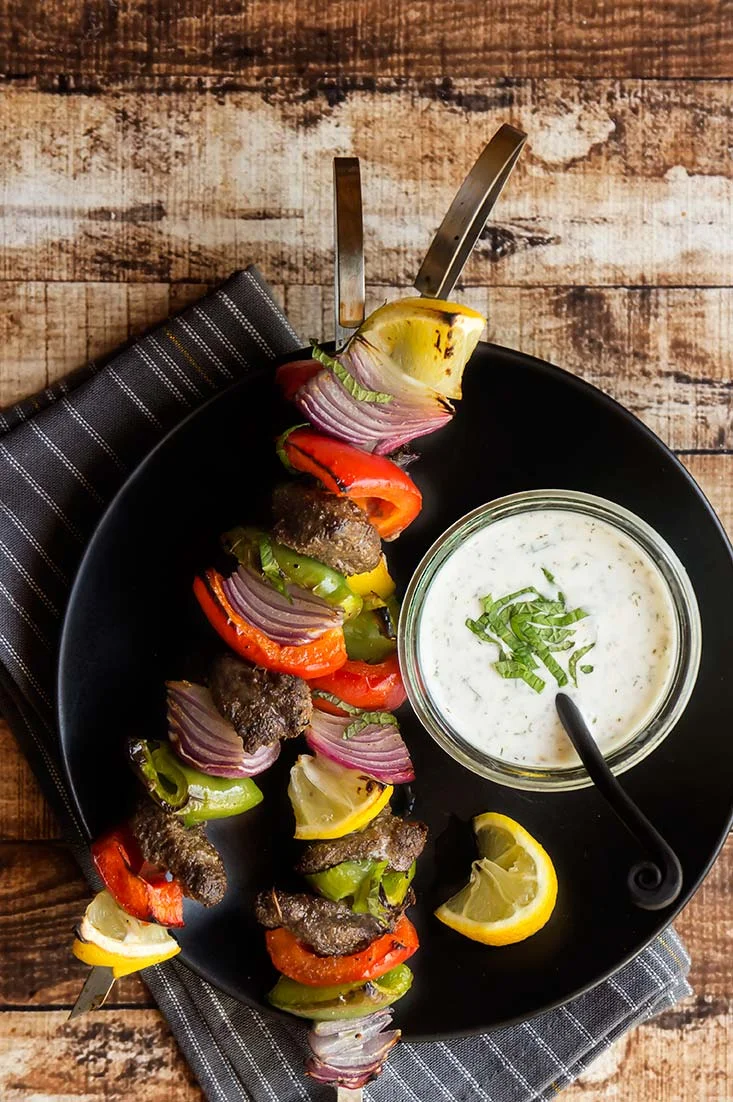
Moroccan Beef Kabobs with Mint Yogurt Sauce
/
Head down, I coach myself up and over the next hill. This is the first time my road bike has made it out of the garage this season, so I go easy on myself (I have to).
Where the hill crests, I lift my head up. Across the road is an expanse of green, and behind that a big brown barn, and then a row of tall trees--maybe birch- and even beyond that the Rocky Mountains, towering over it all. From here, the mountains are a royal blue color.
I ride 30 more feet and find a small herd of cattle sleeping in the grass, and a rancher in the fields behind them. Oh what a view they all have! For a moment I envy the rancher: he is shoveling hay into a pickup. It's a job that could use 2 of 3 people, though he seems to have it covered on his own. I imagine him there at 6 in the morning, when the sun is just starting to crack the horizon. In my mind he stops to watch, the crickets chirping and maybe the murmur of a cow in the distance.
Later I think back on that moment: me, looking at the view, and extrapolating an entire story around it. I wonder if that farmer does ever stop to look our across the Rockies... if he thinks he has the time. The cows likely don't notice the view, but they sure did look comfy there in the grass.
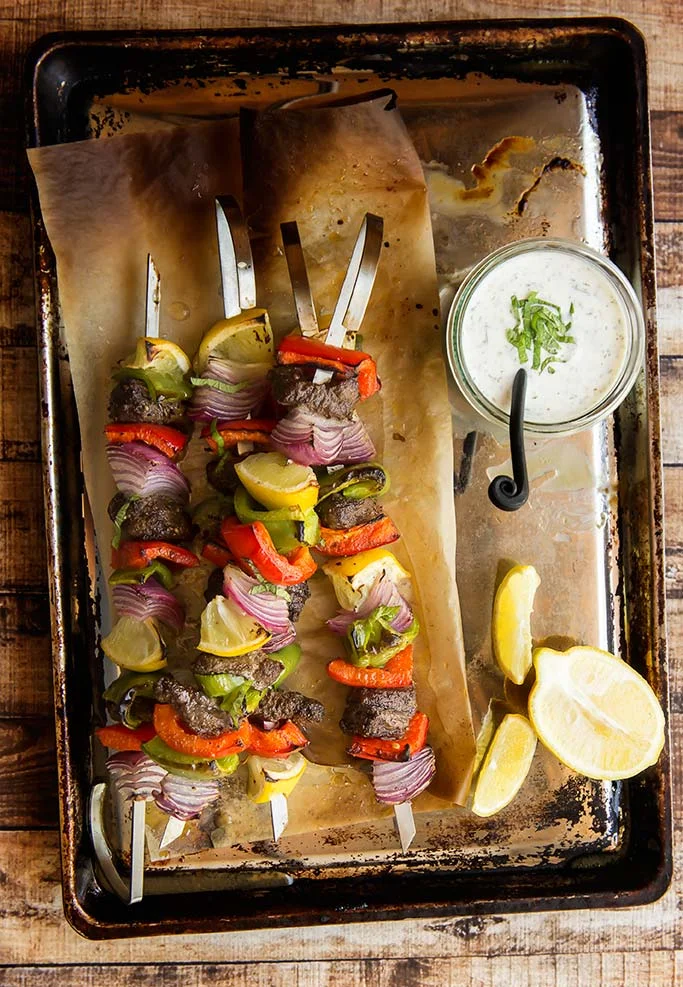
These kabobs (kebab, kabob, however you want to say it) are roasted in a Moroccan inspired spice blend, and dipped in a cool mint yogurt sauce. At one point, I had given up dairy in favor of nut-milks and coconut creams. If you're a long-time reader of this blog, you might remember a time when most of my recipes used dairy substitutes rather than milk, but that is certainly not the case anymore! Flavor-wise and texture wise, I much prefer regular milk. So when I can find high quality, grass-fed dairy products they go straight into my shopping cart with out a second thought.
This post may contain affiliate links.
We are a participant in the Amazon Services LLC Associates Program, an affiliate advertising program designed to provide a means for us to earn fees by linking to Amazon.com and affiliated sites.