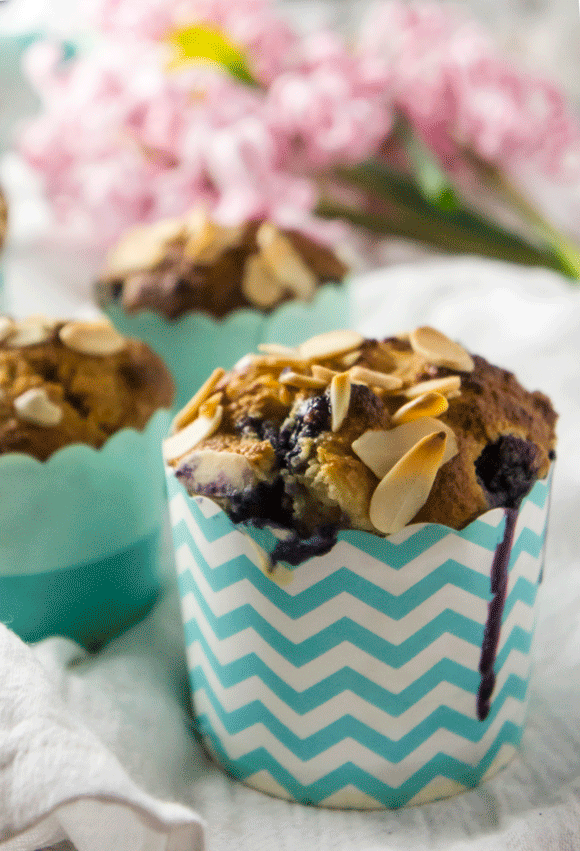
Blueberry Almond Muffins (Paleo)

Blueberry Almond Muffins - Paleo

The light came in through a window behind my back, over the sink and past the counter where my grandpa would make breakfast sausage in the mornings. Next to that was the fridge, decorated humbly with only a few cards. On the wall hung an off-white phone, it's cord long and tangled from use. The counters and the oven door were a faded tawny orange color, the wooden cabinets a deep mahogany, with golden stain--or at least that's how it is my memory. They're given no help from the rusty colored vinyl floors, which reflect an extra orange glow onto everything in the room. 

I sit in a kitchen chair with metal legs and a faux leather cushion. My grandma has pulled my hair back into a pony tail but it's like you would expect from any toddler: the stray wisps are everywhere, escaping the elastic ponytail holder and doing their own thing. That's where time is frozen: I'm pouring fresh blueberries into a bowl of batter, while my grandpa snaps a picture. The mixing bowl, bigger than my head, is also orange. Daringly, I'm wearing no apron, just a floral dress with puffy, short sleeves (it is the '90s). 

Blueberry Almond Muffins - Paleo

If it weren't for that picture, I wouldn't remember this day. Actually, I'm not sure if I do remember this day--my memories from being in this house are fleeting, single moments that fade and disappear before they really emerge. But because of this photo, I feel like I remember making those muffins. Not just those muffins, but many muffins. I feel like I remember preparing that same recipe every time I visited, setting my fate as a baker early. 

Blueberry Almond Muffins - Paleo

Many years later (and many times in-between), I would go back to visit. Everything was as it had been: orange vinyl, white phone, that dated oven door. Most of the cards on the fridge were the same, only a few were added to the mix. This picture sat in a frame in the living room, amongst 20 or 30 others. My grandma told me that when my younger cousins found the photo, they asked her if they could also learn to make muffins. Instead she taught each of them a different recipe, leaving her legacy behind in the whisks and folds of homey pastries.

Blueberry Almond Muffins (Paleo)

Paleo, Gluten-Free, Grain-Free    |       

Sweet blueberries are accented by toasted almonds in this tender muffin.

Yields: 6    |    Total Time:


Ingredients:

  • 1 cup almond flour
  • 1/4 teaspoon baking soda
  • 1/16 teaspoon of salt
  • 2 tablespoon raw honey
  • ½ cup canned coconut milk, full fat
  • 1 tablespoon apple cider vinegar
  • 1/2 teaspoon vanilla
  • 2 tablespoon coconut oil, melted
  • 1 egg
  • ¼ cup fresh blueberries (fresh or frozen)
  • 2 scant tablespoons cassava flour
  • 1/4 cup slivered almonds

Directions:

  1. Preheat the oven to 350°F and fit a muffin pan with 6 muffin liners.
  2. Next, in a small bowl, whisk together the dry ingredients: almond flour, cassava flour, salt, baking soda.
  3. In a separate medium-sized bowl, whisk together the wet ingredients: honey, coconut milk, vinegar, vanilla, melted coconut oil, and eggs.
  4. When the wet ingredients are fully combined, add the dry ingredients to the wet 1/2 at a time, stirring in-between. A batter will form. Once no clumps remain, fold in the blueberries gently.
  5. Using two spoons, scoop the batter into muffin liners until they are about 5/6 of the way full. Top each muffin with a sprinkle of slivered almond and then bake for 25-35 minutes, until a toothpick comes out clean when inserted into the middle. Set on cooling wrack to cool 10 minutes.

2 Comments

Crustless Spinach, Artichoke & Aged Cheddar Quiche

Update: This recipe has new photos as of 3/22/2019. Same recipe! :)

Crustless Spinach, Artichoke & Aged Cheddar Quiche

I am making a resolution right now, today. Will you join me? I'm resolving to have brunch more often. 

I recently looked at my calendar and realized a year ago, some of my closest friends had come over for a spring brunch and I had actually said, "We should do this every season. Like spring brunch, summer brunch-picnic, fall brunch, and winter brunch." They all nodded in agreement, delirious on mimosas, coffee, or maybe just morning air. It was settled. We were going to brunch more.

Crustless Spinach, Artichoke & Aged Cheddar Quiche

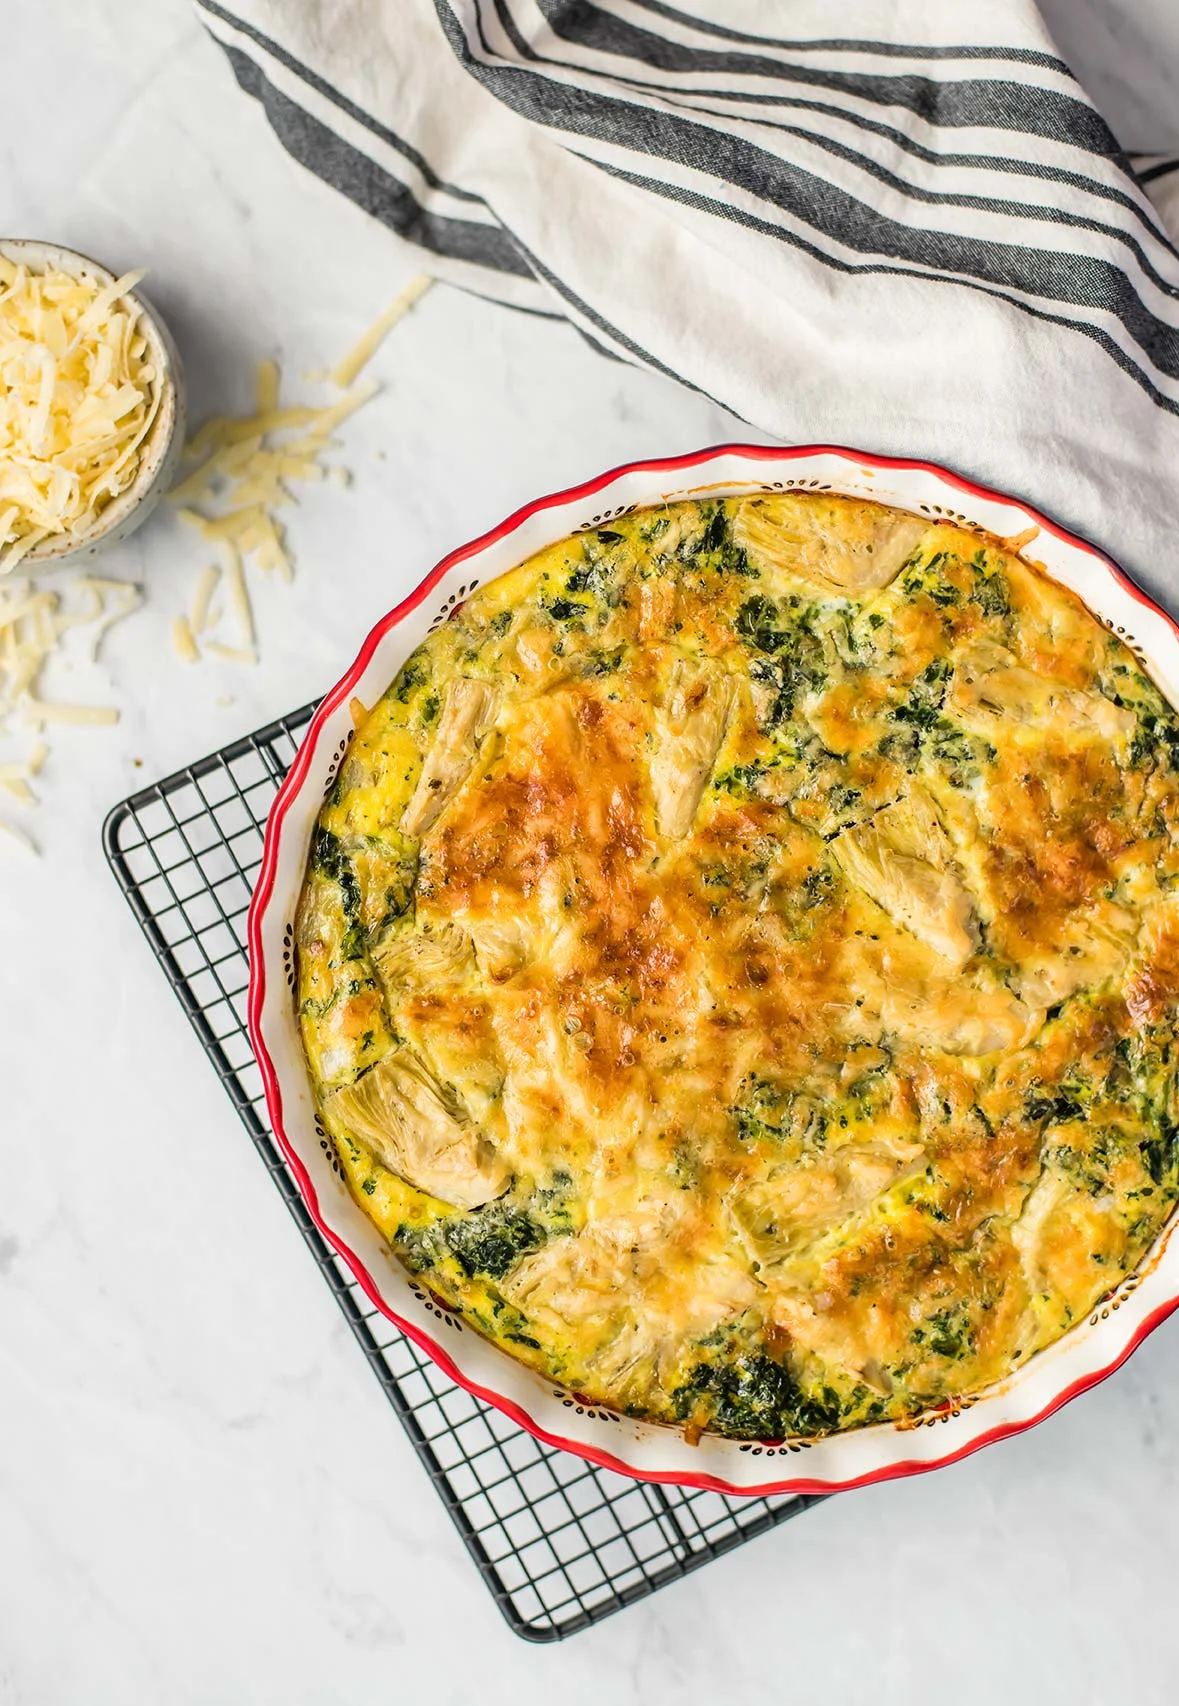
That was a year ago, and now I'm looking back thinking, what happened?? Brunch slipped through my fingers, as I got caught up in life and forgot the glory that is late morning. The smell of freshly brewed coffee? A plate full of quiche? Morning light trickling through a big window? All of these things make my heart sing. So this is my ode to brunch, and my resolution to brunch more: Spinach, Artichoke & Aged Cheddar Crustless Quiche.

Maybe with it written down, I'll actually make it happen. Will you brunch with me? For you, for your mornings? Just think of the late morning sun. 

Crustless Spinach, Artichoke & Aged Cheddar Quiche

Published February 15, 2016 by

Serves: 6   |    Active Time: 60 minutes


Ingredients:

  • 9 eggs
  • 1 cup milk
  • 1/2 cup aged white cheddar cheese, shredded
  • 1/2 pound frozen chopped spinach, thawed
  • 1 can artichoke hearts, strained
  • 1/2 onion, diced
  • 2 cloves garlic, minced
  • 1 teaspoon coconut oil
  • Salt & Pepper

  • Directions:

    1. Preheat oven to 350°F. Grease a pie pan, or line one with parchment paper. Set aside.
    2. Chopped artichoke hearts. Place artichokes and spinach in a mesh sieve and press the excess water out as best you can. This will help the quiche set. Place strained spinach and artichokes in a bowl.
    3. Now, heat the coconut oil over medium heat in a skillet and sauté the diced onion and minced garlic until the onion is translucent. Use a spatula to scrape onions and garlic into bowl with spinach. Stir mixture until onion is well distributed, then sprinkle the mixture into the pie pan, in an even layer.
    4. Next, sprinkle the cheese mixture in the pie pan in an even layer.
    5. Whisk the eggs and milk until frothy. Add a sprinkle of salt and a few cracks of pepper. Pour mixture over filling in pie pan, ensuring there is egg mixture filling all spaces.
    6. Place in middle wrack of oven and bake until golden and puffy, about 45 minutes. Center should be set and there should be no runny eggs. Allow to cool for 5 minutes before slicing and serving.

    2 Comments

    Homemade Loose Leaf Masala Chai Tea

    Update! This recipe is one of my faves. I shot new photos in December of 2018, and updated the recipe a little bit. Watch the video below!

    My first introduction to this spicy drink was in middle school, when my mom brought home a carton of Oregon Chai concentrate. Little did I know that single discovery would take me on quite the Chai-adventure!

    I quickly learned to love plenty of other types of chai — and began to prefer spicier flavors over sweeter ones (if you’ve tried Oregon Chai, you know it’s pretty dang syrupy!). Bhakti Chai was a small start up in my home town at the time, and I fell in love with the pungent ginger in each sip. A mug of Bhakti Chai became a very special treat when I went to college — something I’d buy myself when I went to the school library during finals week.

    I visited India with my dad when I was about 15. There, chai was served out of little carts on every street corner. It was called “Masala Chai,” because the word “chai” in Hindi simply means “tea.” Each cart served up their own recipe, a proprietary blend of spices and served with raw sugar. I scribbled down one recipe from a woman in Udiapur, and have been using that as my baseline ever since. But that’s the thing with Masala Chai: everyone’s version is slightly different. Some people want it sweet and cinnamon-y. Others want the ginger to be bright and bold and in your face. Me? I’m a cardamom lover, though I don’t object to the ginger, either. I also prefer honey over sugar. Lately I’ve been digging this Lazy Bee Ranch Whipped Honey, made locally in Colorado.

    Once you’ve made Masala Chai three or four times, you’ll start to realize which camp you sit in, and you can adapt your own recipe to match exactly that.

    Making chai at home is far superior in terms of flavor than buying tea bags. It’s also far cheaper than buying pre-made concentrates. If I’m going to make a big batch of chai at home, I’ll use fresh ginger root and simmer it with spices in a soup pot. It usually doesn’t last more than a day — we drink it non-stop until it’s gone.

    This recipe, however, calls for ginger tea (not crystallized ginger, but dried ginger) instead of fresh ginger. Why? Well, sometimes a girl wants her chai and she doesn’t want to bowl a whole soup pot just to get a mug of it! 🙃Using dried ginger means you can keep this tea in your cupboard with the rest of your teas, and brew a mug at a time on demand whenever you please. It’s the best for when I need a pick me up on a work day.

    I also almost always make a hot mug of chai in my thermos when we go climbing or hiking in the spring, fall, or winter. It keeps me warm when it starts to get chilly, and I enjoy the caffeine lift in the afternoon.

    Homemade Loose Leaf Masala Chai Tea

    Published June 10, 2015 by

    Yield: 15   |    Active Time: 40 minutes


    Ingredients:

  • 12 cardamom pods
  • 4-5 whole cloves
  • 8 black peppercorns
  • 3 whole allspice berries
  • Pinch whole anise seeds
  • 1 cinnamon stick (about 2-3 inches long)
  • 3 tablespoons black Assam tea (English breakfast works too, if it’s all you can find!)
  • 2 tablespoons dried ginger tea
  • For serving: water for brewing tea, and honey and milk to taste

  • Directions:

    1. Place cardamom pods, cloves, peppercorns, allspice berries, anise seeds and cinnamon stick in a small skillet. Toast over low heat, stirring, until spices are fragrant.
    2. Scrape spices into a mortar and pestle, and roughly grind the spices.
    3. Combine Assam tea, ginger, and ground spices in a bowl or jar. Stir to combine.
    4. Tea can be stored at room temperature in an air tight jar for quick some time — it may start to loose some of it’s flavor after a few months.
    5. To brew: Heat 8 ounces of hot water. Place tea in a fine mesh tea stainer in a mug, and pour water into mug. Allow to steep for 5 minutes, then remove tea and strainer from mug. Sweeten with honey and milk to taste.
    6. You may find that the bottom of your mug had spices in it — that’s where all the flavor comes from! I avoid drinking that very last sip, just like I might avoid taking the very last sip of sludgy French press coffee. Personal preference!

    6 Comments