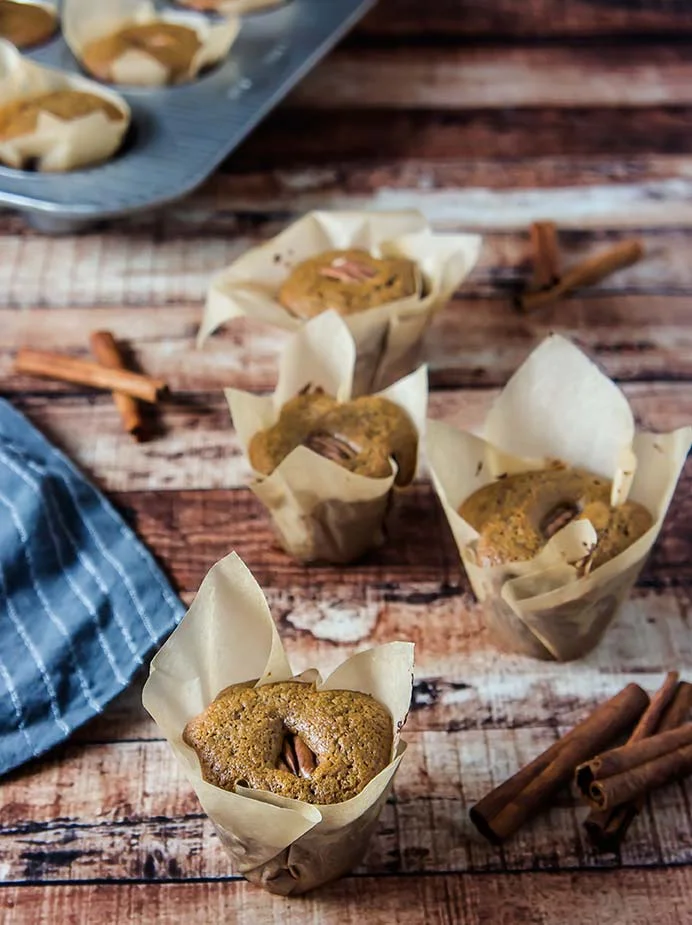
Almond Flour Gingerbread Muffins
/
Cinnamon, nutmeg, and ginger. These are just a few of the things that warm my soul. Gingerbread has always been one of my holiday favorites because of how cozy it is — in flavor and scent.

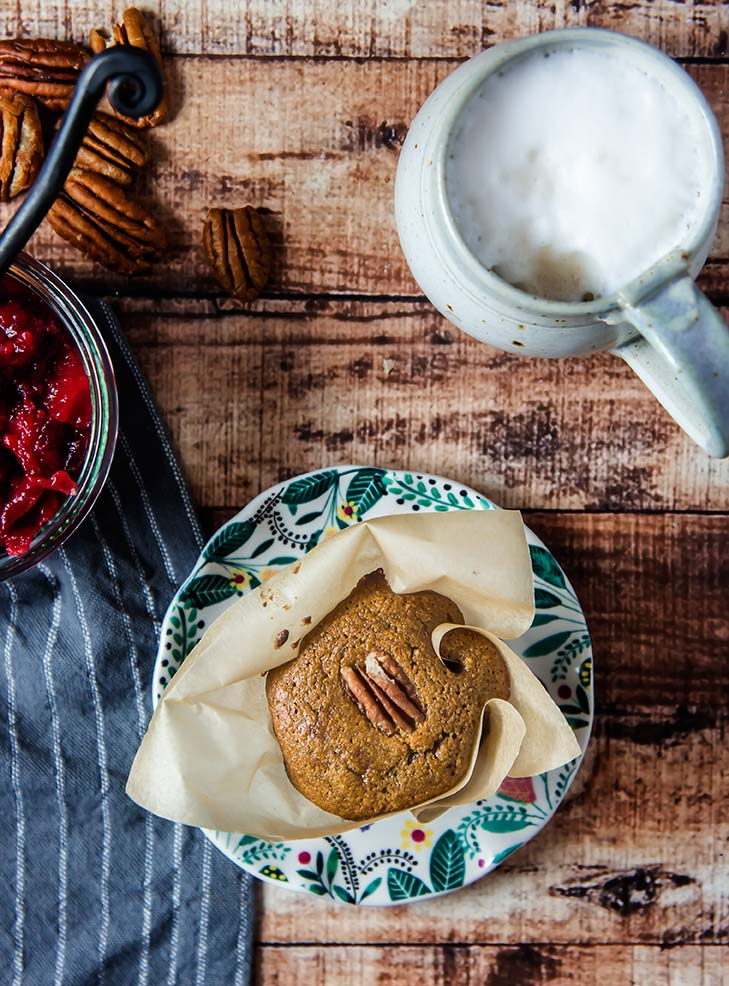
Whiffs of molasses and ginger rose from the oven, waking everyone up before the muffins were even finished baking. While they were still hot, we smeared them with butter and sipped our coffee, as if it were Saturday, before hurrying off to work to meet the real world.
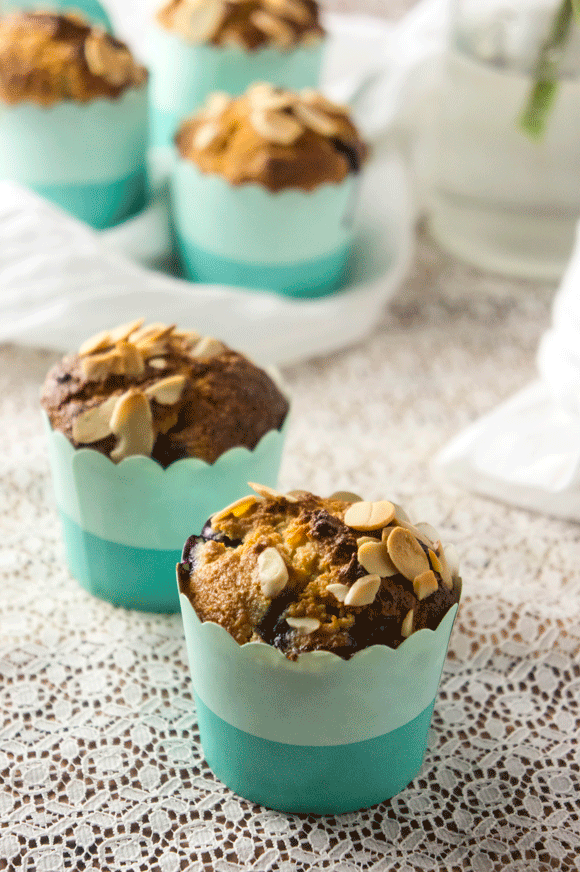
These muffins, delicate and soft, but full of warmth, made it feel like Christmas morning, even in early November. You'll know the feeling when you make these muffins, or these crispy cookies, raw bites, or even this off-beat pumpkin pie. Gingerbread brings a smile to your face.

Paleo Gingerbread Muffins
Serves: 12 | Total Time: 60 minutes
Ingredients:
- 2 3/4 cups almond flour
- 2 tablespoons arrowroot powder
- 1 teaspoon baking powder
- 1/2 teaspoon of salt
- 1-1/2 teaspoon ground cinnamon
- 1 teaspoon ground ginger
- 1/2 teaspoon ground cloves
- 1/4 teaspoon ground nutmeg
- 1/4 cup molasses
- 2 tablespoons maple syrup
- 1 cup canned coconut milk, full fat
- 1 tablespoon apple cider vinegar
- 1 teaspoon vanilla
- 1/4 cup butter or coconut oil, melted
- 2 large eggs
- Optional: 1/4 teaspoon finely grated orange zest
- 12 whole pecans
Directions:
- Preheat oven to 350°F. Prepare a muffin pan with muffin liners.
- In a medium mixing bowl, combine dry ingredients: almond flour, arrowroot powder, baking powder, salt, cinnamon, ginger, cloves, nutmeg. Whisk to remove any clumps.
- In a separate bowl, combine wet ingredients: molasses, maple syrup, coconut milk, apple cider vinegar, vanilla, melted butter, eggs, and orange zest if using. Whisk until few clumps remain.
- Add half of the dry mixture to the wet, and stir. Then add remaining dry mixture, and continue to stir until a loose batter forms and few to no clumps remain. Divide batter among muffin liners, filling each about 5/6 of the way full. Top each muffin with a whole pecan.
- Bake for 25-35 minutes, or until a toothpick, when inserted into the middle of a muffin, comes out clean. Allow to cool 10 minutes before serving. Store in air tight container in fridge for up to 1 week.