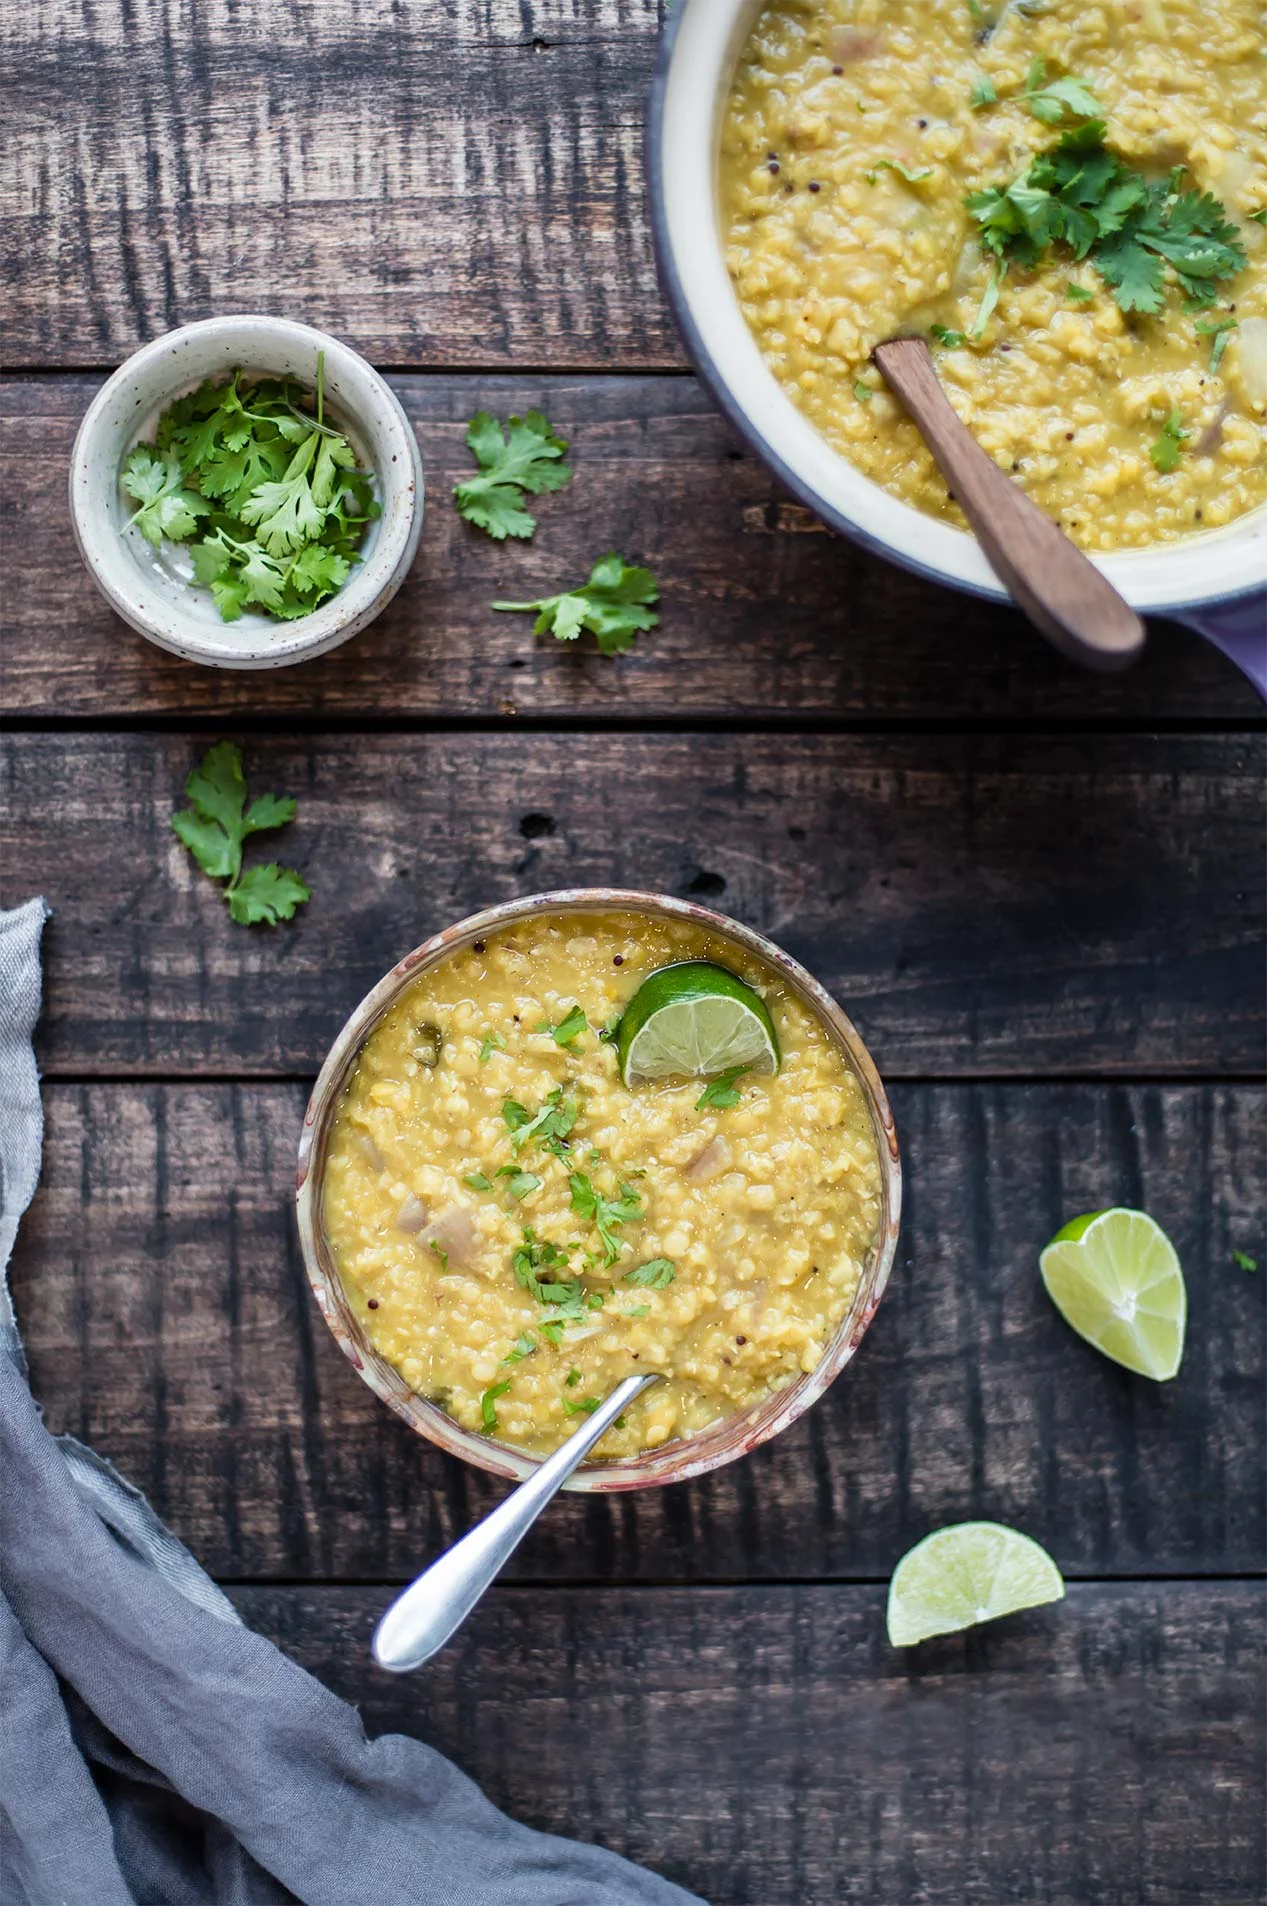
Instant Pot Yellow Dal

Instant Pot Yellow Dal

The air smells of pine as it whips in the window. Up here, it’s 62 degrees. The Aspens have turned; their bright yellow leaves look stark against the pine trees mixed among them. The air is thin, there is not a bar of cell service to be found, and the moon is up. This is Mount Evans.

We’ve gone to Mount Evans to climb several times this summer and the change in elevation is always the perfect escape from the summer heat. (Eh-hem, I’ve obnoxiously shared the exact same view every weekend for the last month on my Instagram stories. I just can’t help it — the view takes my breath away every time.) Lately though, it’s been even better than usual because of the fall colors and crisp air. And, even I avoid cooking when it’s ninety degrees out, but when it’s only sixty-two, bring ooooon the baked goods, stews, and cozy foods.

Instant Pot Yellow Dal

I love red lentils when the weather starts to turn, and my go-to is dal. It’s creamy, spicy, satisfying, and so easy to make in an Instant Pot. So easy! The best weekend days start with breakfast, take us climbing somewhere among the Aspens, and end in dinner from the Instant Pot.

Instant Pot Yellow Dal

Instant Pot Yellow Dal

Published October 11, 2018 by
   Print This Recipe

Serves: 8   |    Active Time: 30 minutes


Ingredients:

  • 2 cups red lentils
  • 2 tablespoons coconut oil, divided
  • 6 cloves garlic, minced
  • 2 small red onions or 1 large, diced
  • 2-inch piece of ginger, minced
  • 1 jalapeño, minced
  • 1 teaspoon whole black mustard seeds
  • 1 teaspoon whole cumin seeds
  • 1 teaspoon ground coriander
  • 1 teaspoon ground turmeric
  • 1/4 teaspoon ground cayenne
  • 1/2 teaspoon salt
  • 1/4 teaspoon ground black pepper
  • 4 cups vegetable broth
  • Juice 1/2 lime, plus wedges for serving
  • 1/4 cup cilantro, minced, plus more for garnish

  • Directions:

    1. Turn the Instant Pot (affiliate link!) to sauté setting. Add 1 tablespoon coconut oil to the Instant Pot. When the oil is hot, sauté the garlic, onions, ginger, and jalapeño, stirring occasionally.
    2. While onions cook, heat the remaining tablespoon of oil in a small skillet over medium-low heat. When oil is hot, add mustard seed and cumin seeds, and toast until fragant. (Watch the seeds closely to avoid burning them—the cook quicly).
    3. Scape the cumin and mustard mixture into the Instant Pot. Add broth, ground coriander, ground turmeric, ground cayenne, salt, ground black pepper, lime juice, and cilantro and stir.
    4. Place lentils in a fine mesh strainer and rinse with cool water. Strain, then add to the Instant Pot. Stir well.
    5. Place lid on Instant Pot and turn to “Manual” setting and adjust to high pressure. Set timer for 10 minutes with the seal closed.
    6. When the timer goes off, release the pressure or allow it to release naturally. Stir the lentils, and serve hot with lime wedges and cilantro.
    7. To make this on the stove top instead of an Instant Pot: Use a large soup pot. In step 3, bring everything to a simmer and cook, stirring occassionally, for 15-20 minutes, until lentils are softened through.
    8. Note: If you soak your lentils for 6-12 hours ahead of time (we usually do this), then strain water from lentils before use. Reduce cooking time to 4 minutes.

    2 Comments

    Chorizo, Black Bean + Corn Stuffed Poblano Peppers

    Chorizo, Black Bean + Corn Stuffed Poblano Peppers

    “Disaster” is not the right word for how poorly my chile rellenos con queso turned out, but it didn’t go well. I harvested six Big Jim peppers from the garden and stuffed them with corn, onions and cheese. They got battered and tossed into a pan to deep fry. Sounds good so far, right? I thought so, too.

    The problem is with what comes next — how I never learn my lesson with frying. With frying, you can’t skimp by using just one inch of oil in a skillet. You have to go all out. You have to commit to a full pot of blazing hot oil which you’ll likely have to toss afterwards. Otherwise, whatever you were frying will touch the bottom of the pan and stick (Yes, even to that ceramic-enamel “non stick” pan you have… Trust me, I would know). The result is typically a pile of whatever you were frying (i.e., peppers) and several hunks of fried batter stuck to the bottom of the pan. I usually try to scrape that batter up. By this time it has turned brown, crispy and greasy. And that will be that: a pile of peppers, and a pile of fried batter bits. It’s delicious, so I suppose it’s not a complete failure. It just isn’t what it’s supposed to be.

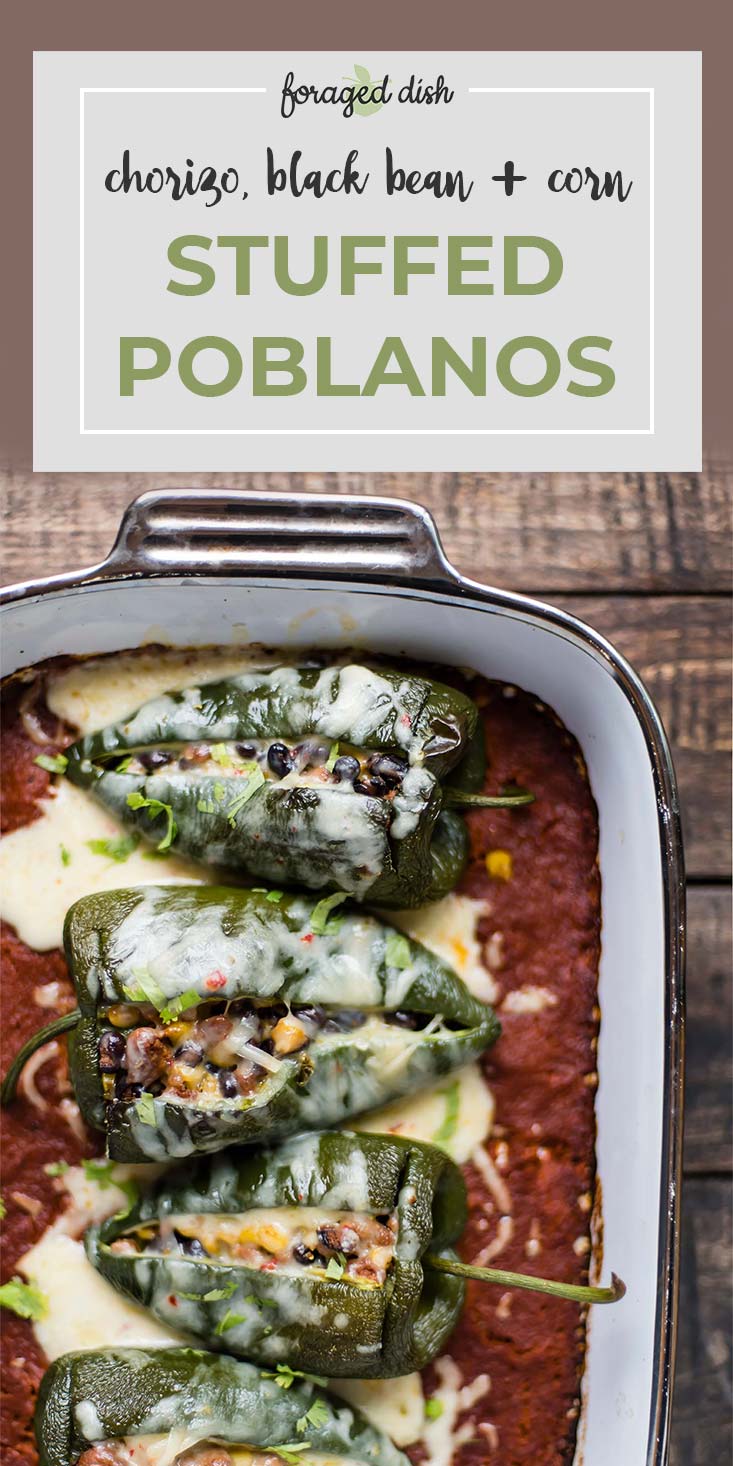
    This recipe for stuffed poblanos avoids that conundrum all together. The peppers aren’t even battered, which might initially seem like a disappointment until it’s Thursday at 5:30pm and you’re the one cooking dinner. One less dish, no sputtering pot of oil, and hey — maybe your arteries will thank you, too. 😉Stuffed with chorizo, corn, and black beans, these peppers feel like harvest. Whether you make your own enchilada sauce or not, the dish comes out of the oven looking vibrant and artisan, even after you pile on the grated pepper jack. That’s what I call success!

    Chorizo, Black Bean + Corn Stuffed Poblano Peppers
    Chorizo, Black Bean + Corn Stuffed Poblano Peppers
    Chorizo, Black Bean + Corn Stuffed Poblano Peppers

    Chorizo, Black Bean + Corn Stuffed Poblano Peppers

    Published September 27, 2018 by
       Print This Recipe

    Serves: 8   |    Active Time: 60 minutes


    Ingredients:

  • 8 poblano peppers
  • 1/2 pound ground chorizo
  • 2 cloves garlic, minced
  • 1 cup corn kernels (frozen and thawed or fresh)
  • 1 16-oz can black beans, drained and rinsed
  • 2 cups red enchilada sauce
  • 1 cup shredded pepper jack cheese

  • Directions:

    1. Before you begin: Whenever you are cooking with peppers or chilies, remember that their oils will stay on your fingers. Avoid touching your face (an especially your eyes!) until you are done cooking and have thoroughly washed your hands with soap and water. (Some choose to wear gloves while working with chilies. I find poblanos are not so hot that I need this — but do whatever is best for you.)
    2. Preheat the oven to 425°F.
    3. Brown the meat: heat a skillet over medium heat and cook, stirring to brown all sides and breaking into small crumbles with a spatula. Add the garlic while the meat is cooking.
    4. Once the meat is browned, add the corn and black beans to the pan. Stir so everything is evenly distributed. Turn off heat.
    5. Prepare peppers: cut a vertical slice down each pepper, from the stem to the tip. Near the top of each pepper, cut a 2-3 inch horizontal slice, creating a T-shape. If you would like, use a paring knife to remove the seeds and white pith from the pepper now. This will help tone down the spice of the pepper. We leave them in.
    6. Prepare your baking dish: spread the enchilada sauce in an even layer on the bottom of a 9x13 inch baking dish.
    7. Stuff the peppers: gently stuff the chorizo mixture into each pepper, and then place the peppers in the baking dish. Be careful, the mixture may still be hot! If so, let it cool down so you can handle it with out burning yourself.
    8. Bake for 35 minutes, and then top with shredded cheese. Bake for 5 minutes more and then remove from oven and serve hot.

    4 Comments

    Eggplant Cannelloni

    Eggplant Cannelloni

    The last few months have been go, go, go, which has meant fewer posts to the blog, less time to photograph recipes, 😭 and learning to cut myself a break every once in a while.

    Somehow, yesterday was April and today it's September. September thirteenth. Back in April my mantra was, "You can't do literally everything," but somewhere between then and now, my mantra became nothing but a string of words, as I continued to ignore their meaning. So, today, I'm trying out this new mantra: Cut yourself a break. It means going easy on yourself when you've been trying your hardest. It means giving yourself a pass when you need it most.

    Eggplant Cannelloni

    In the midst of my mantra-creating and mantra-forgetting, our stockpile of eggplants has been growing: Not a day goes by that I don't have at least three of them sitting in our fruit bowl, staring me back. This year I planted six varieties, next year I'll plant two: Fengyuan and Black Beauty. 

    • Edirne - these were the first to fruit, but they're my least favorite to eat. other than their pretty green and purple stripes, they are just a little bitter and not as tasty.

    • Antigua - these are my favorite to look at but they are quite small, better for slicing in half and roasting with some harissa or something of the sort.

    • Fengyuan - my most copious producer, I freakin' love these eggplants. They are long (17 inches!), skinny and usually make a "J" shape. They are absolutely delicious when stir fried with some garlic and Thai basil.

    • Ping Tung - I also like these for stir fries, but for whatever reason I prefer the Fengyuan... no need to grow both, they are so similar!

    • Black Beauty and Florida - speaking of similar, I can barely tell these two plants apart. I think I like the black beauty ones the most (we have gotten some massive eggplants from those plants). In any case, they are the best variety for recipes like this cannelloni, where you want wide strips, or this roasted eggplant salad. They're also the variety you usually find at the grocery store.

    Ok, don't quote me on the only growing two varieties thing. But those are my favorite so far this season. Have you ever grow eggplants? What were your favorite varieties? 

    Basket of Eggplants from the Garden
    Eggplant Cannelloni

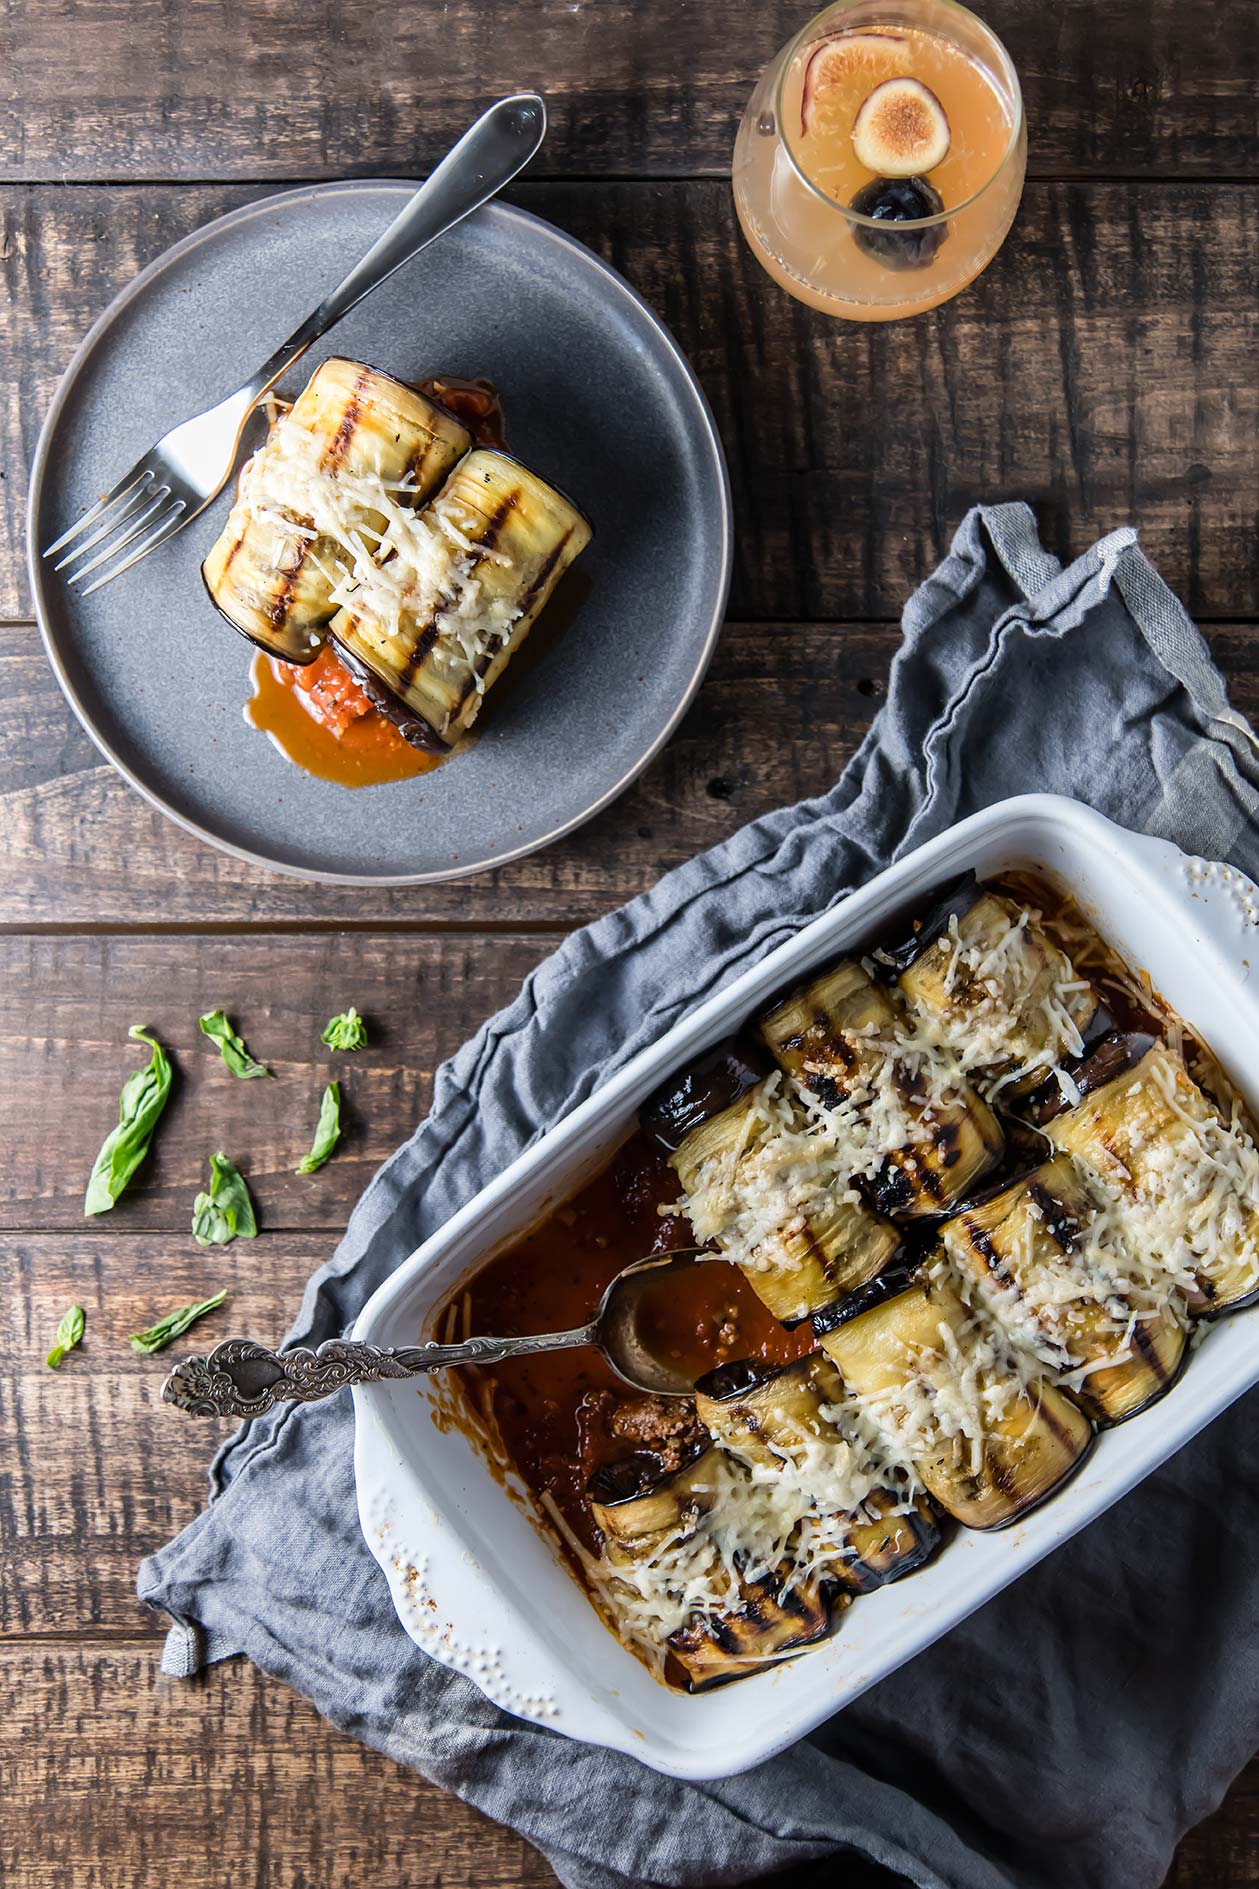
    Normally I'd suggest serving this with a glass of red, but I happened to also be making a batch of this Fig & Pear White Wine Sangria, so of course I had to have a glass of that instead. 

    P.S., if you like this recipe, you'll LOVE this Zucchini Ricotta Manicotti. 😋

    Eggplant Cannelloni

    Published September 13, 2018 by
       Print This Recipe

    Serves: 6-8   |    Active Time: 40 minutes


    Ingredients:

  • 2 medium sized eggplants
  • 2-4 tablespoons olive oil
  • 2 cups marinara sauce
  • 1 cup mozzarella
  • 1/2 cup parmesan
  • 1 pound beef
  • 1 teaspoon coconut oil
  • 1/2 yellow onion, diced
  • 4 cloves garlic, minced
  • Salt & pepper to taste

  • Directions:

    1. Light grill set flame to medium. Slice eggplant into strips the long way. Brush eggplant slices with olive oil, and them place on grill, cooking for about 5 minutes before flipping. Eggplant slices should have char marks on the outside and be softened through. Remove from heat, turn off grill, and set eggplant aside.
    2. Heat coconut oil in a medium sized skillet over medium-high heat until it glistens. Add diced onion and minced garlic and sauté until onions are transparent.
    3. Add beef to skillet. Brown beef, using a wooden spatula to create crumbles as it cooks. When beef is browned, add 1/2 cup marinara sauce to the pan and stir. Turn off heat.
    4. Allow beef mixture and eggplant to cool just enough so they can be handled before proceeding to next step. (Warm is fine, just avoid burning yourself!)
    5. Prepare baking dish: spread remaining 1-1/2 cups marinara sauce in the bottom of a 9x9 or 7x12 baking dish.
    6. Work with one eggplant strip at a time. Lay it out in front of you, with the short end towards you, and place about 2 tablespoons of beef mixture in the center of the strip. Roll the strip around the beef, rolling in the opposite direction of your body. Place rolled eggplant in the baking dish, with the “seam” down. Repeat this step until all eggplant strips are used.
    7. Sprinkle top of cannelloni with mozzarella and then parmesan, and place in oven. Set broiler to high and broil for 5-10 minutes, until cheese and sauce are bubbling. Serve hot.

    1 Comment