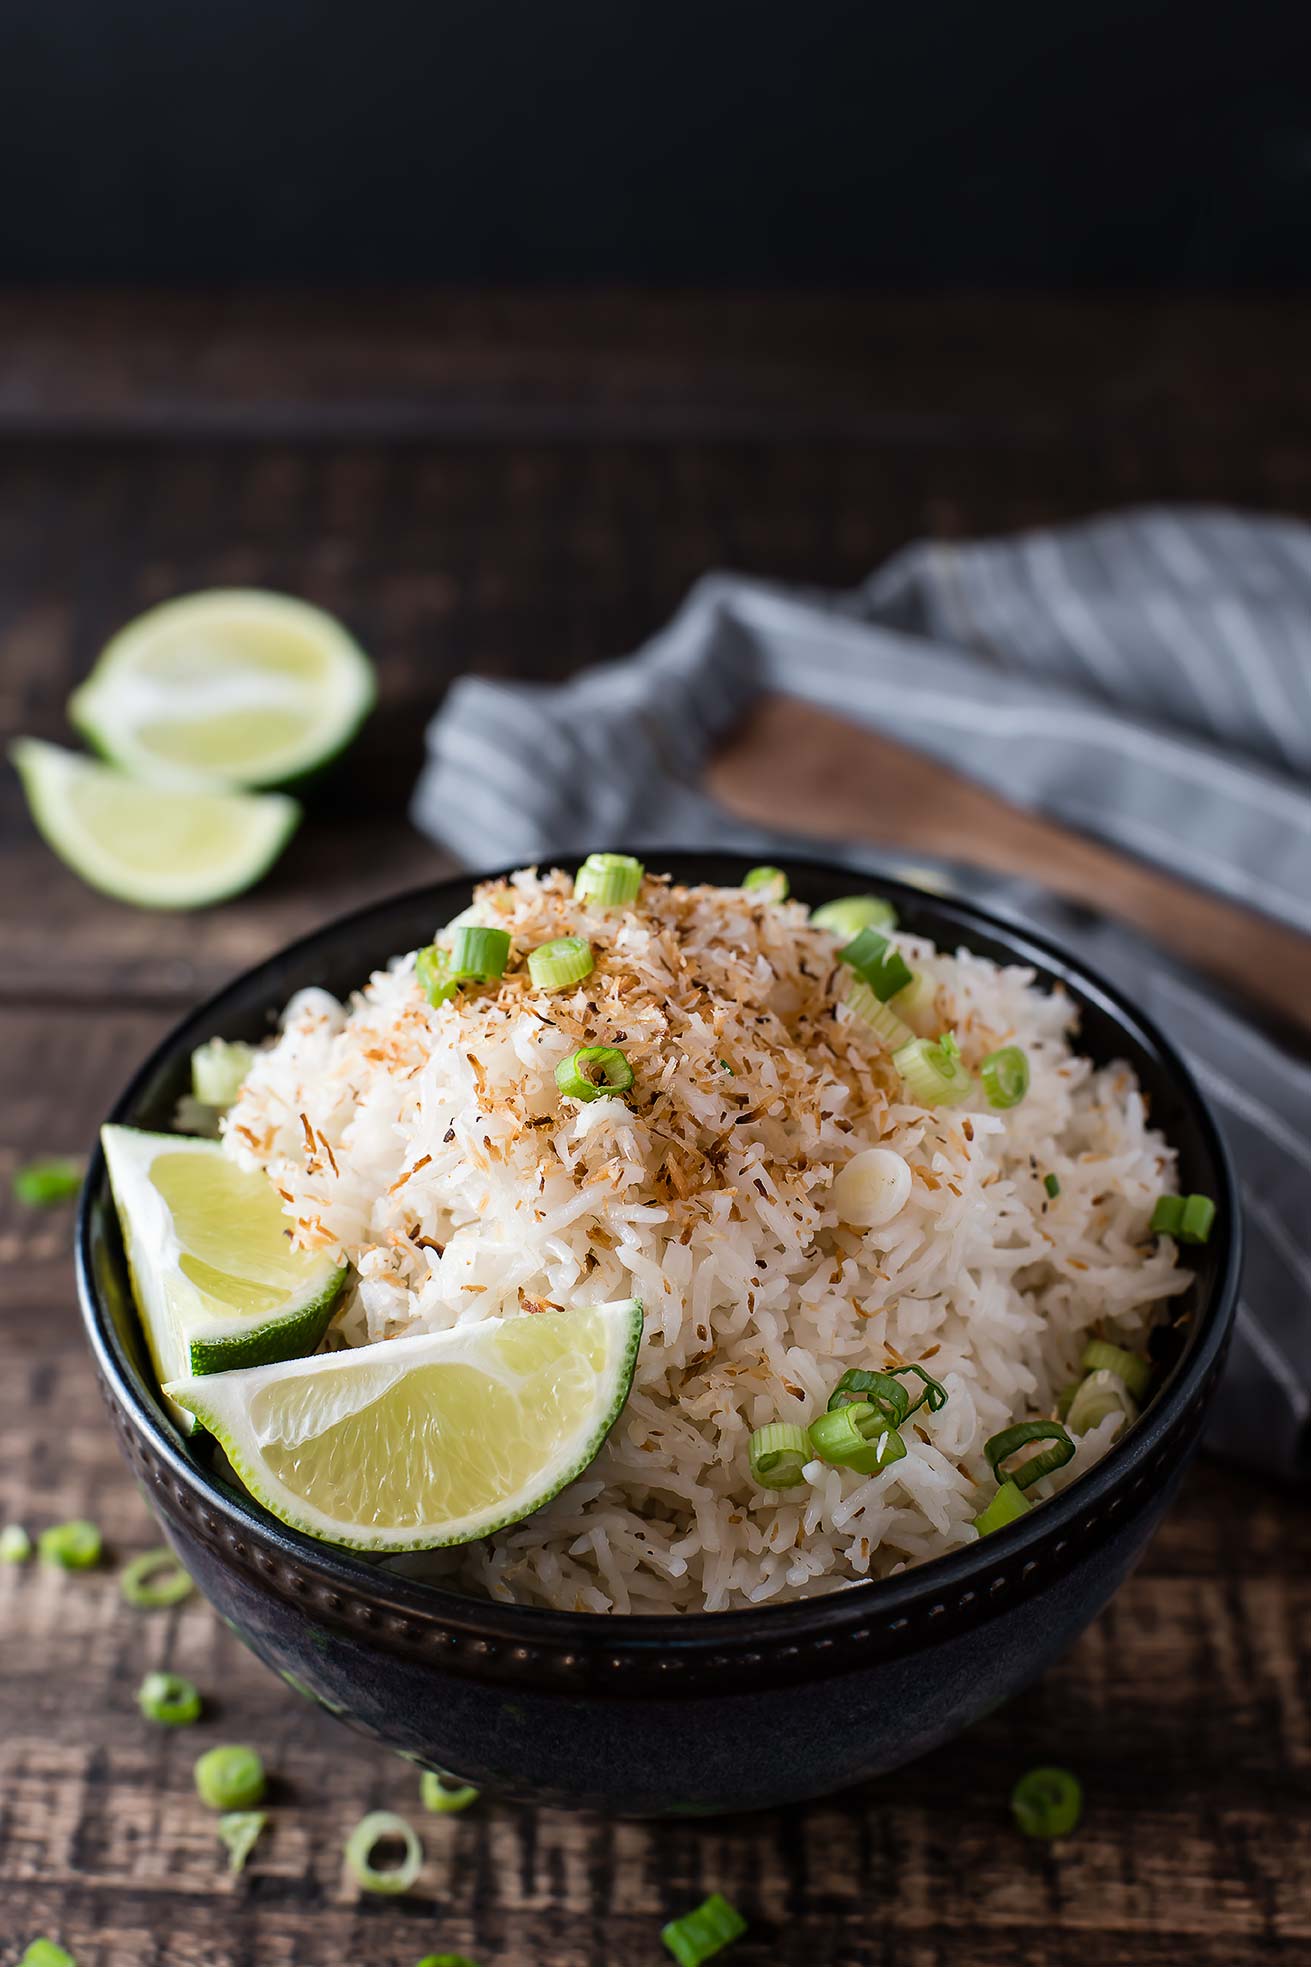
Instant Pot Coconut Rice
/
Soggy, strangely sweet, and topped with bland tofu, my first experience with coconut rice was terrible. It was also my first experience with tofu, and that probably didn’t help. Being seven years old didn’t really lean in my favor, either. I remember picking at my bowl and barely eating, even though the rule in our family was “you eat this now or you go hungry.”
I eventually learned to like tofu, but managed to steered clear of coconut rice for twenty years, traumatized by that experience. So, I’m not really sure what possessed me one day in February when I decided to make my own coconut rice. I shocked myself further when, halfway through the first bowl I thought, needs more coconut, and served myself seconds.

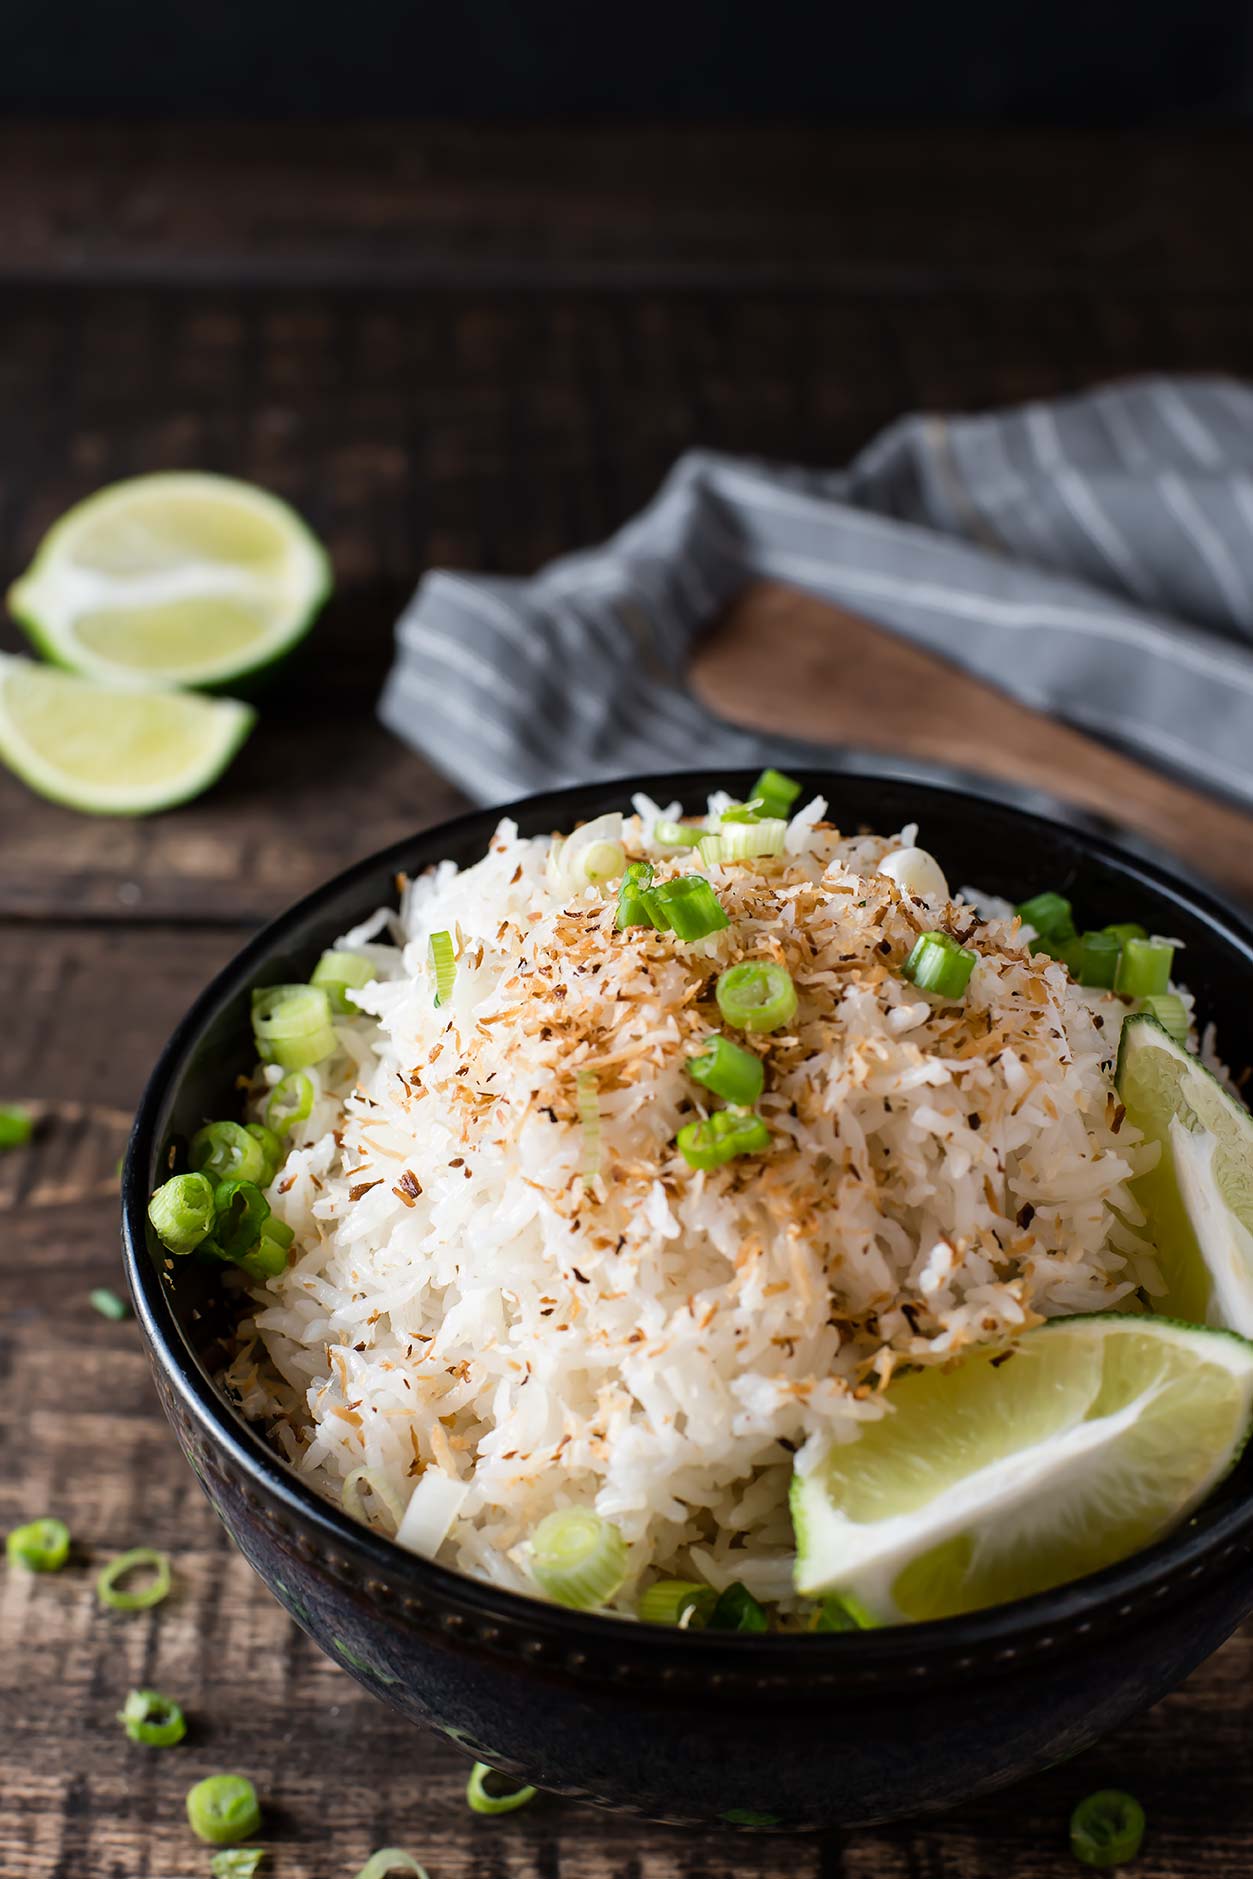
It turns out, I love coconut rice. That first sample was far too long ago for me to remember what was wrong with it. But, now I find myself on quite the coconut rice kick — it’s the perfect side for Thai dishes.
All you need is rice, water, coconut milk and a sprinkle of salt. I find that the salt is necessary because it keeps it savory rather than sweet. In other applications, maybe you would want to swing more sweet and in that case you could skip the salt.
Of course, cooking it in an Instant Pot is also key, which is the only way I cook rice because it’s fool proof and SO EASY. (I’m a home cook that tends to get distracted, or maybe just tried to juggle too many things at once. Cooking rice on the stove is a gamble: Will she burn it this time? But cooking rice in the Instant Pot is right on the mark every time, no matter how many other things I’m trying to do.)
Instant Pot Coconut Rice goes wonderfully with this Thai Basil Beef, or any stir fry, really.