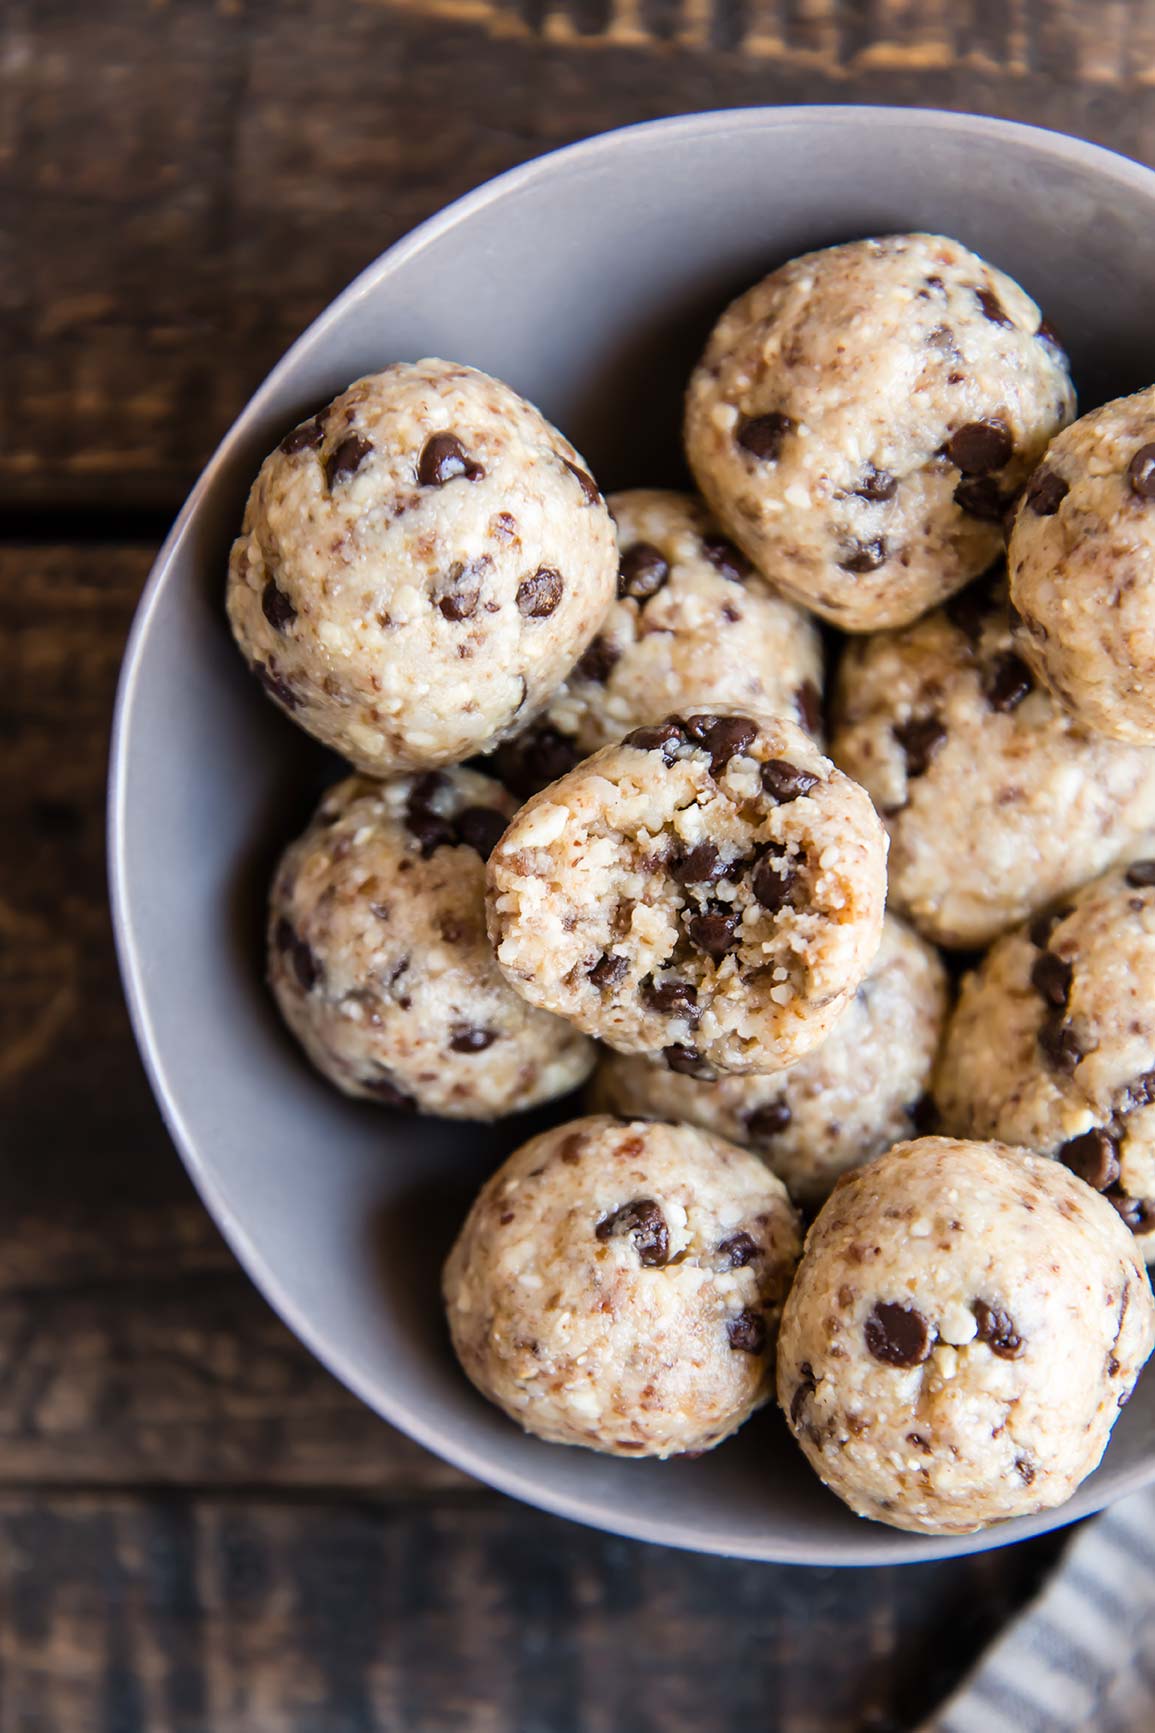
Chocolate Chip Energy Bites

This is an older recipe from Foraged Dish that I wanted to spruce up with new photos and a video. These energy bites are so darn delicious — they’ve been in my snack draw at work and I SO look forward to snack time each day! 

Chocolate Chip Energy Bites

Last week I went on a hike in the Front Range with nothing in my bag but my camera, my phone, and a ziplock stocked with these Chocolate Chip Energy Bites. I thought I had my car key too, until 30 minutes in when — oh no! - I noticed the pocket where I keep my key was open. Open and empty. 

I immediately turned on my heels and spent the whole hike downhill with my head turned down, eyes constantly scanning the trail. I tried to soothe my inner chatter box, which, by the time I made it back down to the trailhead with no sign of my keys in sight, was freaking out.  In the end, I had to call for a ride to go get a spare key (thanks, Dad!). 

But I digress. Casualties of hiking alone are not what this post is about!

Chocolate Chip Energy Bites

These energy bites call for only six ingredients and they just go into your food processor and you roll them up. That’s it!  Why macadamias and cashews? Macadamia nuts are extra buttery, which lends very well to this recipe, which taste a lot like a healthy version of cookie dough! At the same time, cashews are a bit starchier than most nuts, and their sweet flavor also gives these bites a bit of a “cookie dough” flavor. 

Mini chocolate chips are best in this recipe because they distribute into each energy bite well. Each bite has a bit of chocolate and a bit of nut mixture, which sticks everything together. 

Happy hiking! Take these with you — and don’t lose track of those keys!! 

Chocolate Chip Energy Bites

Published January 15, 2018 by

Yield: 12   |    Active Time: 20 minutes


Ingredients:

  • 1/3 cup dates, pitted
  • 1/2 cup macadamia nuts
  • 1/2 cup cashew pieces
  • Pinch of salt
  • 1 tablespoon honey
  • 3 tablespoons mini chocolate chips

  • Directions:

    1. Add dates, macadamia nuts, cashews, salt, and honey to bowl of food processor. Secure lid on food processor and run until the nuts are ground into a corse meal that begins to clump.
    2. Add mini chocolate chips to food processor and pulse, 2-3 times, just until chocolate is evenly distributed.
    3. Scoop a heaping tablespoonful of the mixture into your hands and roll into a ball. Repeat until all of the mixture is used.
    4. Enjoy immediately or store in an air-tight container in the fridge.

    Share

    Wild Rice Salad with Pomegranate & Satsuma Mandarins

    Wild Rice Salad with Satsuma Mandarins

    Two delicious fruits are currently in season: Pomegranates and Satsuma Oranges.

    When I was a kid my dad would buy pomegranate as soon as it appeared in stores. Back then the fruit wasn’t “cool” and no one was talking about how it was a good source of antioxidants. In fact, I would take it to school for lunch and other kids would ask, “What is that?” (I got that a lot — I always had the most “interesting” brown bag lunches.) I’ve adopted my dad’s habit, and hop on pomegranate season as soon as the fruits look bright and red and juicy. I put them in salads (like this one with kale and delicata squash or this one with brussels sprouts) and add the juice to smoothies. My favorite is my dad’s Pomegranate Sorbet (!), but this wild rice salad is a healthier way to enjoy the flavor.

    Wild Rice Salad with Satsuma Mandarins
    Wild Rice Salad with Satsuma Mandarins

    Citrus and pomegranate together sing winter to me — they are a pop of fresh in an otherwise dull season, little gems in this wild rice salad.

    Wild rice, by the way, is another key here. It’s nuttier than white rice and gives this salad great texture and flavor. Either use leftover rice or cook the rice ahead of time. You can do this in a pressure cooker by placing 1 cup water and 1 cup wild rice in the pot and setting it to High Pressure for 28 minutes, and then allowing the pressure to release naturally.

    The whole thing is tossed with arugula (which is why it can be called a salad 😏). The bitterness of the greens are a good balance to the sweetness of the fruit and nuts. Add toasted pecans on top of that, and every bite is a combo of nutty and fresh and savory and sweet.

    Wild Rice Salad with Satsuma Mandarins

    Wild Rice Salad with Pomegranate & Satsuma Mandarins

    Published January 10, 2018 by

    Serves: 6   |    Active Time: 20 minutes


    Ingredients:

  • 3-4 cups baby arugula
  • 2 cups cooked and cooled wild rice (leftover rice does great!)
  • 3-4 Satsuma Mandarins, peeled
  • 1/2 cup pomegranate perils 
  • 3/4 cups toasted pecans
  • Salt & pepper to taste

  • For the vinaigrette:
  • 1 tablespoon minced shallot
  • 1/4 teaspoon garlic powder
  • Juice from 1 lemon
  • 1/4 cup extra virgin olive oil
  • 1 teaspoon honey 
  • 1/8 teaspoon salt
  • 1/8 teaspoon ground black pepper

  • Directions:

    1. Make the vinaigrette: Add all ingredients for the vinaigrette to a jar. Close jar and shake to combine.
    2. Assemble salad: In a large salad bowl, combine arugula, wild rice, mandarins, pomegranate perils, and toasted pecans.
    3. Drizzle vinaigrette over rice salad to taste, adding additional salt & pepper to your preferences. Toss and serve.

    2 Comments
    Share

    Broccolini & Mushrooms with Fried Shallots

    Broccolini & Mushrooms with Fried Shallots

    Two words for you: fried shallots.

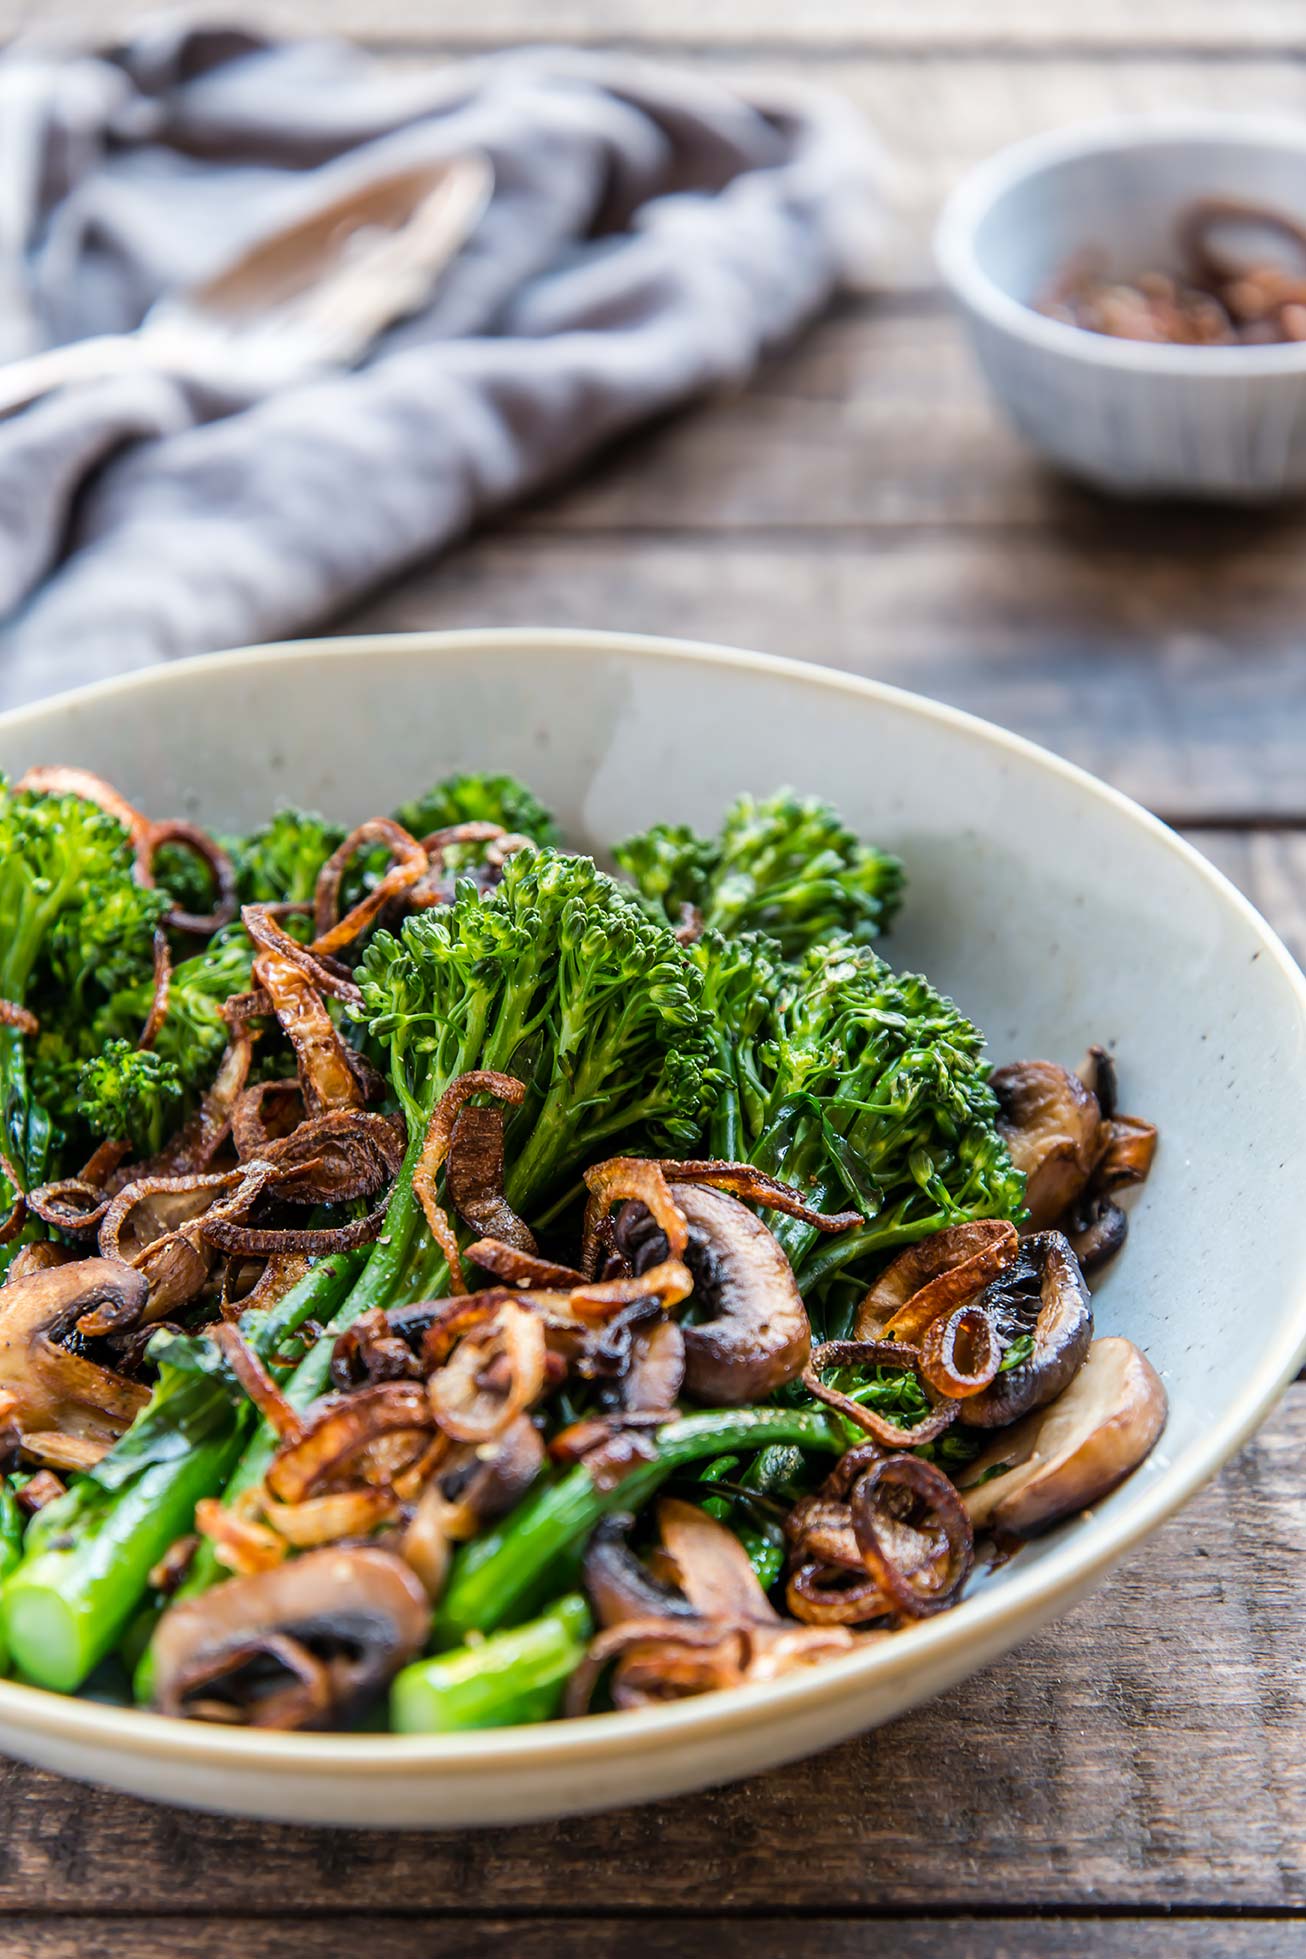
    They are crispy, salty, savory, and akin to those French’s Crispy Onions, but they’re just fried shallots with a little bit of salt. They can be used just about about any way you’d normally use French’s, but are also used in many Vietnamese recipes (like as a topping on Pho… YUM!). And they can be made ahead — one of two days before you’re going to use them. They add a crispy crunch to whatever you serve with them!

    In this case, broccolini and mushrooms get the special treatment. After being sautéd, They’re topped with a generous amount of crispy shallots. It’s a fun way to make something so simple (sautéd broccolini) feel special — special enough to be a side dish at a holiday meal, or topped with a poached egg for breakfast 😍 …runny yolk and fried shallot is a particularly great combo.

    With Winter Solstice tomorrow, it felt good to eat something earthy and fresh between all of the holiday cookies. 🌎 Happy Solstice! 

    Broccolini & Mushrooms with Fried Shallots
    Broccolini & Mushrooms with Fried Shallots

    So how do you make those little golden rings? It’s not too difficult, and once you’ve done it once you’ll be pro. Here are a few tips:

    • Slice two shallots extra thin.

    • Use an oil with a high smoke point. I used avocado oil, which has a fairly high smoke point — 520°F, far below what we’ll need here. Avoid olive oil.

    • Use an instant read thermometer to monitor the temperature of your oil. In this case, using a thermometer makes it way easier to get timing right!

    • You can drain fried shallots on a plate stacked with paper towels, but we don’t keep paper towels in the house. Instead, I place a fine mesh sieve over a heat-proof bowl or pot. Works great, less waste!

    • Salt immediately. With all fried food, salting right after frying helps the salt stick to the food, so salt those shallots up! A few sprinkles will do. Toss them gently to coat.

    Broccolini & Mushrooms with Fried Shallots

    Making fried shallots ahead of time: This can be very helpful, especially if you plan to already be at the stove earlier in the week. Plan ahead, and you’ll be glad. Store fried, cooled shallots in an air-tight container in the fridge (let them cool completely, so that no steam is trapped in the container — that will make for soggy shallots). You can store them in the fridge for two days, though the shallots are really best used right after they are fried or the next day. If they feel a little soft when you go to use them, you can toast them in a  oven or toaster oven for 10 minutes at 350°F, and then leave them to cool again (they will at first feel even softer when heated, and then will crisp up again as they cool).

    Broccolini & Mushrooms with Fried Shallots

    Published December 20, 2018 by

    Yield: 4   |    Active Time: 40 minutes


    Ingredients:

  • 2 shallots, sliced thin
  • 1-inch high-heat oil for frying (such as avocado), plus one tablespoon for sautéing broccolini
  • 1 bunch broccolini
  • 1 cup sliced baby portobello mushrooms
  • Salt & pepper to taste

  • Directions:

    1. Place a fine mesh sieve over a heat-proof bowl or pot. Set aside for later use.
    2. Heat oil in a skillet. Use an instant read thermometer to monitor the temperature of the oil. When the oil reach 275°F, carefully add shallots to the oil. Shallots will slowly turn from pink-white to yellow-brown. Stir occasionally. When the oil temperature reaches 375°F, wait 5 more seconds. Then, use a slotted spoon to transfer shallots from oil to prepared sieve. Sprinkle salt over shallots and toss to coat (1/16 to 1/8 teaspoon). Allow shallots to continue to cool in sieve.
    3. Sauté mushrooms & broccolini: heat remaining 1 tablespoon oil in a skillet over medium heat. Once oil glistens, add sliced mushrooms. Cook for about 5 minutes, and stir. Add broccolini, and place lid on pan. After about 5 minutes, stir again, and then return lid to pan, cooking until broccolini is bright green and tender through.
    4. Transfer cooked broccolini and mushrooms to a serving dish, and top with fried shallots. Season to taste with salt & black pepper.
    5. Serving suggestion: Serve this as a dinner side, and top with freshly grated Parmesan Reggiano, or for breakfast, topped with a poached egg.

    Share