One Pan Paleo Chicken Cacciatore

Camera Update: I got my new camera in mail yesterday! I’m over the moon. I’ll be returning to the regular posting scheduling shortly, now what I can shoot! 

Now... on to this delicious dish! 

I’ve been on a re-working streak: revisiting old favorites from the blog and taking new pictures (like this Chicken & Sweet Potato Curry, or this Lemony Garden Vegetable & Chicken Soup). It takes some of the mind-work out of the equation, leaving me to only do the creative pieces: photography, a bit of writing, quite a lot of eating. 

This one-pan chicken cacciatore is one of those revisited recipes. I originally made this recipe when I was in the middle of finals for grad school. It feels like a lifetime ago. At the time, exams, essays, and textbooks took up such a large part of my life it was hard to believe it could be any other way. In retrospect that was a short lived moment in my journey, one that I even forget about most of the time. All the better, as my experience with grad school was unremarkable. 

One Pan Paleo Chicken Cacciatore

When I first published this recipe I had said, "I need meals that are simple, quick, and take a minimal amount of brain work.” But I was also looking for ways to express myself creatively, something multiple choice tests didn’t allow. It's that creative need that comes through in this recipe, inspired by a single night out at Pasta Jay’s on Pearl Street. 

I remember—not the exact dish I had eaten at Pasta Jay’s- but the thoughts that ran through my head when I ate the leftovers out of a cardboard to-go box the next day. The dish awed me, to be honest. I had never had anything but pasta-laden dishes from Italian restaurants before (to be expected), but this dish had no pasta, and was the best thing I’d eaten that month. 

Making cacciatore is a bit of a production: if you really want to impress people, you’ll need to get fresh basil, and there are a few things you’ll need to chop. Oh, but it’s worth it. Since I’m usually making this on a weeknight, after running errands or getting a workout in, I try to chop everything ahead of time (in the morning, or the night before). I’ll even measure out the spices and put them in a bowl, so that when evening rolls around I don’t even have to think. Just put things in the pot (I use a blue Le Creuset Braiser for meals like this) and remember to stir occasionally! 

One Pan Paleo Chicken Cacciatore

One Pan Paleo Chicken Cacciatore

Published February 27, 2018 by

Serves: 4   |    Total Time: 60 minutes


Ingredients:

  • 1 pound bone-in chicken thighs (boneless and skinless is fine too, just reduce cooking time - cook thighs until internal temperature reaches 185°F)
  • 1 teaspoon coconut oil
  • 1/2 medium white onion, sliced
  • 3 cloves garlic, minced
  • 2 bell peppers, sliced in strips (choose a variety of colors: yellow, red, or green)
  • 1/4 cup red wine, such a Pinot Noir or Sirah
  • 2 14.5-ounce cans of crushed tomatoes
  • 1/2 cup canned artichoke hearts, drained and quartered 
  • 1 teaspoon balsamic vinegar
  • 1/4 cup fresh basil leaves, sliced chiffonade style style, plus more for garnish
  • 1/2 teaspoon red pepper flakes 
  • 1/2 teaspoon dried oregano 
  • 1/2 teaspoon dried thyme 
  • 1/4 teaspoon salt
  • 1/4 teaspoon ground black pepper
  • Optional for serving: grated Parmesan Reggiano cheese, red pepper flakes, extra basil leaves

Directions:

  1. Heat the coconut oil over medium-high heat in a large skillet (I use my 5-qt Le Creuset Braiser, though a 13 to 15 inch skillet would work as well). Once the oil glistens, place chicken thighs skin-side down in the pan. Sear the chicken for 3 minutes, then flip them over and continue to cook chicken for 5 more minutes.
  2. After 5 minutes, place the onions, garlic, and peppers in pan. Cook, stirring occasionally, until the onions are translucent. Add the wine, and scrape the pan with a wooden spoon. Bring to a simmer.
  3. Pour in the tomatoes, and stir in the artichoke hearts, balsamic vinegar, basil, thyme, red pepper flakes, oregano, salt and pepper.
  4. Bring back up to simmer, and place lid on pan. Cook, for 20-30 more minutes, until an instant read thermometer reads 185°F when inserted into the center of the thickest thigh.
  5. Remove from heat, and serve on plates or in bowls. Garnish with grated parmesan, red pepper flakes, and/or extra basil.
  6. Tip: try serving this over spiralized zucchini or spaghetti squash for a grain-free pasta option.

20-Minute Marinara Sauce

20-Minute Marinara Sauce

Avoiding marinara sauce was a skill I had perfected by the time I made it to college.  Pizza? Only pesto or olive oil please. Pasta? There are so many options, don't you dare put that store bought tomato sauce in front of me.

My tomato sauce radar reaches far and wide, extending to tomato paste and ketchup. Pretty much anything tomato sauce would have me turning up my nose. (I speak in past tense here, but I still avoid tomato paste and ketchup regularly).

But then a wrench was thrown into my tomato-avoiding scheme: I intended to cook dinner for someone, and they told me tragically that their favorite food in the world was spaghetti with marinara. Sure, I could've taken a pass and made something completely different, but this ignited a fire in me. It made me think twice about tomato sauce. Good enough to be a favorite? Who would've thunk. But I had to see for myself so I gave it a try, the right way: no store bought crap. 

20-Minute Marinara Sauce

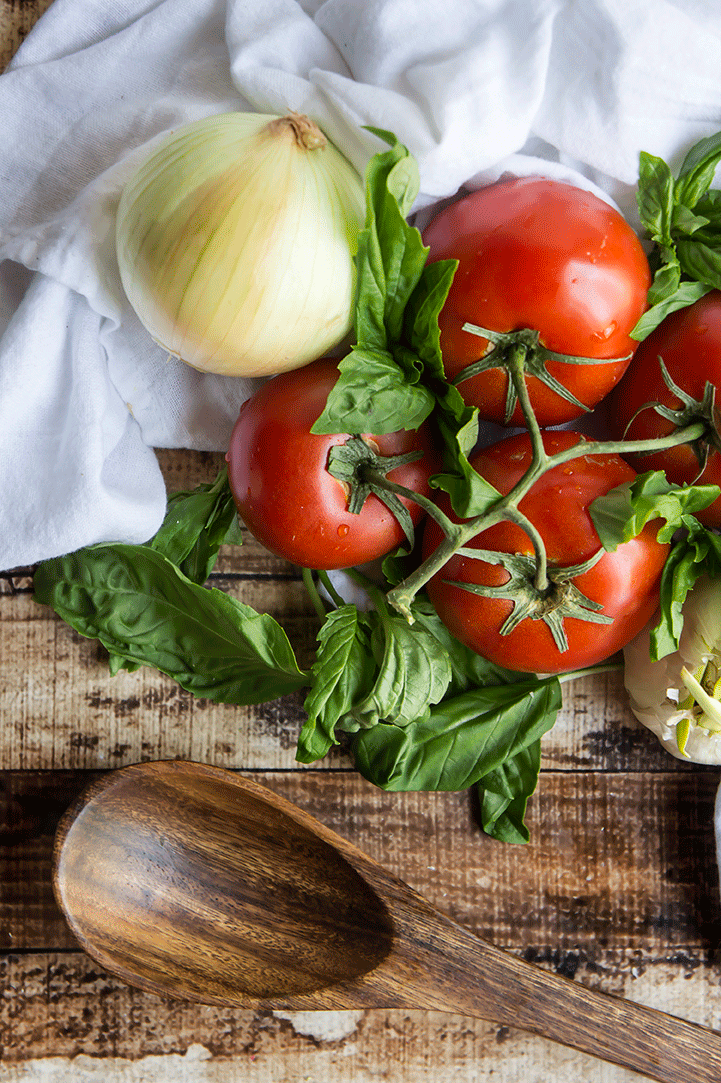
I sliced onions, minced garlic, and added a touch of wine. I was overly cautious about letting it get to sweet, and added plenty (and I mean plenty!) of salt. Fresh basil was stirred in at the last moment. I took a bite, right there, standing at the white electric stove in my first apartment. And then another. Ok, this stuff is good. Suddenly I knew what all the fuss was about.

How had I spent so many years thinking all marinara sauce was created equal when there is clearly a divide between the stuff you pour from a jar and the stuff you stir with a wooden spoon? 

Homemade marinara sauce can be used just like any marinara sauce: on a pizza (puree it smooth), over pasta (leave it chunky, add some sausage or meatballs), in chicken parmesan, even Shakshuka. The list goes on a and on. What is your favorite way to use Marinara sauce? 

20-Minute Marinara Sauce

This post may contain affiliate links.

20-Minute Marinara Sauce

Published May 2, 2017 by

Marinara sauce any time of the year, from your own kitchen. It’s better than store bought.

Serves: 4   |    Total Time: 20 minutes


Ingredients:

  • 1 medium yellow onion
  • 1 tablespoon cooking oil (coconut, avocado, or olive)
  • 1/4 cup red wine
  • 4 cloves garlic, minced
  • 24-ounce can diced tomatoes (you can use fresh too, but you’ll need to cook the sauce longer)
  • 1 tablespoon dried oregano (fresh works too!)
  • 1 teaspoon dried thyme (fresh works too!)
  • 1/4 cup minced basil
  • Salt & pepper
  • Optional: red pepper flakes

Directions:

  1. Heat oil in the bottom of a medium sized sauce pan. Dice onion, and when the oil it hot, add to pan along with the minced garlic. Sauté until the onion is translucent and starting to brown. Pour wine into pot, scraping the sides and bottom of the pot with a wooden spatula to release any brown bits from the bottom. Allow wine to reduce to about 2 tablespoons.
  2. Pour tomatoes into pot, and stir. Bring to a simmer. Stir in oregano and thyme. Allow to simmer for 5 minutes. Add half of the basil, and then use an immersion blender to puree sauce until it reaches your desired consistency. I like mine slightly chunky. (You can do this with out an immersion blender, just use a label to transfer the sauce to a regular blender and pulse until desired consistency is reach. Then return sauce to pan).
  3. Allow sauce to simmer for 5 more minutes. This helps some of the extra water steam off, which results in a thicker, more flavorful sauce. Finally, stir in last of the basil and season with salt and pepper to taste. If you like a spicy marinara, add red pepper flakes to taste. Serve hot, use on pizzas, or store in an air-tight jar in the fridge.

We are a participant in the Amazon Services LLC Associates Program, an affiliate advertising program designed to provide a means for us to earn fees by linking to Amazon.com and affiliated sites.

Zucchini Ricotta Manicotti

Zucchini Manicotti

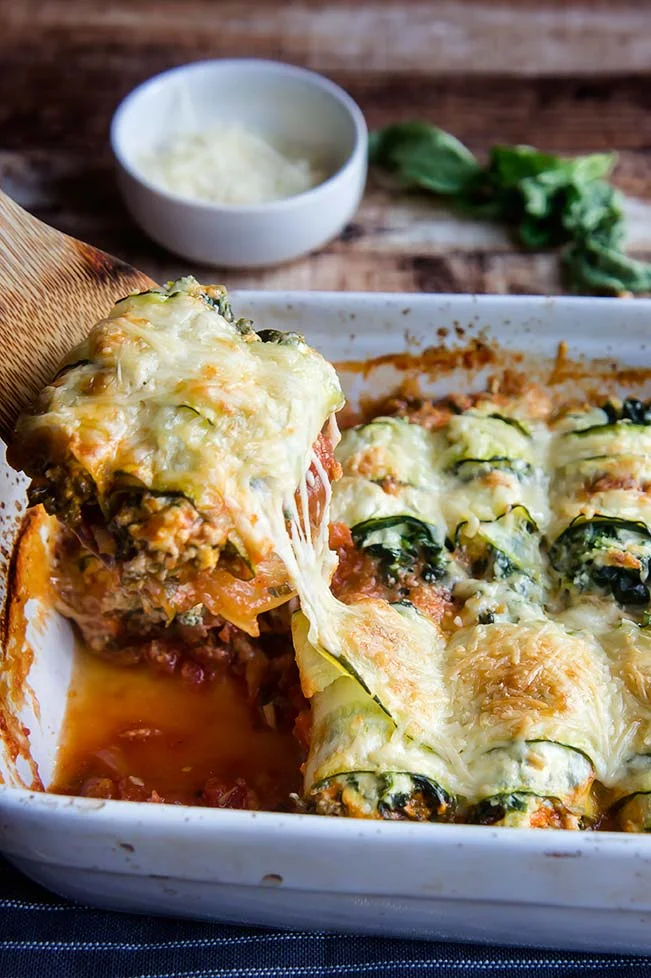
When you pull this casserole out of the oven, the first thing you'll see is bubbling cheese, that tempts you even when it is too hot to eat. Then, only seconds later, a hot steam that carries the smell of fresh basil and ripe tomatoes hits you. By the time the dish makes in to the counter, the sizzling begins to slow. With in a few minutes the dish sits still. It begs for you, even now when it would burn your tongue. (Maybe you sneak a bite anyways).  

By now the whole house has smelled like home cooked Italian food for 20 minutes or more, and people are beginning poke their heads into the kitchen. Is it ready? Can we eat yet? What are you up to in here? 

2overheadtight.jpg
Zucchini Manicotti

Cheese. Wine. More cheese in the form of ricotta. That is what you are up to. This recipe is pretty much everything. If your "everything" is ooey, gooey, and delicious, that is. And somehow folded in there is a pile of vegetables too: zucchini for noodles, spinach folded in with the ricotta, and a homemade tomato sauce that will make you proud.

This is a pile of cheesy Italian flavor you'll feel really good about eating. Despite begin literally stuffed with cheese, this recipe is light: it doesn't leave you feeling groggy the way this dish would if it was made with traditional pasta. We serve it with extra marinara sauce (I love homemade marinara sauce) and a side salad, and call it a meal. Oh--and don't forget the glass of wine! Red is perfect for this dish. 

Zucchini Manicotti
Zucchini Manicotti

If you're worried about the logistics of wrapping a bunch of cheese in thinly sliced zucchini, I don't blame you! But it's even easier than I originally thought it would me, so watch the video below to see how this impressive dish comes together, and you'll see you have nothing to worry about!

Zucchini Ricotta Manicotti

Paleo, Primal, Grain-Free    |       

Zucchini is cut thin and rolled around ricotta as a stand in for traditional manicotti!

Serves: 4   |    Total Time:


Ingredients:

  • 2 medium zucchinis
  • 1 egg
  • 1-1/2 cup ricotta
  • 1 cup grated parmesan, split in half
  • 1 8-ounce package frozen spinach, thawed
  • Salt & pepper


  • For sauce:
  • 1/2 yellow onion
  • 1 tablespoon avocado oil
  • 3 cloves garlic
  • 1 14-ounce can crushed tomatoes
  • 1/4 cup red wine
  • 2 tablespoons fresh basil, minced - plus more for garnish
  • 1 teaspoon oregano
  • Salt & pepper

Directions:

  1. First, make the marinara sauce: heat avocado oil in a sauce pan over medium heat. Dice white onion, and mince garlic. Add both to sauce pan once oil is hot, and sauté until the onion is translucent and the garlic begins to brown. Pour wine into pot, and use a wooden spoon to scrape any brunt pieces from the bottom of the pot. Allow to simmer, then add tomatoes. Stir. Add oregano and basil, and then season with salt & pepper to taste. Remove from heat.
  2. Spread 1/2 of sauce in the bottom of a 9x9 baking dish.
  3. Make the ricotta filling next. Place thawed spinach in a fine mesh sieve and squeeze out any excuses water. Place in a mixing bowl, and combine with ricotta, 1/2 cup grated parmesan, egg, and a few sprinkles of salt and freshly cracked pepper. Stir until combined.
  4. Preheat oven to 400°F and assemble: use a potato peeler or mandolin to slice the zucchini in long, thin strips (watch the video above to see an example). Place two zucchini strips on a flat surface so that they overlap by about 1/2 an inch. Spoon about 2 tablespoons of the ricotta mixture on the short edge of the zucchini strips, and then roll up the zucchini strips around the ricotta like a roll of sushi. Place in the baking dish. Repeat until you run out of ricotta.
  5. Sprinkle the remaining parmesan over the manicottis and place in oven. Bake for 30-35 minutes, until cheese is gooey, and sauce is bubbly. Allow to cool for 10 minutes before serving. Sprinkle with fresh basil as garnish. I also serve with extra sauce (the remaining 1/2) because I love marinara sauce!
  6. Note: I find that when I get to the middle of the zucchini, it becomes hard to slice because of the seeds, so I move on to the second zucchini and reuse the middle of each zucchini later for another meal.

Let's hang out! Find me on social:

What more recipes like this one? Sign up for the Foraged Dish newsletter! 

22 Comments