Pumpkin Pie Bars with Grain-Free Gingerbread Crust

I was so happy to have my friend Cassie in the kitchen to help whip, stir, and bake! She shot these beautiful pictures too.

I was so happy to have my friend Cassie in the kitchen to help whip, stir, and bake! She shot these beautiful pictures too.

There may be nothing more comforting than baking a pumpkin pie on a cool fall day while wearing your slippers while giggling with a close friend. In the wake of change--changing seasons, growing older, moving to a new home (more to come on this on Thursday!!)- a day of pie baking was just what the doctor ordered. With extra whipped cream of course.

Pumpkin Pie Bars with Grain-Free Gingerbread Crust

More than anything, it is the act of making pumpkin pie, and the smell of baking pumpkin pie, that makes it therapeutic. Aromatherapy, if you will.

What's great about what pie aromatherapy is that it will pretty much be whatever you want it to be. Need a hug? Breath in that cinnamon. Looking for a hug? Focus in on rolling out that pie crust, on the act of making the pie. Just want something sweet? Quiet time? A few laughs?

You get the picture. 

Pumpkin Pie Bars with Grain-Free Gingerbread Crust

Pumpkin Pie Bars with Grain-Free Gingerbread Crust

Primal, Gluten-Free, Grain-Free    |       

These pumpkin pie bars are made with a gingerbread-spiced almond flour crust and topped with creamy pumpkin filling.

Serves: 9   |    Total Time:


Ingredients:

    For the Gingerbread Crust
  • 1-1/2 cup almond flour
  • 1 tablespoon coconut flour
  • 1/4 teaspoon salt
  • 1/4 teaspoon baking soda
  • 3 tablespoons coconut oil or butter, melted
  • 3 tablespoons honey
  • 1-1/2 tablespoon vanilla extract
  • 1 teaspoon ground cinnamon
  • 1 teaspoon ground ginger
  • 1/4 teaspoon each cloves and nutmeg
  • For the pumpkin filling:
  • 1 cup pumpkin
  • 2/3 cup evaporated milk (coconut milk for dairy-free)
  • 1/2 cup honey
  • 1 egg
  • 1/2 teaspoon cinnamon
  • 1/2 teaspoon ginger
  • 1/4 teaspoon cloves
  • 1/4 teaspoon salt

Directions:

  1. Preheat oven to 325°F. Grease a 9x9 baking dish. In a medium sized mixing bowl, consume the dry ingredients for the crust (almond flour, coconut flour, salt, baking soda, cinnamon, ginger, cloves, and nutmeg). Whisk until evenly distributed. Then, stir in the melted coconut oil, honey, and vanilla until a sticky dough forms. Press dough in an even layer in bottom of the baking dish. Place in oven and bake for 9 minutes, until crust is slightly puffed and golden. Set aside to cool completely.
  2. Now, set the oven to 425°F. Make the pumpkin pie filling: whisk together the pumpkin, evaporated milk, honey, and egg. Once combined, whisk in the cinnamon, ginger, cloves, and salt. Pour mixture into cooled crust. Place in oven and bake for 10 minutes, then reduce heat to 350°F and bake for 40-50 more minutes, until a knife, when inserted into the center of the pumpkin mixture, comes out clean.
  3. Set baking dish aside to cool for 15 minutes. Slice and serve (whipped cream or coconut cream optional!)

2 Comments

Instant Pot Butternut Squash Coconut Curry

Instant Pot Butternut Squash Coconut Curry

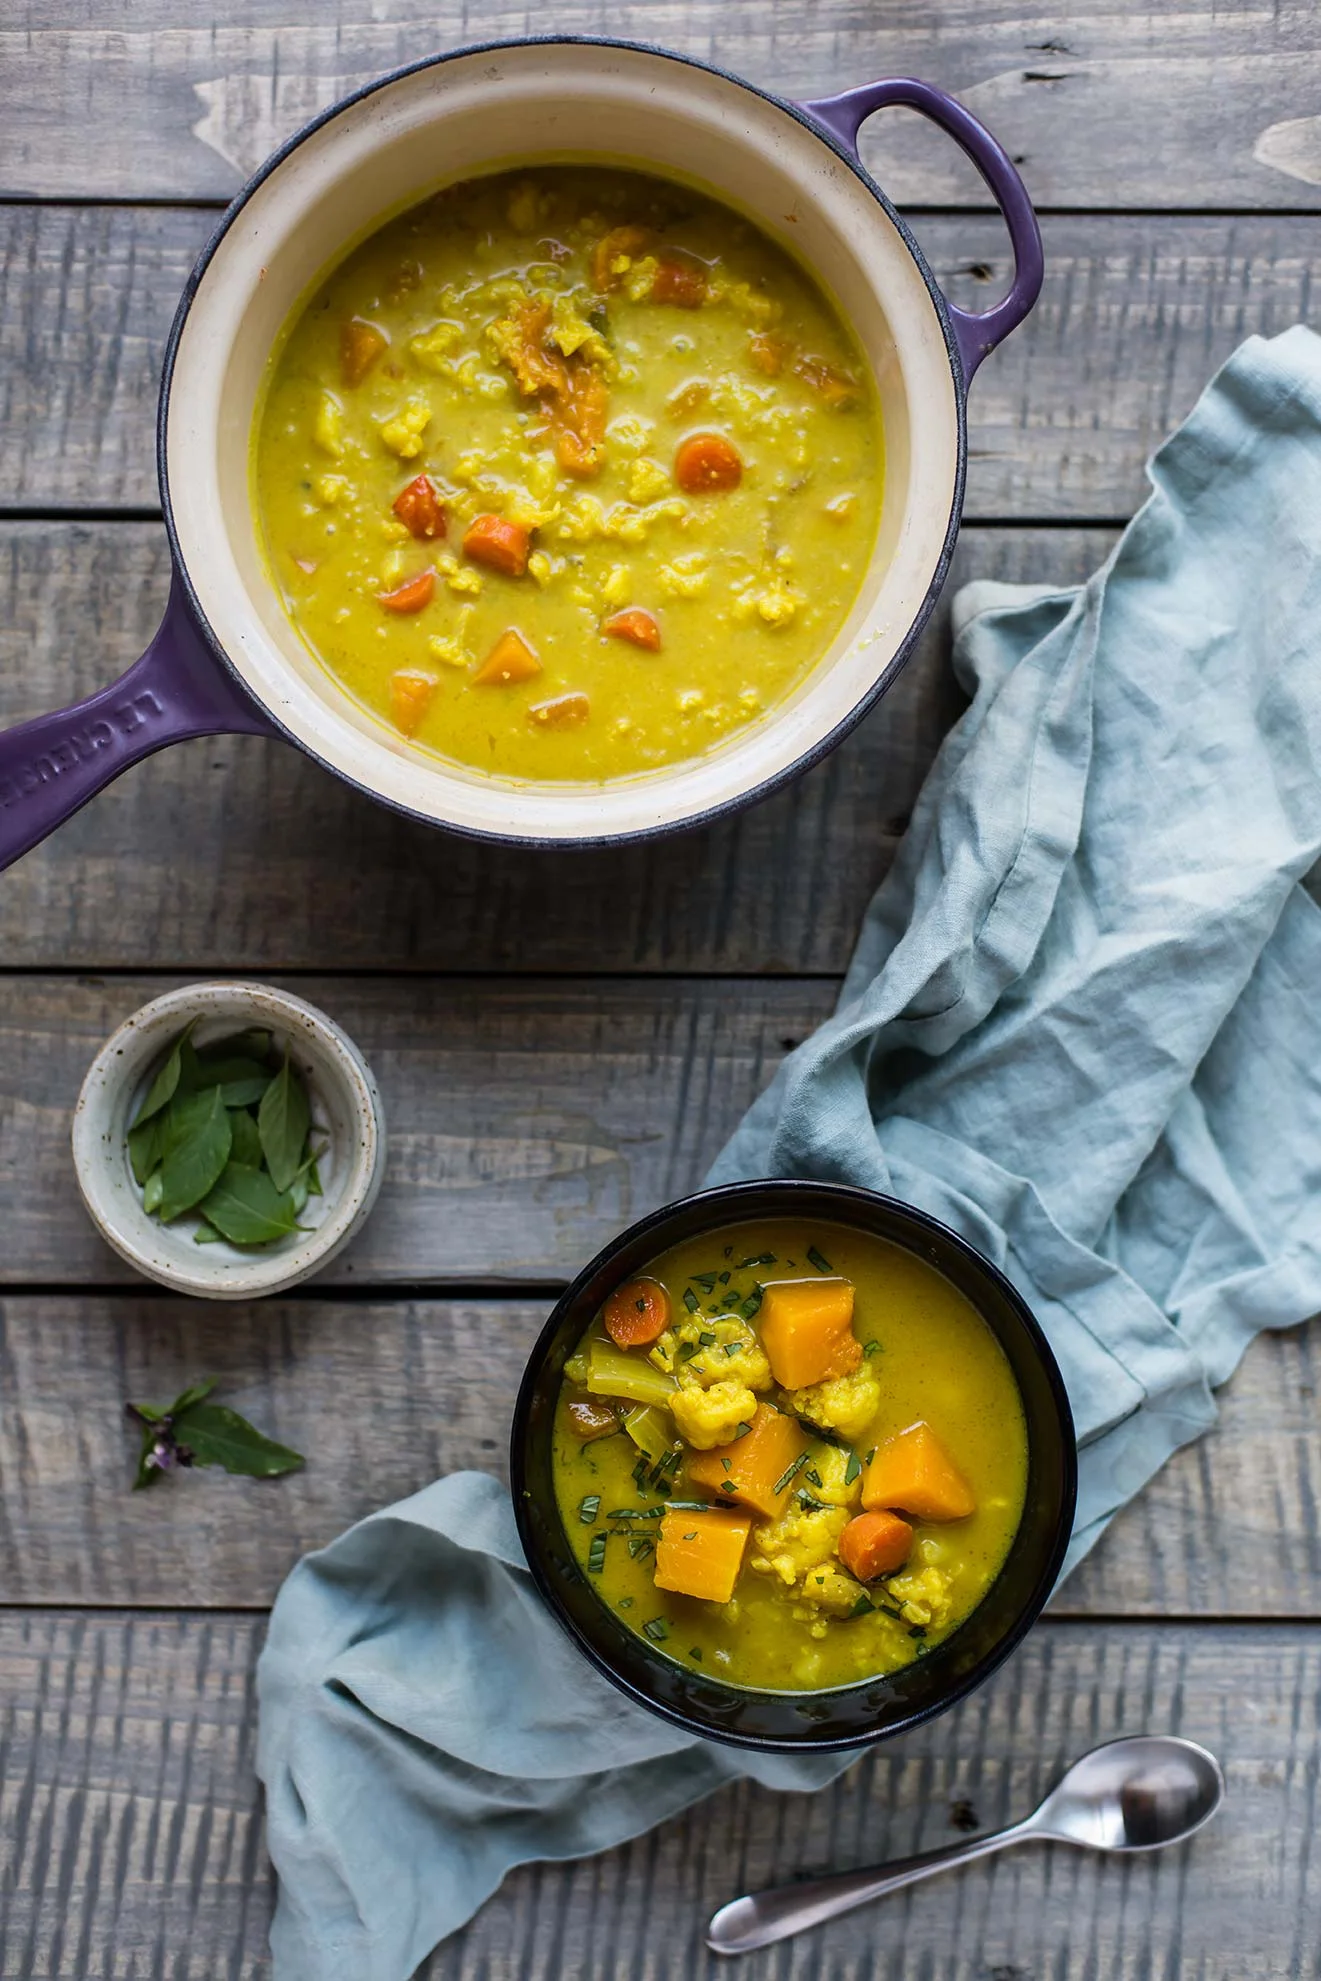
I am newly obsessed with this curry. I see piles of squash as I walk through the grocery store; I begin wondering how many bowls of curry I could make, and how many cans of coconut milk I should buy. 

Instant Pot Butternut Squash Coconut Curry

What's better is that my grocery list is short: I add cauliflower, carrots, and check my cupboard to ensure I have all of my typical spices on hand. Onions, garlic, and ginger are already sitting in the vegetable basket, as if they knew this was coming. 

Instant Pot Butternut Squash Coconut Curry

When it comes time to put everything together, I pull out the Instant Pot-- this stew is no waiting game, you just throw it in the Instant Pot and hit go. I chop everything up, pour in the coconut milk and spices, and lock the lid. I take a shower, and next thing you know this curry is piping hot and ready to go. Does it get any better?

Instant Pot Butternut Squash Coconut Curry

Butternut Squash Coconut Curry

Paleo, Gluten-Free, Grain-Free    |       

Naturally sweet and nutty butternut squash meets bold and spicy curry to create this new-comfort dish.

Serves: 4   |    Total Time:


Ingredients:

  • 1 inch ginger
  • 3 cloves garlic
  • 1/2 white onion
  • 1 serrano chile
  • 1 head cauliflower
  • 1 butternut squash
  • 2-3 large carrots
  • 3 sprigs cilantro OR Thai basil, plus more for serving
  • 1 14-ounce can coconut milk
  • 2-3 cups vegetable broth
  • 1- 1/2 tablespoon curry powder
  • 1 teaspoon turmeric
  • 1/4 teaspoon cumin
  • 1/8 teaspoon fennel seeds
  • 1/2 teaspoon black mustard seeds
  • A few cracks each of salt & pepper

Directions:

  1. Dice the onion, ginger, garlic, and serrano chile. Then, roughly chop the carrots, and cut the cauliflower into small bite-sized florets. Peel and seed the squash, and chop that into bite-sized pieces as well. Add all of the vegetables to the pot.
  2. Add cilantro, coconut milk, vegetable broth, and spices to the pot. Secure pressure cooker lid, and set Instant Pot to Stew setting with the timer at 4 minutes.
  3. Once Instant Pot is done, release the pressure. Remove lid, and store curry. Serve in bowls and top with cilantro sprigs.

12 Comments

Instant Pot Chicken Tortilla Soup

Instant Pot Chicken Tortilla Soup

When there is Tortilla Soup on the menu, I'm the first person to notice and there's a pretty high chance I will order it, no matter the weather. I've been in love with Tortilla Soup for as long as I can remember. 

Despite my appreciation for what is a really simple soup, I've never mastered making it at home — I always over think it, adding something extra or missing some key ingredient.

Instant Pot Chicken Tortilla Soup

But I’ve done lots to try to learn the magic sauce, and each experiment gets closer and closer. What I’ve learned: simple poblano chilis, sautéed with the onions and garlic, and freshly made chicken broth. Oh, and not over thinking it. Tortilla Soup should be simple, like a tortilla.

It’s comfort in a bowl for me — this cozy bowl of broth-y goodness and full of Mexican flavor.

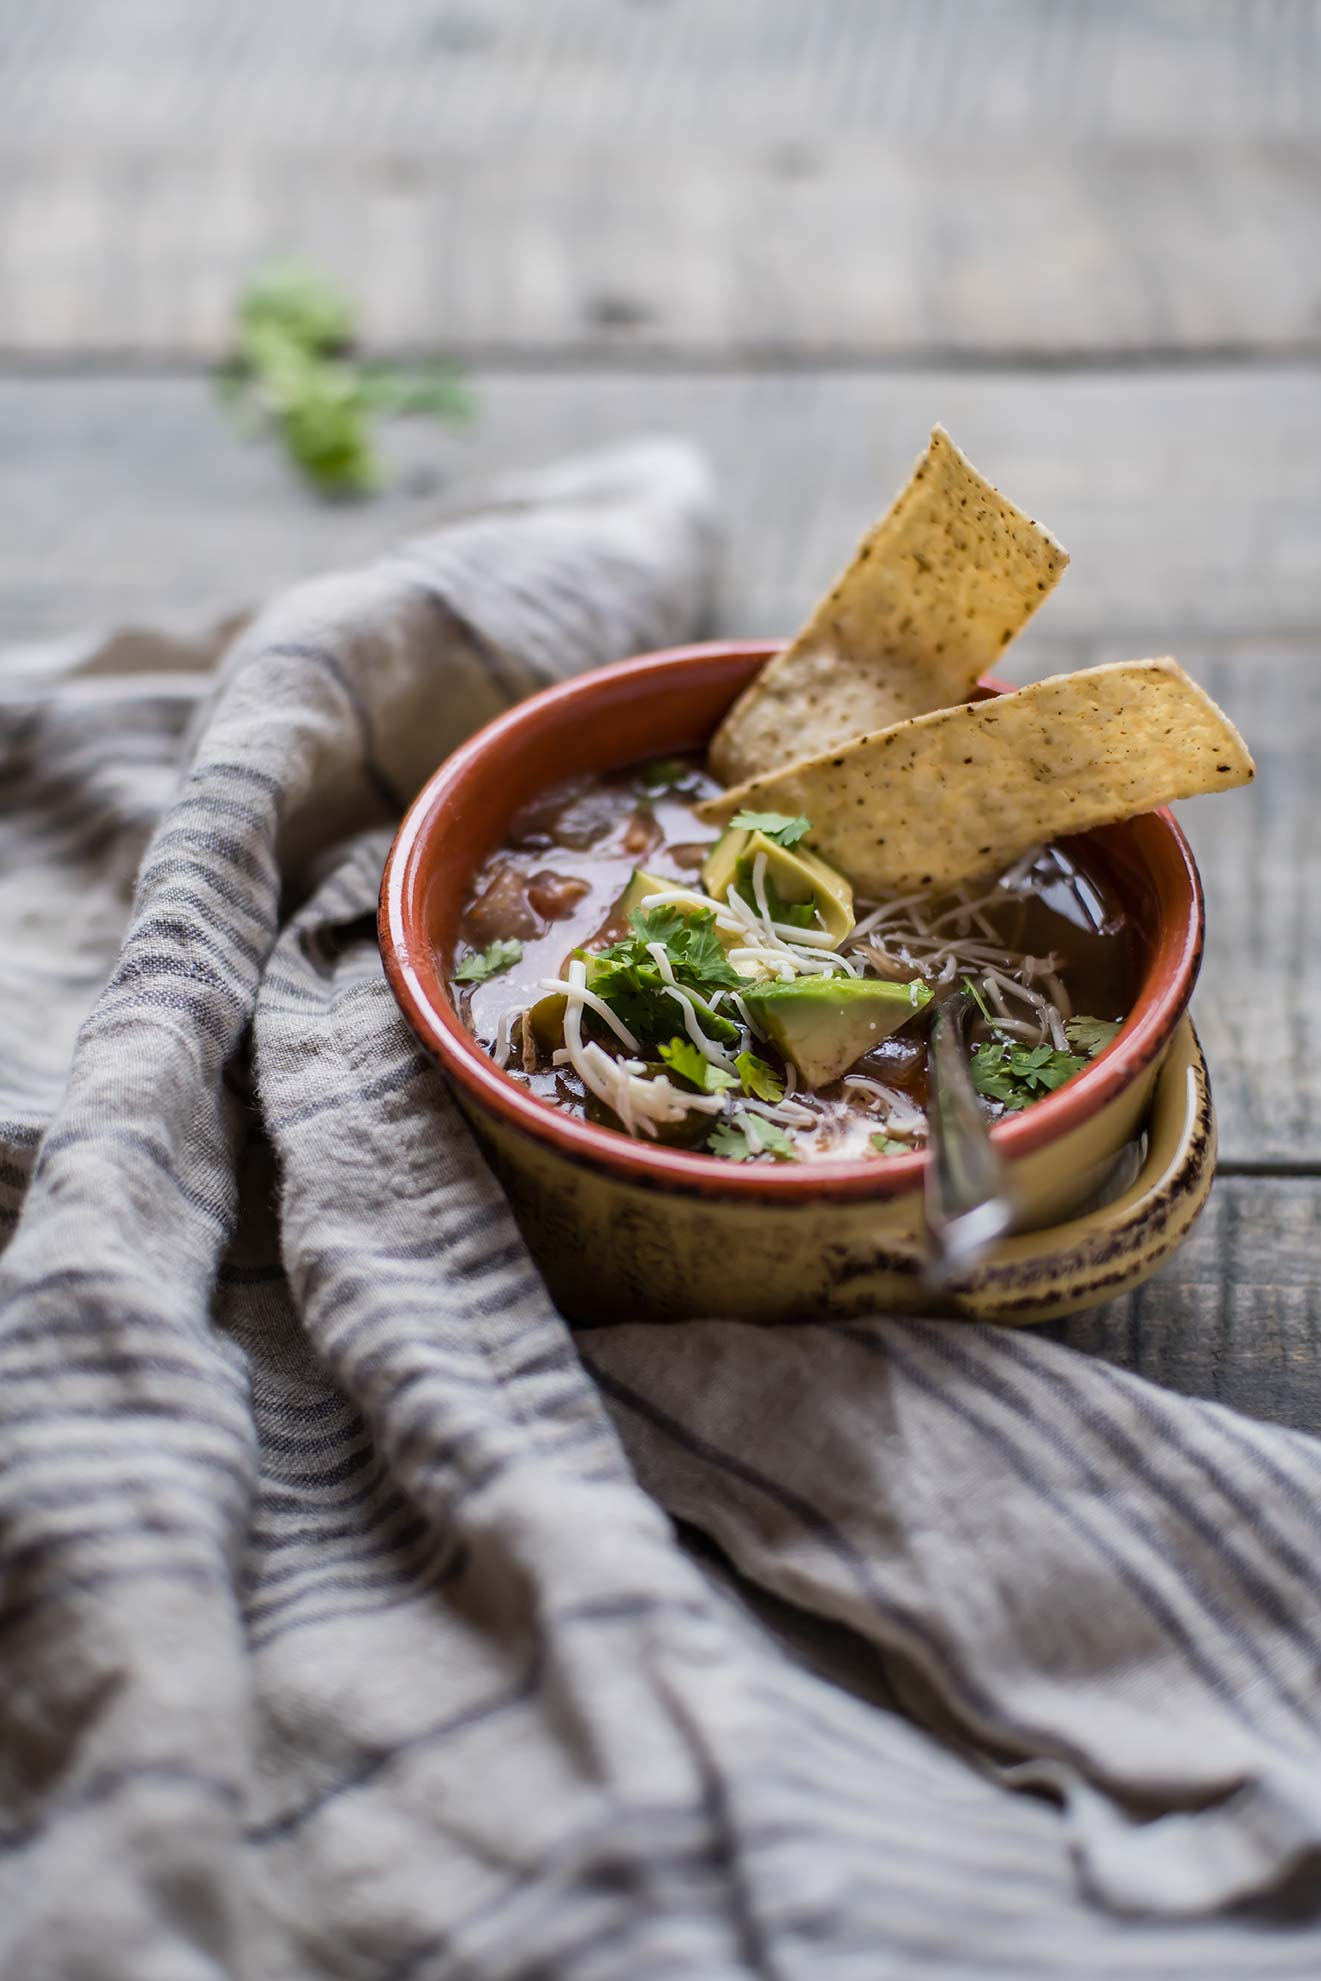
And the best part of any tortilla soup? The toppings! Cheese, avocado, crispy tortilla strips (or tortilla chips, which is much faster and less labor intensive), cilantro, and on and on.

Instant Pot Chicken Tortilla Soup

Instant Pot Chicken Tortilla Soup

Published September 24, 2016 by

Serves: 4   |    Active Time: 45 minutes


Ingredients:

  • 1 tablespoon coconut oil
  • 1 poblano chili pepper, diced and seeds removed
  • 1 yellow onion, diced
  • 3 garlic cloves, minced
  • 1 pound boneless chicken breasts
  • 1 28-ounce can diced fire roasted tomatoes
  • 2 tablespoons minced cilantro, plus more for garnish
  • 6 cups bone broth
  • 1 teaspoon ground cumin
  • 1 tablespoon lime juice
  • 1/4 teaspoon salt, plus more to taste
  • Optional: 1 16-ounce can black beans, drained and rinsed
  • Optional, for serving: avocado, cheddar cheese, corn toasted tortilla strips or chips, lime wedges

  • Directions:

    1. Heat coconut oil in the bottom of an Instant Pot on Sauté setting. Add diced onion, minced garlic, and poblano pepper.
    2. Add chicken, tomatoes, broth, cumin, lime juice, cilantro and optional black beans to pot and stir. Place lid on Instant Pot and turn to slow cooker setting (to use soup setting instead, see step 4). Set timer for 10 hours with vent turned to the sealed position.
    3. When soup is done, open Instant Pot. Use tongs or a slotted spoon to remove chicken from soup and place in a bowl. Use a fork to shred chicken, and then return to soup and stir. Season with additionl salt to taste, and serve hot with toppings of choice.
    4. To make this soup more quickly, use the soup setting instead of the slow cooker setting: In step 2, set Instant Pot to “soup” setting and set timer to 10 minutes with the vent in the sealed position. When timer goes off, release pressure, and the move on to step 3.

    4 Comments