Tex-Mex Potatoes & Eggs

Tex-Mex Potatoes & Eggs

Five miles in, and struggling to keep up, I still had a smile plastered over my face. It was Memorial Day weekend, and we were spending it up at Mount Evans. For the first time all week, the stress headache building at the back of my head had calmed itself. I went back to that moment in my head at mile nine, on our way back out.

The hike to the Mount Evans climbing area is unique because you have to climb up and then down and then up again, which means that on the way back home you have to climb down and then up again before you get to go down again. You are exhausted and that last little stretch of climbing is a mental battle. It didn’t help that it was our first day in the alpine this season -- where the air is thin.

Tex-Mex Potatoes & Eggs

Once back at home, we snuggled into the couch with plates of food (you know when you are just too tired to make anything, so you just throw stuff together?) and binge watched the last few episodes of Atypical (which I recommend doing). 

The next morning a feast was an order: a hearty breakfast with starches, carbs, and eggs with runny yolks. Revitalization! Fuel. That’s how this dish came to life. And oh, did it hit the spot.

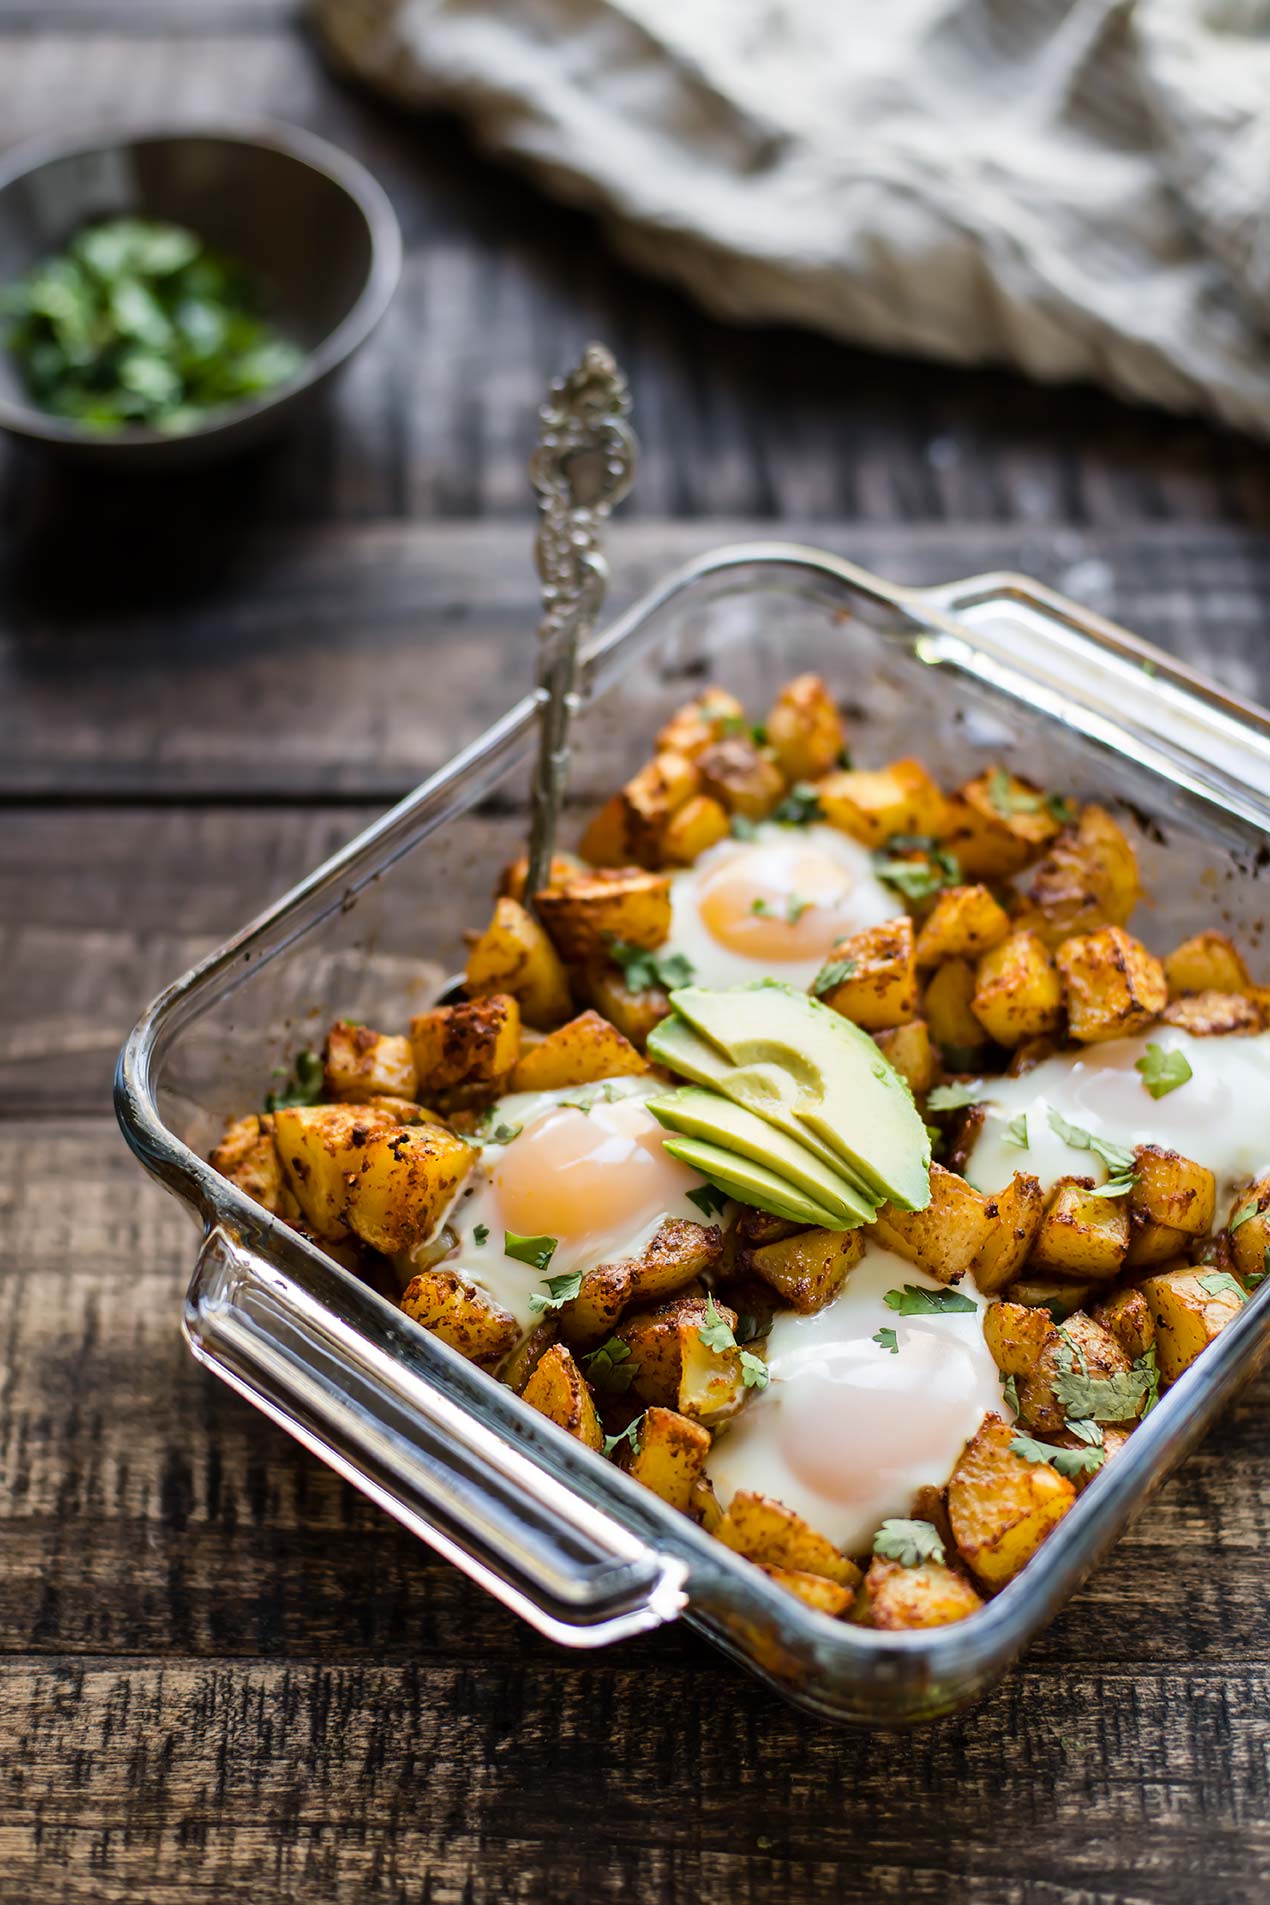
My love of Tex-Mex breakfasts continues here: the potatoes have been spiced with chili powder, cumin, and paprika. The addition of avocado is a no-brainer for me; you might want to add some cheese two (we were out). 

I also used a little hat trick, boiling the potatoes with a bit of baking soda before roasting them. This coats the outside of the potatoes in a starchy slurry, which when roasted, turns into those super crispy bits we all love (like at the restaurants 🤤). 100% worth the extra step! It also means the potatoes need less time in the oven… and since this weekend it was over 90°F (in May no less!), keeping the oven use to a minimum is a huge bonus. 

You also cook the eggs in the same pan as the potatoes, adding them in part of the way through. Read: Less dishes.

This is a perfect way to serve a crowd — if you double the recipe, use a 9x13 inch casserole dish!

Tex-Mex Potatoes & Eggs

Tex-Mex Potatoes & Eggs

Published June 7, 2018 by

Serves: 4   |    Total Time: 60 minutes


Ingredients:

  • 4 cups diced Yukon Gold potatoes
  • 4-5 cups water
  • 1/4 teaspoon baking soda 
  • 1 tablespoon cooking oil (avocado oil or melted coconut oil)
  • 1/4 teaspoon garlic powder
  • 1/4 teaspoon onion powder
  • 1/4 teaspoon ground paprika
  • 1/2 teaspoon ground chili powder
  • 1/8 teaspoon ground cumin
  • 1/4 teaspoon salt, plus more for serving
  • 1/4 teaspoon ground black pepper, plus more for serving
  • 4 eggs
  • Cilantro, minced, for serving
  • Optional: Avocado, for serving

  • Directions:

    1. Preheat over to 425°F.
    2. Place diced potatoes with water and baking soda in a pot and set on stove over medium-high heat. Water should complete cover potatoes -- if it does not, add more. Bring to a boil, and cook for 10 minutes.
    3. Pour potatoes into a strainer and discard of water. Place potatoes in a glass baking dish. Drizzle with cooking oil, and the sprinkle with spices: garlic powder, onion powder, paprika, chili powder, cumin, salt, and pepper. Stir potatoes with a spatula until all are equally covered in oil and spices. Place in preheated oven and bake for 30-35 minutes.
    4. Potatoes should be tender all the way through and starting to get crispy on the outside. Use a spoon to make four wells in the potatoes for the eggs. Crack an egg into each one, and then return the dish to the oven for 10-15 minutes, until egg whites are set and yolks are cooked to desired doneness.
    5. Sprinkle with minced cilantro and salt & pepper to taste, and serve hot with sliced avocado.

    Denver Omelet Breakfast Casserole

    Denver Omelet Breakfast Bake

    As a Colorado girl, you think I’d know how to make a Denver omelet. But that’s not the case. I found myself one morning Googling "Denver omelet."

    It turns out a Denver omelet calls for peppers, onions, ham, and sharp cheddar cheese. Reading this, I scrunched my nose. Ham in sandwiches, sure. But ham in an omelet? I was not convinced. But, I was determined to make a Denver omelet. Or at least something like it, because what I really wanted to make was a breakfast casserole that we could keep in the fridge all week and eat each morning. (I’ve become lazy with cooking in the morning lately, so having something already made is key to eating a good breakfast). The only other requirements? Hash browns. Because hash browns are awesome (I know I don't need need to tell you that).

    I took a few notes, and headed to the store with a vague idea of a casserole in my mind. 

    Denver Omelet Breakfast Bake
    Denver Omelet Breakfast Bake

    Walking through the butcher section, I perused various types of ham, but just couldn’t bring myself to do it. I opted for chorizo instead. You can do either--it’s really whatever suits your fancy. Either way, you’ll end up with a hearty vibrant casserole inspired by the Denver omelet. 

    This make-ahead-breakfast was such a winner in our house that it is sure to become a regular. And the best part? Well, I think it was the hash brown base! Not usually part of a Denver omelet, but worth adding in. 

    So, if you’re trying to feed breakfast to a crowd this week, or just trying to get ahead of your own schedule, this casserole is your answer! 

    Denver Omelet Breakfast Bake

    Denver Omelet Breakfast Casserole

    Published December 26, 2017 by

    Serves: 4-6   |    Total Time: 45 minutes


    Ingredients:

    • 1 tablespoon coconut oil or butter, plus more for greasing pan
    • 2 cups thawed frozen hash browns or shredded potatoes 
    • 1/2 yellow onion, diced
    • 1/2 cup red bell pepper, diced
    • 1/2 cup green bell pepper, diced
    • 1 link or 1/4 cup diced chorizo sausage, sliced into 1/2-inch pieces (traditional would be cured ham, but I prefer chorizo)
    • 6 eggs
    • 1/4 cup milk of choice 
    • 1/4 teaspoon salt, divided 
    • 1/4 teaspoon black pepper, divided
    • 1/2 cup shredded sharp cheddar cheese
    • Cilantro for garnish

    Directions:

    1. Preheat oven to 375°F, and generously grease a 9x16 inch baking dish.
    2. Place thawed shredded potatoes in the pan, and gently press into an even layer on the bottom. Season with half of the salt & pepper. Set aside.
    3. Heat coconut oil in a skillet over medium heat on the stove. Add sausage pieces, and cook until browned. Use a spatula to transfer sausage to the baking dish, spreading in an even layer over the potato layer.
    4. Now, sauté the onion and bell peppers in the skillet, adding additional coconut oil if the skillet is dry. Sauté until the onions are transparent. Then, transfer onion and pepper mixture to the baking dish, spread in an even layer and mixing with the sausage.
    5. In a medium mixing bowl, combine the eggs, milk, and remaining salt & pepper. Whisk until frothy, and then pour egg mixture into casserole pan. Bits of bell pepper and sausage should still be visible, but the egg mixture should be evenly distributed through the pan.
    6. Place pan in oven and bake for 20 minutes. At the 20 minute mark, pull the casserole from the oven, top with cheese in an even layer, and bake for 5-10 more minutes, until cheese is bubbling and the casserole is cooked through.
    7. Allow to cool 5 minutes, and then top with cilantro for garnish. Serve hot. (Hot sauce is great on this casserole, if you like hot sauce on your eggs!)

    Denver Omelet Breakfast Bake

    Crustless Quiche Lorraine

    Crustless Quiche Lorraine

    Quiche Lorraine is the queen of quiches, in my eyes. Other quiches might be delicious (they definitely are) but none of them boast the richness in history or flavor that a Quiche Lorraine does.

    You know those bite sized quiche Costco sells in the freezer aisle? They come in three flavors, one of them Lorraine. My mom would keep them in the freezer--they made a perfect after school snack, or appetizer for guests (tea parties? yes).

    But after you make Quiche Lorraine from scratch, you'll learn that even though they are delicious, those mini quiche bites aren't even worth a second thought. You'll never go back. Homemade, Quiche Lorraine carries the flavor of bacon and the creaminess of gruyere in every bite. Basically, it's amazing, and you'll want to make it right away. 

    Crustless Quiche Lorraine
    Crustless Quiche Lorraine

    This version is crustless, which makes it a little bit lighter and of course, grain-free and gluten-free. It puffs up delicately, creating a crispy top and a custard base. It is good cold, but I prefer it warm.

    This recipe makes enough to feed a household of two for a few days (depending on how hungry everyone is... or how much they like the combination of bacon and gruyere, which let's be real, is a lot), or a small crowd for a single brunch, along with a few other sides. For a big crowd, I'd make two: there's never too much quiche, and leftover quiche is just as good as fresh-from-the-oven quiche. Tummy rumbling? Mine to. Quiche, get in my belly.

    Crustless Quiche Lorraine

    Crustless Quiche Lorraine

    Published November 2, 2017 by

    Serves: 3-4   |    Total Time: 45 minutes


    Ingredients:

    • 1/4 pound bacon
    • 1/2 cup milk
    • 3 eggs
    • 1/4 teaspoon salt (or to your tastes)
    • 1/4 teaspoon ground black pepper 
    • Sprinkle ground nutmeg 
    • 1/2 cup grated gruyere or white cheddar 
    • 1 tablespoon fresh minced chives 

    Directions:

    1. Preheat oven to 375°F, and generously grease a 9-inch pie pan.
    2. Cook bacon according to directions on package, until crisp. Set on plate to cool.
    3. Whisk together the milk, eggs, salt, black pepper, and nutmeg until frothy. Break cooled bacon into 1/2-inch or smaller pieces, and add to egg mixture. Add the cheese, and stir until bacon pieces and cheese are incorporated.
    4. Pour egg mixture into pie pan and sprinkle with minced chives. Place in center of oven. Bake for 25-30 minutes, or until quiche is puffy and no raw egg remains (test this by inserting a toothpick into the middle. It should come out clean). Remove quiche from oven and allow to cool for 5 minutes before slicing and serving.

    Crustless Quiche Lorraine
    2 Comments