Easy Food Processor Pesto
/After posting my eleventh recipe that called for pesto to this blog (Pesto Zoodles with Fresh Peas and Bacon), I decided it was high time I actually post a recipe for pesto itself. Watch below or click here to watch the recipe video! Scroll past the video for some images and the full recipe.
Pesto is a glorious, glorious thing. Ancient Romans were on to something when they started mashing herbs with garlic, cheese and oil. Can you imagine being the chef to first pull out your moral and pestle, fill it with herbs and nuts, only to yield a greenish glop that looks unlike any other sauce you'd seen? And then the first bite! What do you think they thought?

Of course, times have since changed dramatically. Basil wasn't the star of pesto sauce until 1863 (according to Wiki), and wasn't even popular in the US until the 1980s and 1990s. Which, I suppose, explains a lot: as a 90s kid, I was set up to love pesto from the beginning. And now here I am, making pesto in a food processor. (Many will tell you this is not the traditional way, and they are right: in ancient Rome they didn't have food processors... or electricity. This food processor method is the 21st century way. I've made many a batch of pesto in a mortar and pestle, but for a big batch, I always go for the food processor).
When I have a fresh batch of pesto in the fridge, I fearless add it to every meal. A condiment for potatoes (a sauce for sweet potatoes, or just a dip for some roasted yukon golds). The creamy base for this chicken dish. Shmeared inside of a cheesy omelette. I even put the stuff straight on steamed broccoli, or stir a tablespoon of pesto with a tablespoon of lemon juice to make a vinaigrette. You get the picture.

Easy Food Processor Pesto
Serves: 4 | Total Time: 10 minutes
Ingredients:
- 2 cloves garlic
- 1/2 teaspoon sea salt
- 1/4 cup pine nuts
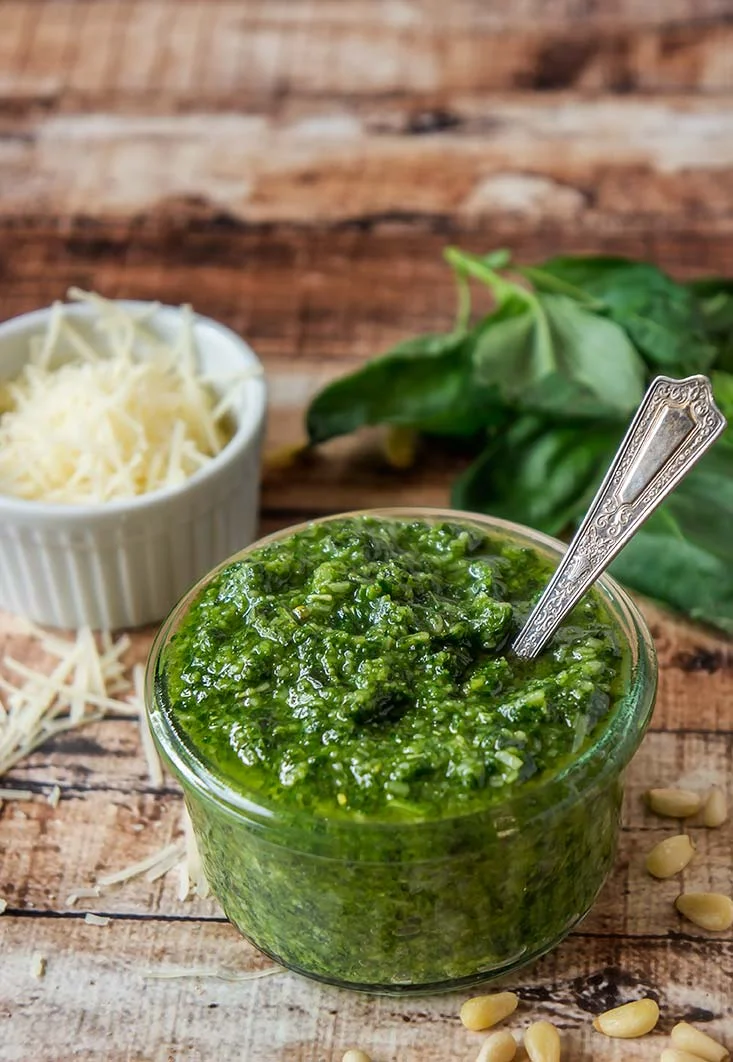
- 1/2 cup grated parmesan
- Zest from 1/2 a lemon
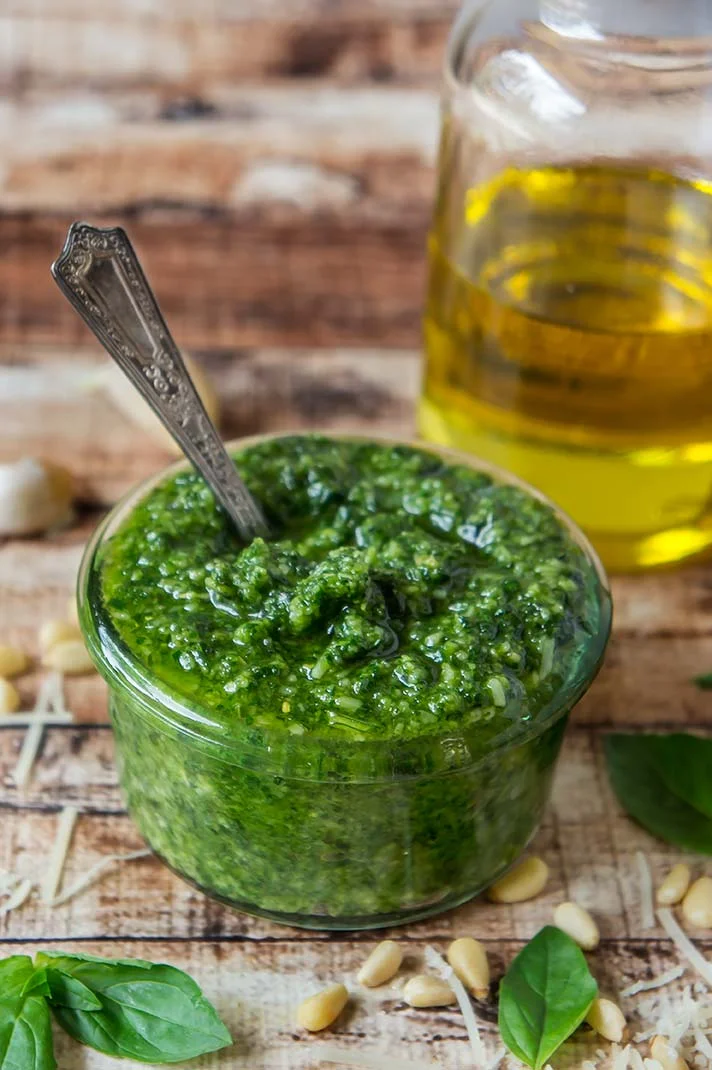
- 6 cups basil
- 1/4 cup olive oil
Directions:
- Pulse garlic in food processor with salt until minced.
- Add pine nuts to food processor, and pulse three times. Add parmesan and lemon zest to food processor, and pulse until a meal forms.
- Add basil and oil to the food processor and pulse until the basil and minced evenly. Scrape the sides with a spatula and pulse again briefly.
- Store in an air-tight container in the fridge until ready to use. Will last up to 1 week in the fridge.
FOR NUT-FREE: Substitute 1/4 cup sunflower seeds for 1/4 cup pine nuts.
FOR DAIRY-FREE: Substitute 2 tablespoons nutritional yeast for 1/2 cup parmesan.