Sourdough Bagels From Scratch

Sourdough Bagels

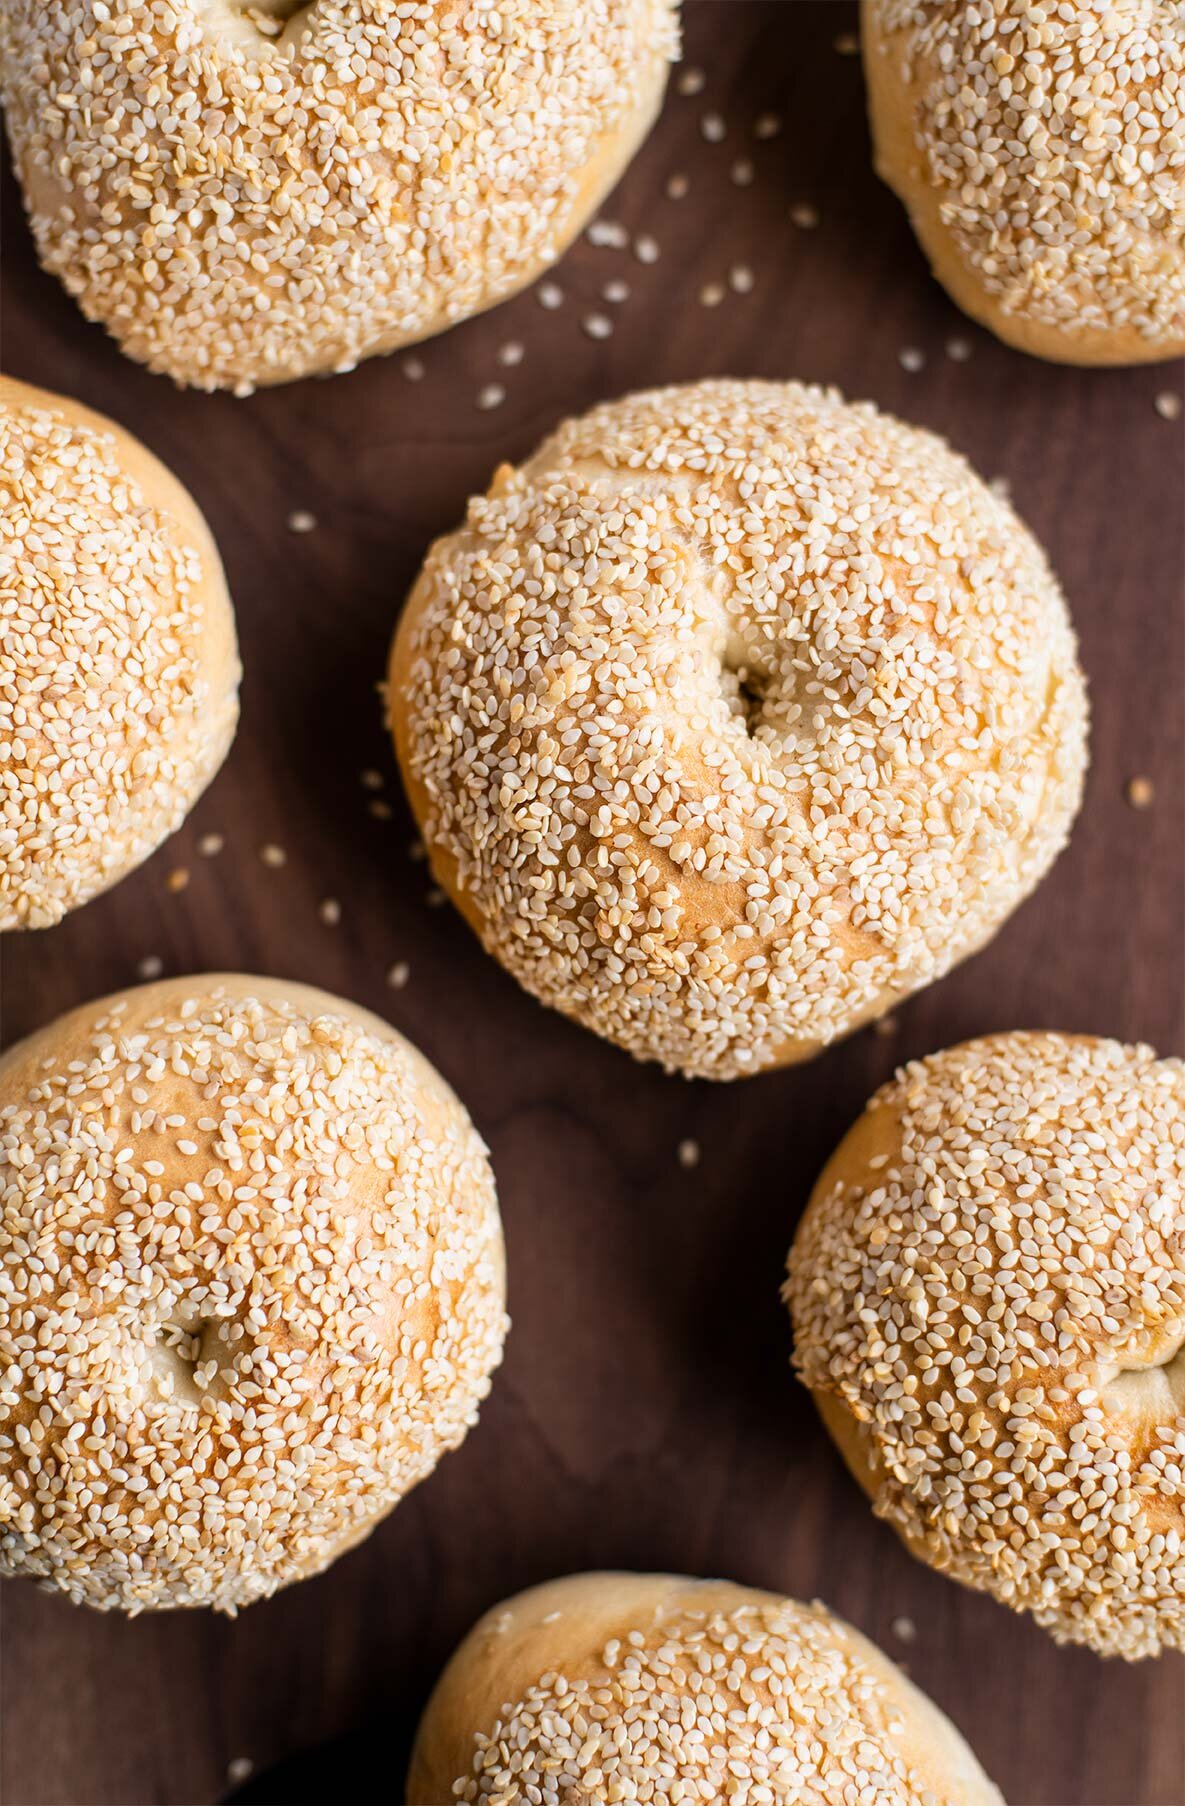
These round little baked goods have a special place in my heart, and not because I love New York bagels or have strong opinions about what a bagel “should" be. Instead, it’s because they are a token from my high school years, when I would get home from class and set to work mixing flour, salt, water and yeast. My dad loved (and still loves) telling people that this was how his teenage daughter chose to spend her free time. I haven't outgrown the phase, apparently—only matured it, taking the last year to research and test a sourdough version. These naturally leavened bagels are my new go-to, with a chewy crust, great rise, and complex flavor.

Sourdough Bagels
Sourdough Bagels

Sourdough Bagels from Scratch

Published February 9, 2021 by
   Print This Recipe

Serves: 12   |    Active Time: 2 hours active cooking time; 25 total hours (including rising)


Ingredients:


For the Levain:
  • 500g bread flour
  • 500g warm water
  • 250g ripe sourdough starter (100% hydration) (For me, this is typically my entire jar of starter — that’s good, you will put some back in the jar after the first ferment. I’ve found this is a great way to reinvigorate my starter, too!)

  • For the Dough:
  • 1000g levain (above)
  • 360-480g bread flour
  • 6g diastatic malt powder (optional, provides improved rise and golden crust) (affiliate link)
  • 17g salt
  • 3g instant dry yeast

  • For Cooking & Topping:
  • Large stock pot of water
  • 2 tablespoons honey (optional, gives bagels golden crust)
  • 1 cup of toppings, such as: sesame seeds, poppy seeds, everything bagel topping, shredded cheese, cinnamon sugar, etc.

  • Directions:

    1. This recipe includes a suggested baking schedule to help you plan, but you can adjust the schedule to fit your calendar. Feed your starter the night (or ~8hours) before making the levain.
    2. 8 am: Make levain by combining bread flour, warm water and 250g of ripe starter in the bowl of stand mixer. Cover, and set in a warm place to ferment, 8 hours (if it’s a very warm day, cut this to 6 hours).
    3. 4 pm: Move 250g of the levain back into your starter jar, leaving 1000g of active levain in the mixing bowl. Add 360g flour, malt powder, salt, and yeast to bowl. Place the dough hook attachment on your stand mixer, and mix until roughly combined. Turn mixer to speed 3 and knead, adding the additional 120g of flour in batches. The dough should be tough, smooth an elastic. If you notice the dough tearing, add a few small drops of water and stop adding flour. Knead for an additional 5-7 minutes.
    4. 4:15 pm: Line a baking sheet with parchment (or a Silpat (affiliate link)). Divide the dough in 12 equal sized pieces, about 120-130g each. Shape each piece into a ball, and place on baking sheet. Cover with a damp towel and set in a warm place for 20 minutes.
    5. 4:40 pm: Shape the bagels: working one at a time, use your thumb to poke a hole through the middle of each roll, and gently stretch to form a bagel shape. (Tip: once the initial hole is formed, I like to spin the loop around my finger and let gravitational pull do the stretching.) As the bagels rise and bake, the dough will puff, shrinking the hole in the middle, so make the hole a tad bigger than you want it to be in the finished product. Place shaped bagels back on baking sheet. Cover again with a damp towel, and rise for 20 minutes.
    6. 5:05 pm: The bagels should be puffy. Test their rise by dropping one in a bowl of water: it should float. If it does not, allow to rise longer. Cover entire tray of bagels loosely with a plastic bag (or two), and place in fridge overnight (or up to 36 hours - the longer you wait the more sour they will taste).
    7. 8 am (the next day): Prepare to cook bagels: Preheat oven to 475°F. As oven heats, bring a stock pot of water to a boil. Add honey. Prepare your toppings, by placing each topping in a wide bowl or on a plate that you can easily dip a bagel into.
    8. 8:05 am: Boil bagels: Remove bagels from fridge. Gently lower 3 bagels into pot. Cook for 30 seconds, then flip, and cook for 30 seconds on second side (Tip: I set a stopwatch next to the stove so I can watch the clock). Using a slotted spoon, remove bagels from water, allowing excess water to drain back into the pot. Dip top of bagel into bowl of toppings, then set, topping-side up, on the sheet pan. Repeat until all bagels are boiled. Note: Boiling will slow with the addition of the cold bagels — keep the water warm enough to maintain a gentle boil.
    9. 8:15 am: Bake bagels: Bake for 20-25 minutes, until golden brown on all sides.
    10. 8:35 am: Transfer to cooling rack and allow to cool at least 10 minutes before slicing.
    11. Serve to taste with butter, cream cheese, lox, capers, etc. Bagels are best fresh, but will last the week if stored well: Allow bagels to cool completely before storing. Once cooled, wrap tightly in plastic or place in an airtight container. Store at room temperature for up to 7 days.

    Comment

    Citrus Blossom Salad

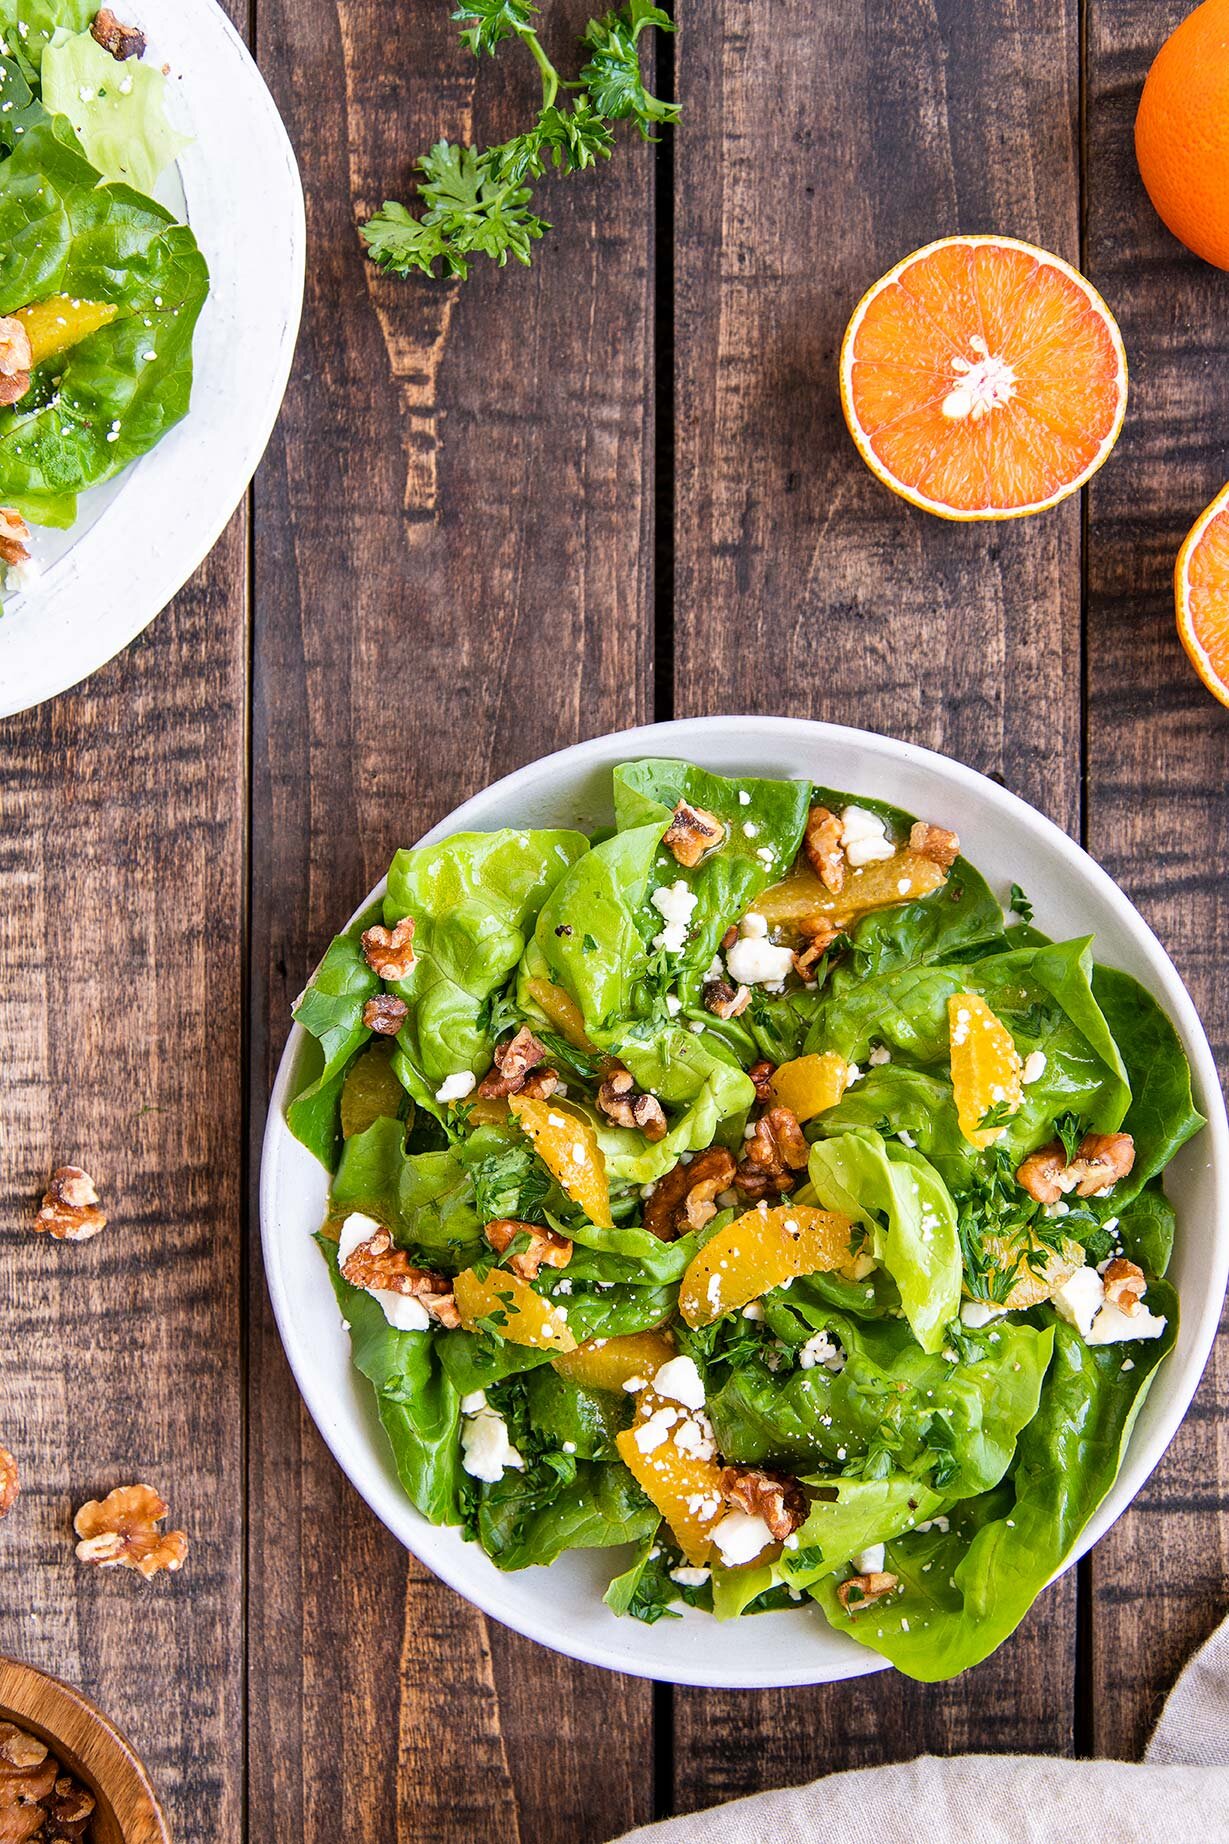
    Citrus Blossom Salad with Walnuts + Feta

    In the middle of winter, most salads fail to hit the spot because the produce isle is generally sad and farmers markets are closed (though this roasted sweet potato and kale salad is usually a good bet). Around January citrus finally hits the shelves, freshly picked and shipped from warmer climates. It’s in that window that this salad should take the spotlight, a perfect stage for citrus varieties you can’t easily find other times of the year.

    Orange flower water adds a subtle, elegant twist to the vinaigrette in this recipe (and also how it got its name). It smells incredible and one bottle will last you forever (plus, you’ll be one step closer to making baklava).

    Citrus Blossom Salad with Walnuts + Feta
    Citrus Blossom Salad with Walnuts + Feta

    Serve this salad with with roasted chicken, a panini, or a warm stew like tagine to make a meal.

    Citrus Blossom Salad

    Published January 4, 2021 by
       Print This Recipe

    Serves: 4   |    Active Time: 15 minutes


    Ingredients:

  • 1 head tender romaine lettuce, washed and spun or patted dry
  • 3 oranges (for a fun pop of color, mix-and-match a variety of oranges: cara cara oranges for pink, blood oranges for deeper red, valencia/navel for traditional orange)
  • ¾ cup chopped walnuts, toasted
  • 1/2 cup feta crumbles
  • 1 tablespoon minced parsley leaves
  • Optional: Freshly cracked black pepper to taste

  • For Orange Blossom Vinaigrette:
  • 1/4 cup freshly squeezed orange juice
  • Pinch of salt
  • 1 tablespoon Orange Blossom Water (affiliate link)
  • 1/3 cup extra virgin olive oil

  • Directions:

    1. Arrange lettuce on 4 plates, optionally tearing with your hands to remove any tough stem pieces.
    2. Segment the oranges by slicing off the peels with a knife, and then carefully cutting segments out from between the pith. It can be helpful to do this over a bowl, to catch any juice. Reserve the left over pieces — we’ll use them to make the vinaigrette. Here is a good video on how to do this. Arrange orange slices over the lettuce.
    3. Sprinkle walnuts and feta over each salad, and sprinkle with parsley.
    4. Prepare vinaigrette: Squeeze as much juice from the remaining orange pieces into a bowl. Add salt, orange blossom water and olive oil, and whisk to combine. Drizzle to taste over salads.
    5. Top with freshly cracked pepper to taste, and serve immediately.

    Comment

    Grilled Sourdough Pizza

    Grilled Sourdough Pizza

    I have renewed energy for cooking when I think of the cooler weather to come. Summer produce is something special, but by September, I miss the comfort that comes from a cozy bowl of lentils or the fun of baking all day. But before summer closes out, there are a few recipes I’m overdue on sharing. The first is this — a pizza recipe which I adapted from The Perfect Loaf for the grill once summer hit. This has become a monthly, if not weekly, special in our house. It is supposed to snow tomorrow (!! One of the earliest first snows I can remember), but fall isn’t over yet. There are still plenty of heirloom tomatoes to eat (destined for a margherita pizza!) and warm days to come. Grilling the crust not only lets you skip the oven heat, it also yields a deliciously crispy crust. Pizza lovers, this one is for you. 

    Grilled Sourdough Pizza
    Grilled Sourdough Pizza

    Grilled Sourdough Pizza

    Published September 7, 2020 by
       Print This Recipe

    Serves: 4 (two 12-inch pizzas)   |    Active Time: 60 minutes


    Ingredients:

  • 285g bread flour
  • 32g all purpose flour
  • 212g room-temperature water
  • 9g salt
  • 47g mature (ripe) sourdough starter (100% hydration)
  • Optional: 6g diastatic malt (promotes a strong rise, but is not required) (you can buy it here)
  • 2-3 tablespoons olive oil
  • Pizza sauce of choice
  • Shredded mozzarella cheese, or other favorite pizza cheese
  • Pizza toppings, such as tomatoes, basil, pepperoni, mushrooms, pineapple, olives, bell peppers, etc.
  • Grated parmesan and red pepper flakes for garnish

  • Directions:

    Baking with sourdough starter takes a little practice, and some patience! This is fairly forgiving sourdough recipe, but to help you out I’m including suggested times to start each process, which factor in enough time for rise. Feel free to adjust the schedule based on your needs, but keep the length of time between steps the same. Additionally, review the “troubleshooting” notes below if you’re having difficulty.

    1. 8am: In the morning, feed your sourdough starter: discard 100g of your starter, and add back in 50g each flour and water, and stir). Loosely cover and set in a warm place (72-90°F) to ripen. (Try on top of the fridge, or on a sunny window sill).
    2. 4pm: By 4pm, your starter should be bubbly and active. Make your dough: in the bowl of a stand mixer, combine bread flour, all purpose flour, water, salt, ripe starter, and diastatic malt (if using). Using the dough hook of your mixer, knead for 5 minutes on medium-low, or until dough is fully incorporated (dough may not be totally smooth at this point — that’s ok!). Scrape sides of bowl as needed to get everything mixed in.
    3. 4:30pm: Once mixed, cover bowl with plastic wrap (or one of these silicons lids (affiliate link)) and set in warm place. Allow dough to ferment, covered, for 2.5 hours.
    4. 7pm: Dough should be slightly puffed (only slightly though, it will not have doubled in size yet!). Place bowl, still covered, in fridge overnight. This helps the flavors to develop.
    5. 11am the next morning: Lightly grease 2 medium-sized pyrex containers or Tupperwares with olive oil. Lightly flour a clean surface. Take dough from fridge, and turn it out on the floured surface. Using a pastry scraper, divide dough into 2 equal parts. Shape each piece into a ball (here is a good video on how to shape pizza dough balls). Place one dough ball into each container, and loosely place lids on.
    6. 11:15am: Place both containers in a warm place to proof for 6 hours. After 6 hours, dough balls should be doubled in size.
    7. Between 4:30 and 6:30pm, cook: There is some wiggle room on when you start this step, hence the time range! Prep your workspace so you can move quickly: Get out a large cutting board, which you can use to cut the finished pizzas and top the pizzas. Slice all of your toppings, and set out your sauce and utensils. Once you start cooking the pizzas, you’ll want to move quickly, so having everyone out already is important. Use a grill brush to scrape the grill wrack. Preheat a grill to 500°F.
    8. When grill is hot, lightly grease your hands with olive oil. Gently release one dough ball from its container — avoid deflating or smashing the dough too much in the process. Take the disc of dough, and gently flatten it between your hands. Then, stretch the dough by passing the disc back and forth between your hands, until the disc is about 12 inches in diameter (need a video? I prefer using the method shown at minute 2:00 in this video when grilling). Then, quickly place the disc on the grill, and close the lid. (Your pizza may not be a perfect circle — that’s just part of the artisan look!). Cook for 2-3 minutes with the grill lid on. Then, using a metal pizza peel (affiliate link) or large metal spatula, lift the crust from the grill. Place the crust cooked side up on the prepared cutting board. Spread sauce, cheese, and toppings over your pizza to your tastes. Then, using the pizza peel again, transfer the pizza back to the grill. Cook, with the lid on the grill, for another 2-3 minutes, or until the bottom of the pizza is charred in spots and the cheese on top is melted. Use the pizza peel to transfer pizza back to the cutting board.
    9. Repeat steps 7-8 for the second pizza.
    10. Allow pizzas to cool for 3-5 minutes before you slide them. Top with parmesan and red pepper flakes to your tastes! Enjoy.

    Troubleshooting:

    • My dough didn’t rise. There are many factors that going into a well-proofed dough. The most common pitfalls are: 1) Your starter wasn’t ripe when you added it to the dough. Make sure your starter is active and bubbly! and 2) The proofing environment wasn’t warm enough. Think of temperature as an ingredient, just like flour and water. The dough ideally should be between 72°-90°F for the fermenting and proofing stages.

    • The crust is hard to get off the grill. Make sure the dough is well oiled (olive oil) before you place it on the grill. I find that the residual oil from the pyrex containers for proofing, and some oil on my hands is enough, but a little extra isn’t going to hurt anyone.

    • The grill burnt a hole straight through my pizza! The grill is very hot, and if you make your crust extra thin, it may burn a hole straight through. While the rest of your pizza is still useable (donut pizza!) it is a bummer. Make sure you do not get too thin with the dough when in the stretching phase. You should not be able to see through the dough (i.e., no window panes for the bakers out there).

    • My crust is burnt on the bottom but the cheese didn’t melt. Balancing grill temperature is the answer here. If your crust is burning on the bottom (note that some charring is completely normal) but your cheese isn’t melting, your grill is too hot. Turn down the flame a tad. You can always finish your pizza under the broiler to melt the cheese further.

    Comment